• Mason Jars
  • Fixer Upper
  • Crafts
  • Organizing
  • Beauty + Style
  • Recipes
    • Facebook
    • Google+
    • Instagram
    • Pinterest
    • Twitter

Yesterday On Tuesday

The Art Of Everyday Life

  • Home
  • About Me
    • Disclosure Page
    • Privacy Policy
    • Media Kit
  • Videos
  • DIY
  • Decor
  • Holidays
  • Housekeeping
  • Printables

Paper Lunch Bag Nests

258 Shares
Pin253
Share5
Tweet

This DIY project involves a secret tool…
Paperbagnest

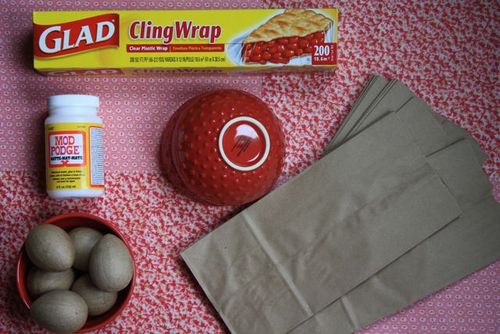
Supplies: Cling Wrap, Modge Podge, paper lunch bags, a small bowl and a paper shredder!
Paperbagnest2

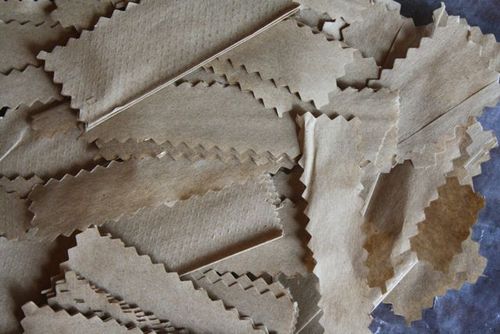
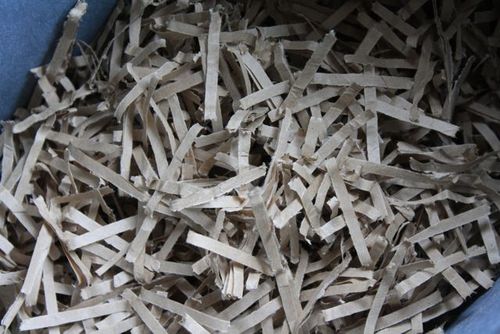
Cut some strips out of the paper bags 1 1/2-2 inches thick
Paperbagnest3

Meanwhile shred up some paper lunch sacks
Paperbagnest4

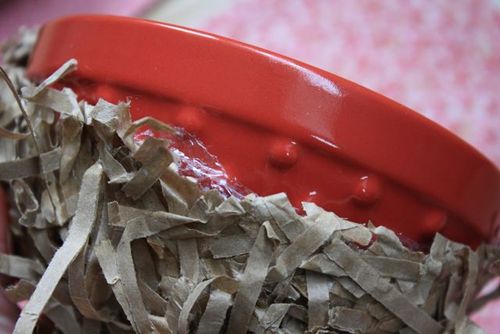
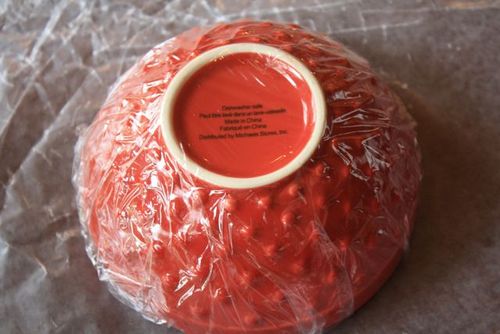
Cover the bowl with Cling Wrap

Paperbagnest5

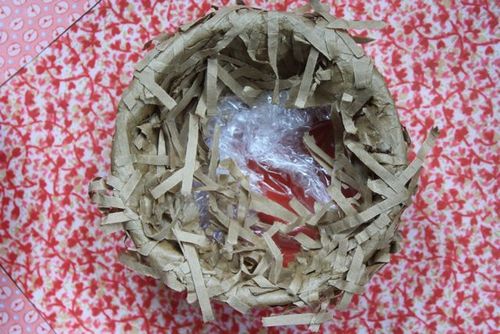
Using a foam brush, paint Modge Podge on the paper strips and press around bowl to make the nest shape. Nest dab Modge Podge on empty spots and gently press paper shreds in
Paperbagnest6

Let it dry overnight

Paperbagnest7

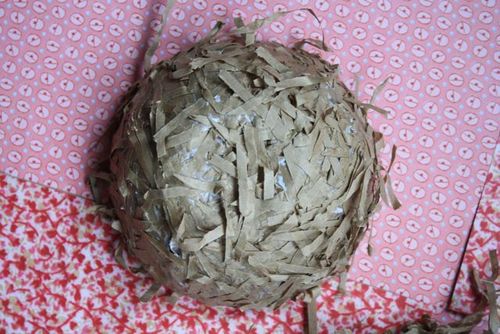
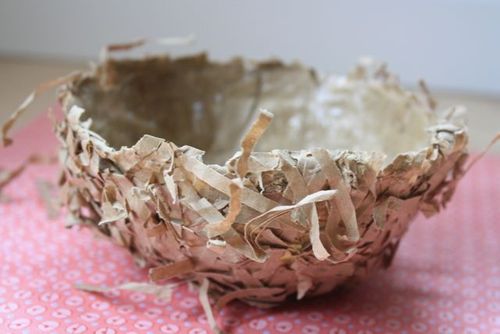
To separate the bowl and nest gently peel back Cling Wrap. Trim top of nest.
Paperbagnest9

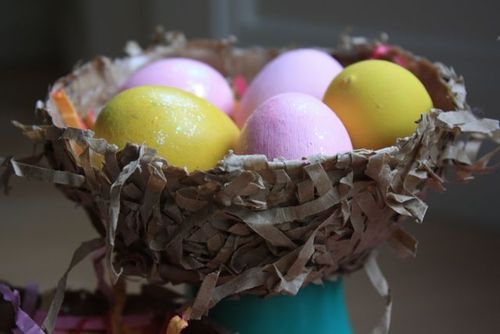
Nesty goodness.

Paperbagnest13

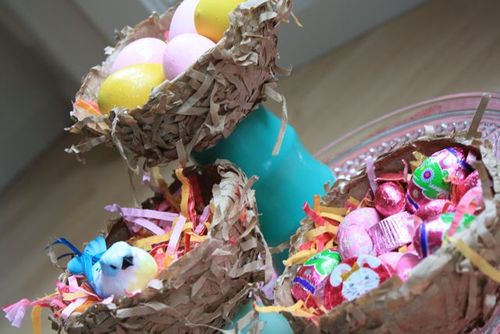
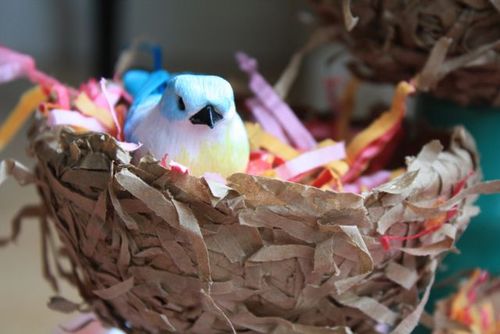
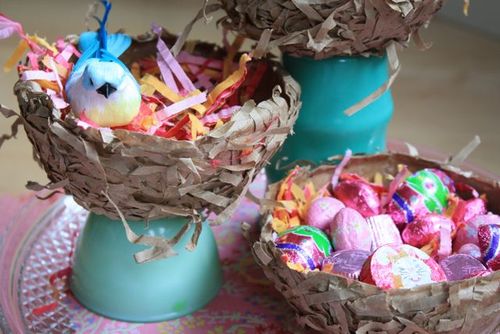
Then you get to feather your nest…

Paperbagnest10

With a bird… (Dollar Store find)

Paperbagnest11

Easter candy…

Paperbagnest12

Or there’s always eggs!

  Paperbagnest15

Crafty Goodness20 Comments

« Beautiful Banners via Canvas Corp
Itsy Bitsy Carrot Patch »

Comments

  1. Steff says

    April 3, 2011 at 5:41 pm

    Hey, they are really pretty! This is something we can do with the little ones, I bet they’ll love making their own nests. Thank you!

    Reply
  2. Dawn says

    April 3, 2011 at 5:52 pm

    Very cute idea. Bet kids would love doing this project. Thanks for sharing :)

    Reply
  3. Steph says

    April 3, 2011 at 5:54 pm

    I bought some eggs but realized I had no nest! Thanks for sharing how you made yours!

    Reply
  4. Jessica @ Two Shades of Pink says

    April 3, 2011 at 6:03 pm

    This is absolutely adorable! So easy and fun! The girls will have a blast doing this. A must do for Spring/Easter!

    Reply
  5. Gwen @ Gwenny Penny says

    April 3, 2011 at 9:17 pm

    So cute, Malia! I love the paper shredder tip :)

    Reply
  6. Debra @September Acres says

    April 3, 2011 at 9:52 pm

    Really cute. I tried this over the weekend and I don’t think mine is as cute as yours! I didn’t use a paper shredder but probably will in my next try. :)

    Reply
  7. theresa forge says

    April 4, 2011 at 9:01 am

    This is an adorable idea!!! I will try this one for sure~

    Reply
  8. Heather @ Life Gluten Free says

    April 4, 2011 at 10:02 am

    Those are so pretty!

    Reply
  9. Maria Matter says

    April 4, 2011 at 10:02 am

    darling idea! pretty & sweet!

    Reply
  10. Jenn Erickson/Rook No. 17 says

    April 4, 2011 at 12:41 pm

    Absolutely love it!!! I’m always looking for a new nesty project! Pinning this one for sure!

    Reply
  11. Jane Harrah says

    April 4, 2011 at 1:20 pm

    Cute cute cute Malia! Really cute.

    Reply
  12. Katie's Nesting Spot says

    April 4, 2011 at 6:34 pm

    This is too funny, guess what we’re going to be making soon…the exact same thing. Great minds think alike! We’re having my friends over on Palm Sunday and I wanted something cute for the little girl’s table settings and when I looked at mini baskets they all seemed so expensive. Then I got my issue of CL and thought, BINGO!

    Reply
  13. powhatan county real estate says

    April 6, 2011 at 2:42 am

    I first time see this crafts.I can’t imagine this type of creativity.you made such a adorable crafts.

    Reply
  14. Tonis-office says

    April 7, 2011 at 11:23 am

    Great idea, why not use different color shreds to make the nest too?

    Reply
  15. Rachel says

    April 8, 2011 at 5:38 am

    i really like this idea ~ well done !

    Reply
  16. jodi (jo) says

    April 8, 2011 at 7:42 am

    I love love this project! THANKS SO MUCH! I have a bridal shower to do using a bird/nest/vintage theme and this is perfect for treats on the table! I also love the natural “feel” of the paper bags plus it’s recycling which I adore.
    Found you on OPT and will bookmark your site.:)
    xoxo jo from http://www.OttLite.com/blog

    Reply
  17. Ginger says

    April 9, 2011 at 10:20 am

    Very cute and crafty! I love it! Following you from Smart and Trendy Blog Hop.

    Reply
  18. maks says

    April 9, 2011 at 1:37 pm

    Great and quick idea, I’ve been looking for a last minute nest I can fix until Tuesday for 22 second graders, this may well be it ;-) – thanks for sharing – maks :-)

    Reply
  19. creativejewishmom/sara says

    April 9, 2011 at 4:36 pm

    Love your nests Malia! And missing you on Craft Schooling Sunday! all the best, Sara

    Reply
  20. gnee says

    April 13, 2011 at 8:23 pm

    Hi Malia,
    Congratulations, your adorable nests made this weeks top hits @singingwithbirds.com. Come check it out, grab a button if you’d like and thanks for such a fun idea!
    gnee

    Reply

Leave a Reply Cancel reply

Your email address will not be published. Required fields are marked *

This site uses Akismet to reduce spam. Learn how your comment data is processed.

  • Facebook
  • Google+
  • Instagram
  • Pinterest
  • Twitter
I love finding ways to make every day special through DIY projects, decor ideas and recipes. Proud to be a wife, mom, and hometown Seattle girl. Catch me on KOMO News at 4pm and on Seattle Refined.

As Seen In

Stay up-to-date with the latest posts!

Find Me On Facebook

Project Galleries

Latest Pins

Visit Malia Martine Karlinsky's profile on Pinterest.

Copyright © 2021 · Savory theme by Restored 316

Copyright © 2021 · Savory Theme on Genesis Framework · WordPress · Log in

Welcome to Yesterday on Tuesday!
Sign up for my weekly newsletter and never miss my cheap and chic projects, delicious recipes and free printables!
Your information will *never* be shared or sold to a 3rd party.