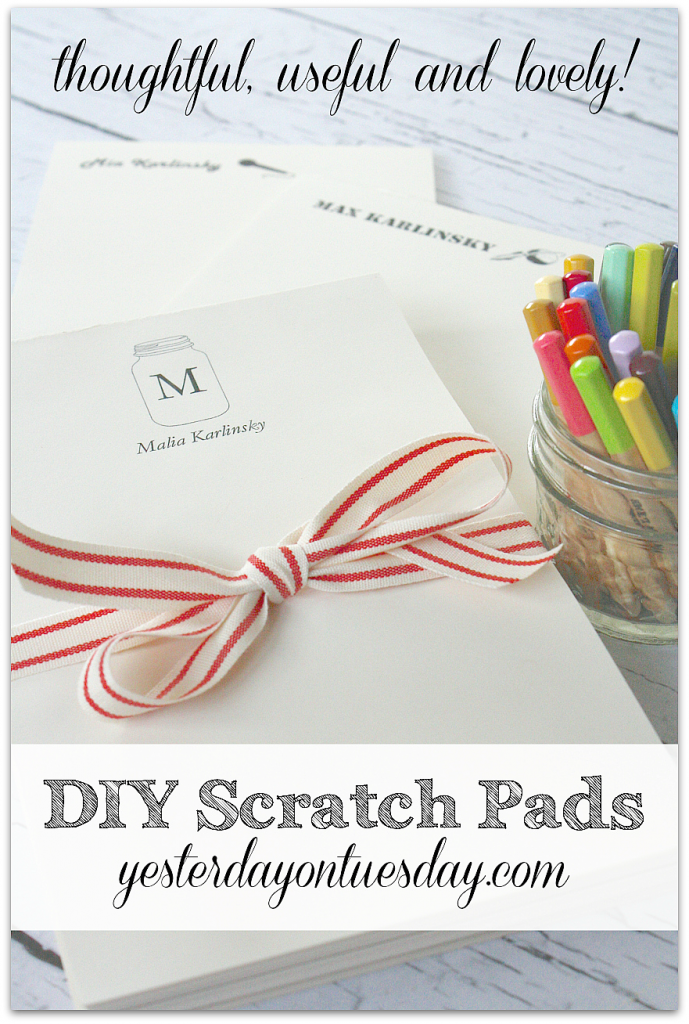
DIY Scratch Pads
My Dad is a very creative guy. I grew up spending a lot of time at his print shop. He’d make personalized stationary, scratch pads, business cards and more for big companies. And at Christmas, my Dad would also make scratch pads for his friends and family to give as gifts. As a child, I loved the smell of the ink, the feel of the paper and the “clink-whoosh” of the printing presses. Dad used to let me have the extra or unwanted paper samples… and I’d be in heaven! I think that may be where my paper obsession was born.
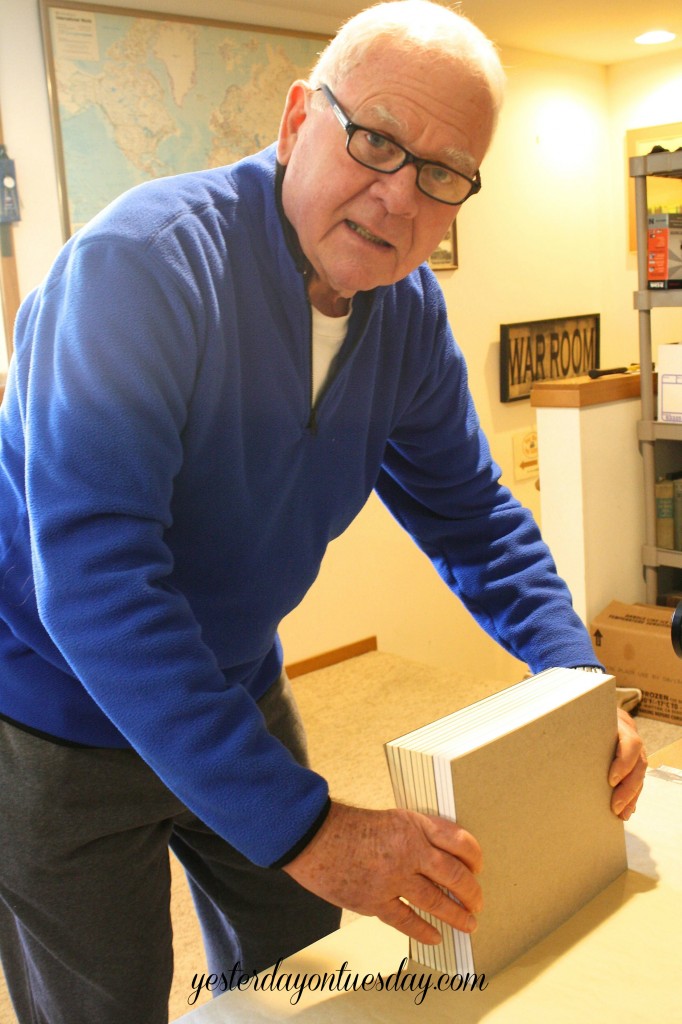
My Dad isn’t printing with a printing press any more. But he is one of those people who enjoys (and stays on top) of technology. He’s still creating his delightful scratch pads– with the use of his computer and printer! He shared his technique with me with year and so I’m sharing it with you.
Note: This looks like a lot of steps but they are fast and easy. My Dad is sharing great directions!
How to Make DIY Scratch Pads
Supplies
-One ream of paper in white or ivory (buy at office supply stores). One ream (500 sheets ) = 20 8-1/2 x 5-1/2 pads of 50 out of an 8 1/2 x 11 ream.
-You’ll also need the chemical used to make the “padding.” My Dad suggest a product called Colorlok Precision Padding Compound. You can buy it at a printer’s supply store. Or you can find padding compound on Amazon if you use the search term “padding compound.”
-You’ll also need chipboard for the backs of the pads.
-And find some clip art that’s totally royalty free and OK for personal use. Try The Graphics Fairy and look under “Categories” for thousands of options. finally, make sure you have the fonts you want to use loaded and that you have plenty of ink for your printer.
And a few more items to grab. You’ll want to have something heavy on hand to put on the pads while they dry… and you’ll want to gave something sharp, like a letter opener. Also snag a paintbrush and a paper cutter. (You can also bring the uncut pads to a office supply store for them to cut).
Directions
1. Make list of names of recipients. (Verify spelling)
2. Determine typestyles and colors for each. (Option: add clipart that seems appropriate!)
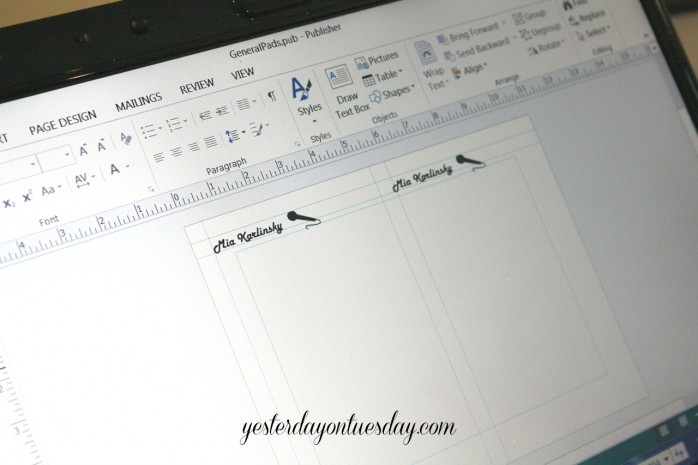
3. Create the template in the program Publisher 2013.
-Open Publisher, Select NEW, 11 x 8.5 (That’s ‘landscape’)
-Select PAGE DESIGN
-Select “GUIDES”; then “Add Vertical Ruler Guide”
-With cursor move guide to 5.5”. (This will divide the sheet exactly in half so you can print two sheets at once.)
-Select INSERT, then click on DRAW TEXT BOX. Draw it as big as you want up to 4.5 inches wide. (You can reduce it later if necessary.)
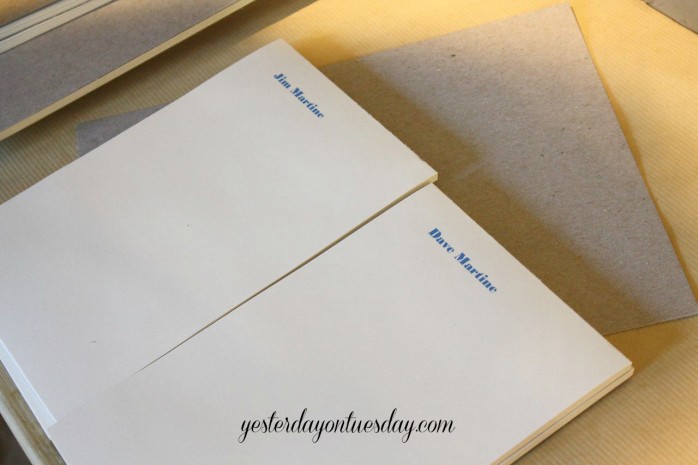
-Type the name of the person who will be receiving the pads.
-Highlight the name, then use the Dialogue Box that opens to specify a typestyle, and a larger font size so you can see what you’re doing. You’ll probably find a size between 14 and 36 point works best. Experiment until you find a style that seems most appropriate for the individual involved. Then click on the “center” icon in the Dialogue Box.
-Now you’re ready to add a piece of “clip-art:”
Select INSERT again, then ONLINE PICTURES. Microsoft Office includes lots of fun royalty-free clip-art, but you are not restricted to it. Think of an activity the recipient enjoys then search for something appropriate—a baseball, horse, dog, cat, musical icon, etc.
-Center the selected artwork above the name in a size that looks right to you.
-HIGHLIGHT both the typeset name and artwork.
-Select DRAWING TOOLS, and “Group”
-Decide on colors for both your type and art elements. Highlight them to apply selected colors.
-COPY the entire element, then PASTE it on the other side of the sheet. Make sure it’s in the same position on both sides. (Inserting additional horizontal and vertical guides will help you with this.)
You are done! Of course, you should print a few ‘proofs’ until your sheets look just as you want them.
Once you’ve completed your first order, you can work much faster with additional orders. Keep the TEXT BOXES, and just replace the type and art element with your next creation. Again, it’s best to complete just one side, then copy it to the other position.
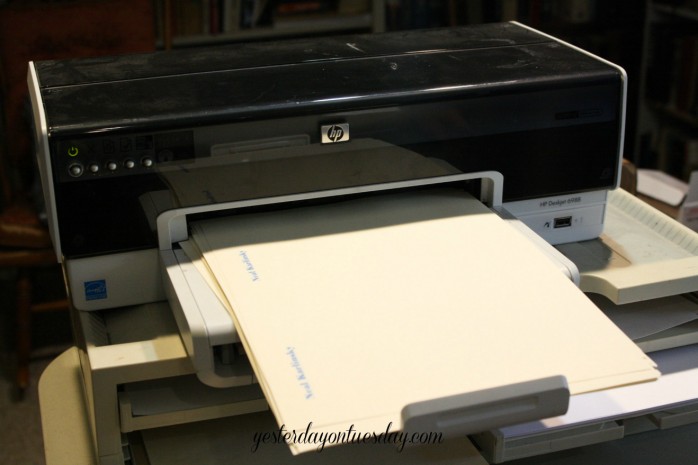
4. Set up printer and get started printing sheets for pads.
5. After each 50 sheets, insert chipboard and stack. A stack can be a foot high or more – must be jogged carefully. Place heavy weight on top.
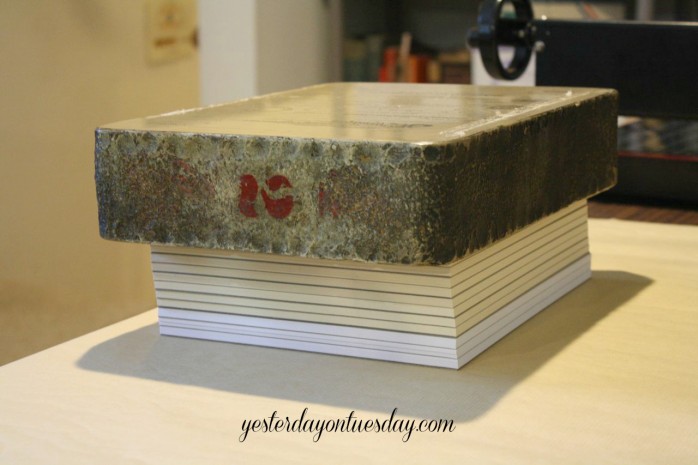
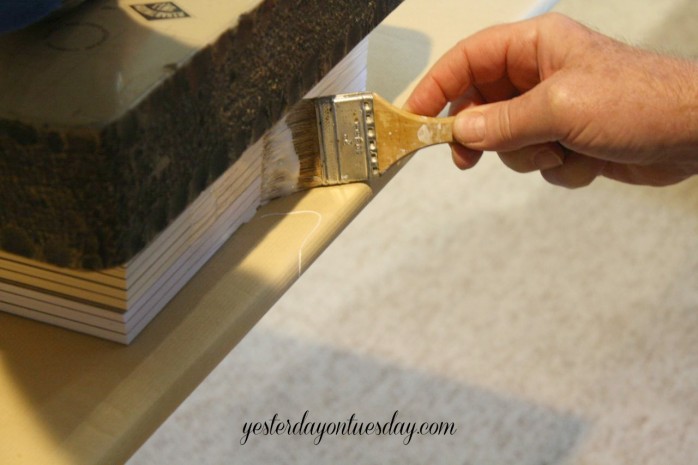
6. Apply padding compound to head end of stack. (use paint brush – it’s water based and easy to clean up).
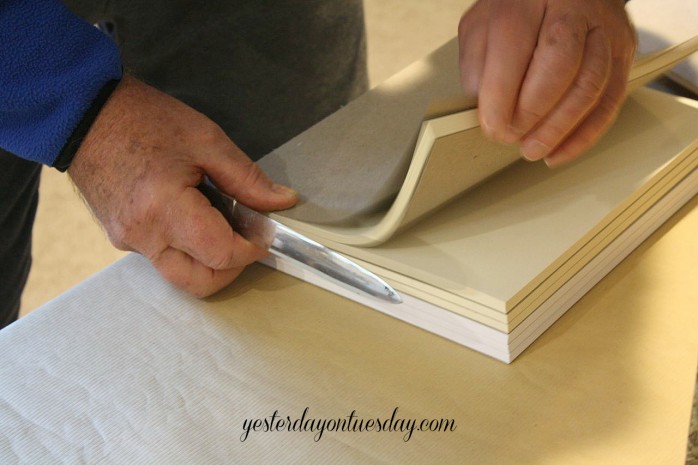
7. When dry (half hour or so), slice pads apart with letter opener.
8. Cutting: In units of 4-5 pads of letter-sized sheets, cut in half. My Dad uses a paper cutter but you could also take them to an office supply store and they could cut them. Note from Dad: When you’ve completed all your printing and padding, take the 8-1/2 x 11 pads to a quick-printer equipped with a cutter and ask them to cut them in half for you. This shouldn’t cost more than about $10, and could probably be done while you wait
9. Gift-wrap and label.
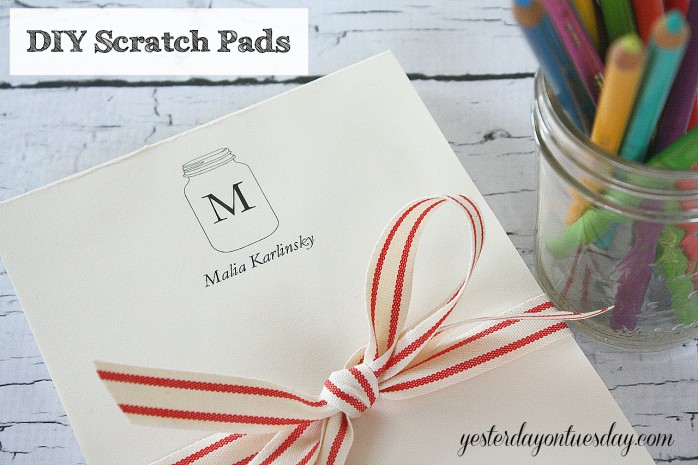
My Dad made me a Mason Jar version (of course!). You can get the clip art here at Sweetly Scrapped.
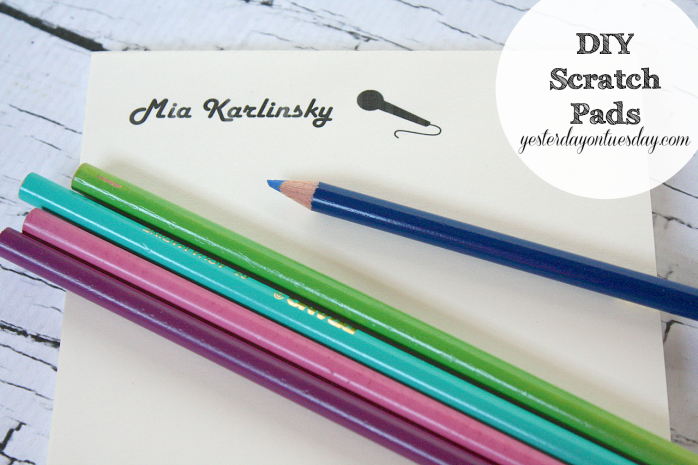
My daughter got a microphone motif.
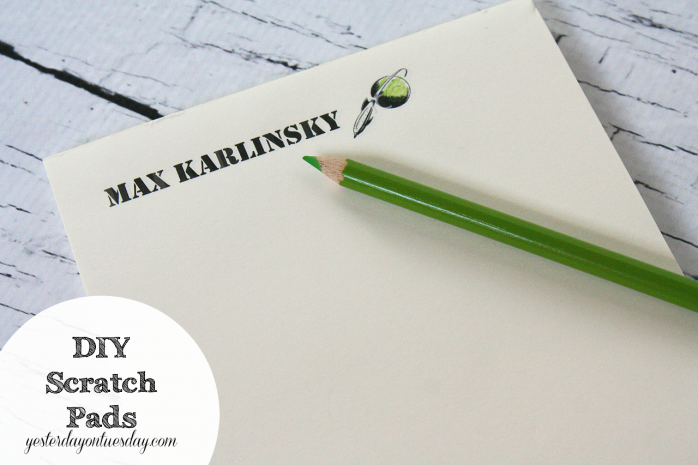
And my son got a planet theme.
Thanks for sharing your great tutorial, Dad!

Malia – these are so cool. What a fabulous guest helper you had. Shabbat Shalom and Happy Hanukkah and Merry Christmas!
Thanks Jenna! He is a wonderful Dad and Grandpa! Merry Christmas to you!
What a great gift and I love how they are personalized! Yours is so cute with the mason jars, of course! What a great dad to share that on your blog today. Happy Holidays Karlinsky and Martine family!
Sharon B. recently posted…Christmas Home 2014
Thanks Sharon! I am so going to visit the store over break! I’ll touch base with you first, MERRY XMAS! xo
Great tutorial! I never thought I could make those myself, loved your fun story of growing up, too!
Michelle recently posted…Free Hanukkah Printables and more!
Thanks Michelle! Happy Happy Holidays, my friend!
These are beautiful, Malia! I had no idea you could make them yourself.
Mary Beth @ Cupcakes and Crinoline recently posted…7 Peppermint Treats Just for You
Thanks MB! xo
Love this post! You are amazing and so is your dad. Give Cool Guy a hug for me! Happy Holidays, Mal!
What a great idea!! I love this, Malia! Pinning and remembering for the future.
I used to print postcards at home for my business and then take them to Office Max and their big paper cutter would slice them in seconds for a small fee. They charge by the slice, not be the pages sliced.
Your dad rocks!! Tell him thanks for the detailed tutorial.
Diane | An Extraordinary Day recently posted…7 Tips for Stress Free Holiday Entertaining :: $250 Visa Gift Card Giveaway
Love this idea. DIY scratch pads. Who wouldn’t love this! Thanks for the inspiration.
Patti recently posted…3 Quick & Easy Homemade Gifts
Your dad is amazing! How cool to have him on the blog to show off this great project.
Steph@The SillyPearl recently posted…Loopy Fringe Foam Christmas Trees
This is a great project! I love it for a fun little gift, this may be my birthday gifts for this year!
Angela recently posted…Super Hero Hooded Towels
This is terrific! Discovering it via Pinterest is also perfectly timed as I’ve been lookng for exactly how to do this. Thanks so much to you and your dad!
David recently posted…My Christmas Decorations Are Still Up