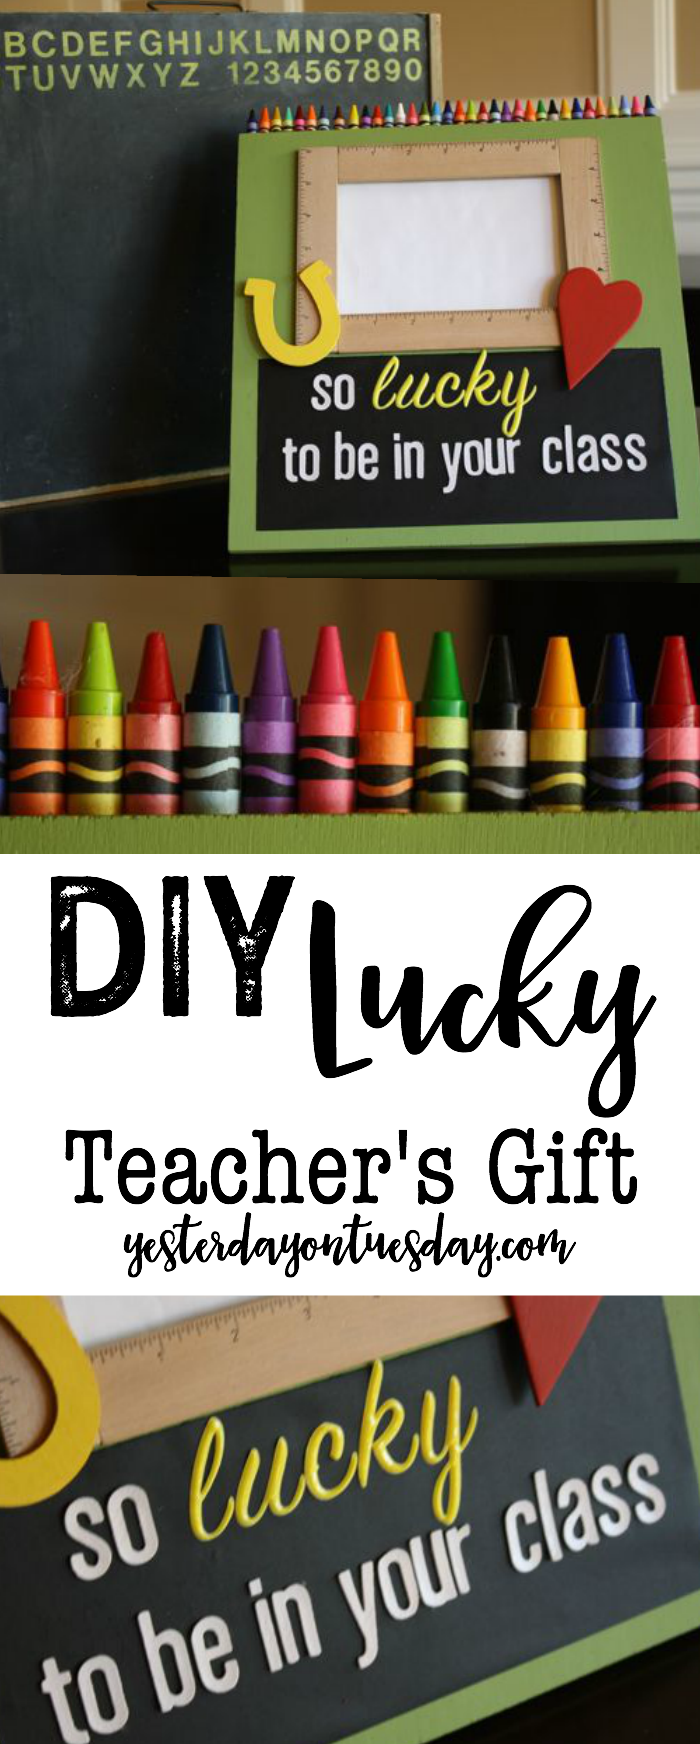
DIY Lucky Teacher’s Gift
DIY Lucky Teacher’s Gift
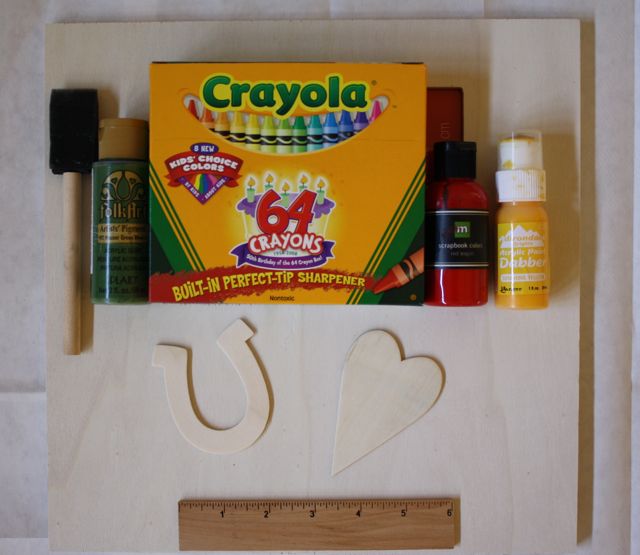
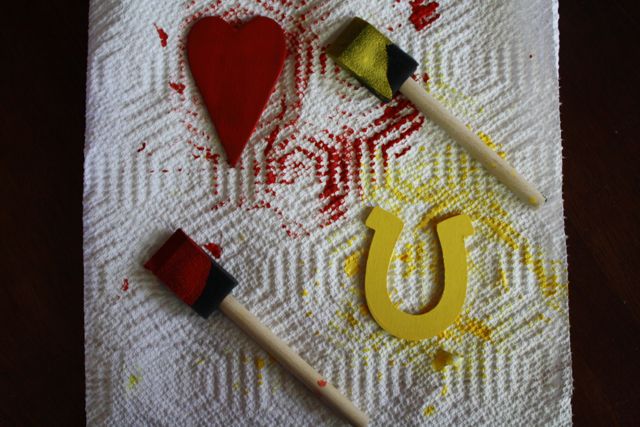
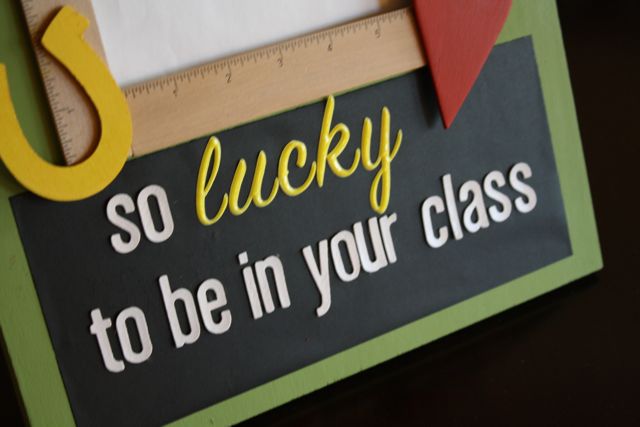
Supplies: Wooden frame, acrylic paint (I used green, red, and yellow), some wooden shapes (I used a horseshoe, a heart and 4 small rulers), some vinyl sticky back chalkboard material (or chalkboard paint), letter stickers, a large box of crayons, some scotch tape and of course, your trusty glue gun.
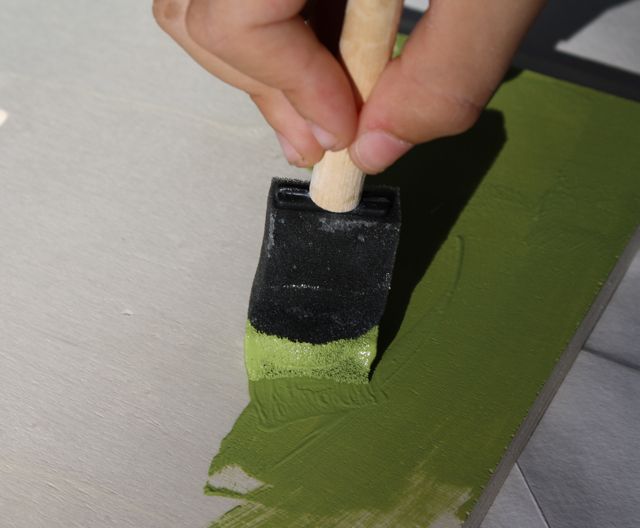
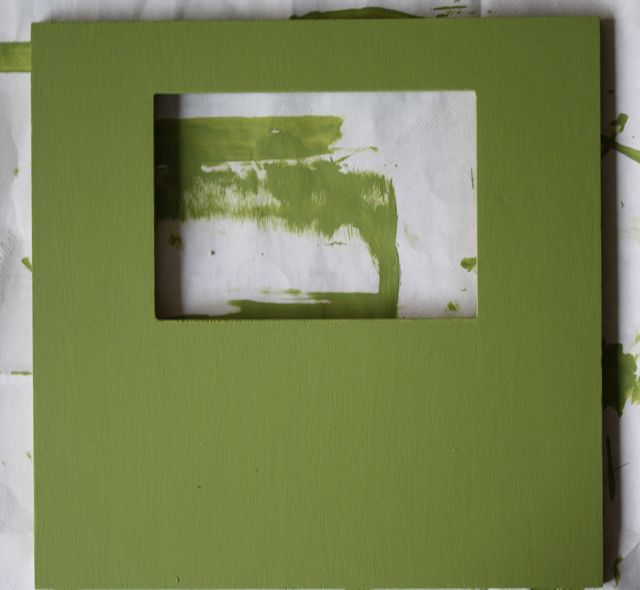
Step 1: Remove the glass and paint the wooden frame.
It will probably need 2-3 coats of paint.
Step 2: Paint the horseshoe and heart pieces.
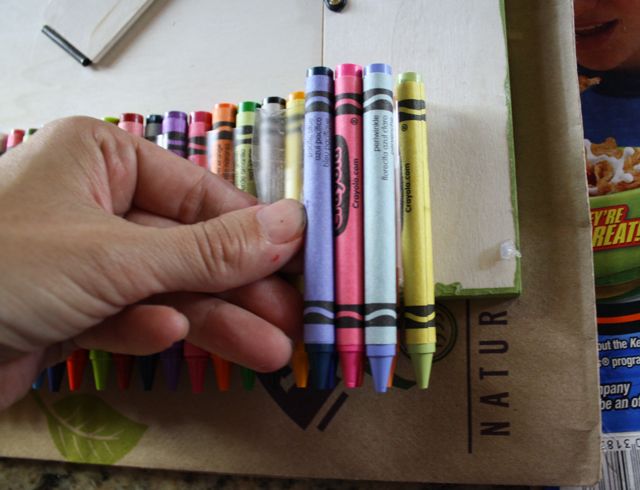
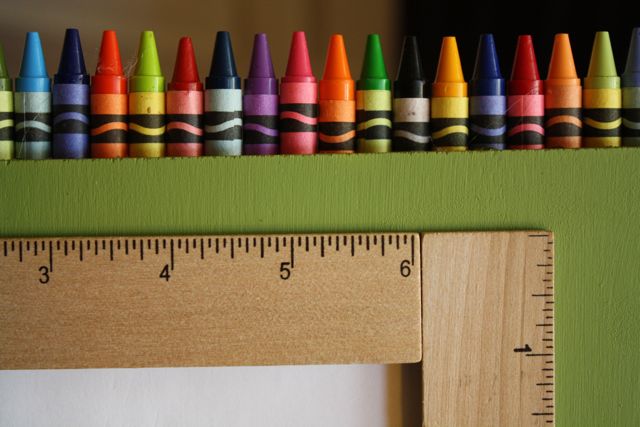
Step 3: I used regular scotch tape to basically line up all my crayons on the back of the frame so I could futz with them until I was ready to glue gun them down. Taping them made it easier to get them lined up.
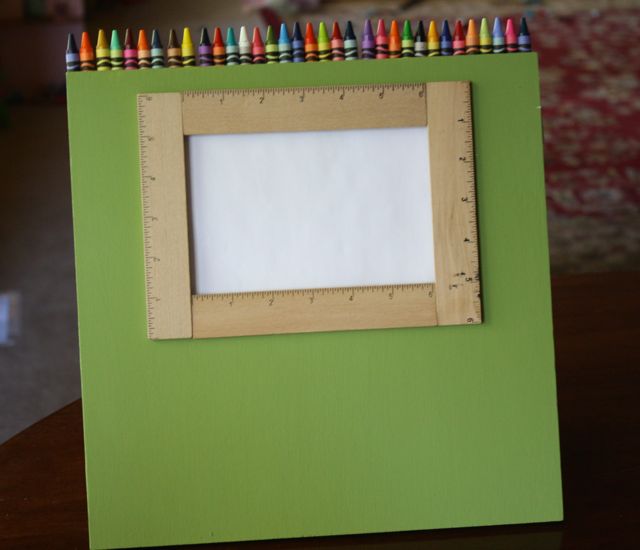
Once I had my crayons the way I liked them (tips and a little crayon peeking over the top of the frame) I used my glue gun to secure them to the frame.
Step 5: I also glued the 4 small wooden rulers down around the place a photo will go.
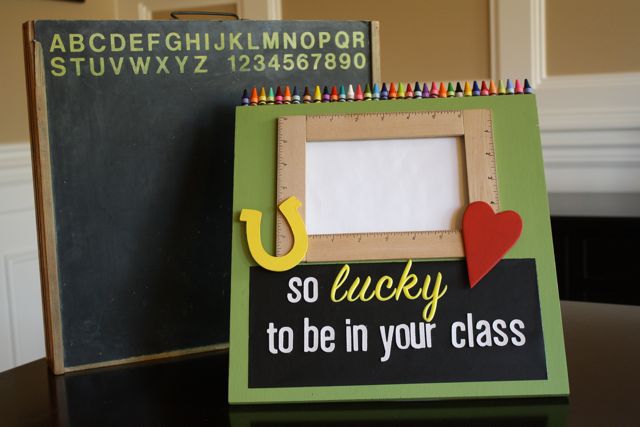
Step 6: I cut the chalkboard vinyl material into a rectangle and used a ruler to line up the letter stickers into words. Chalkboard paint would also work great– just use painters tape to mask off a rectangle and use stickers or chalk.
Step 7: Glue gun down the heart and horseshoe shaps and stick a fork in it. (Not really, but you know what I mean).
Just pop a photo of the teacher and their class and your gift is complete.

