DIY Slime
Catch these ideas live on KOMO Tuesday March 14th at 4pm
DIY Slime
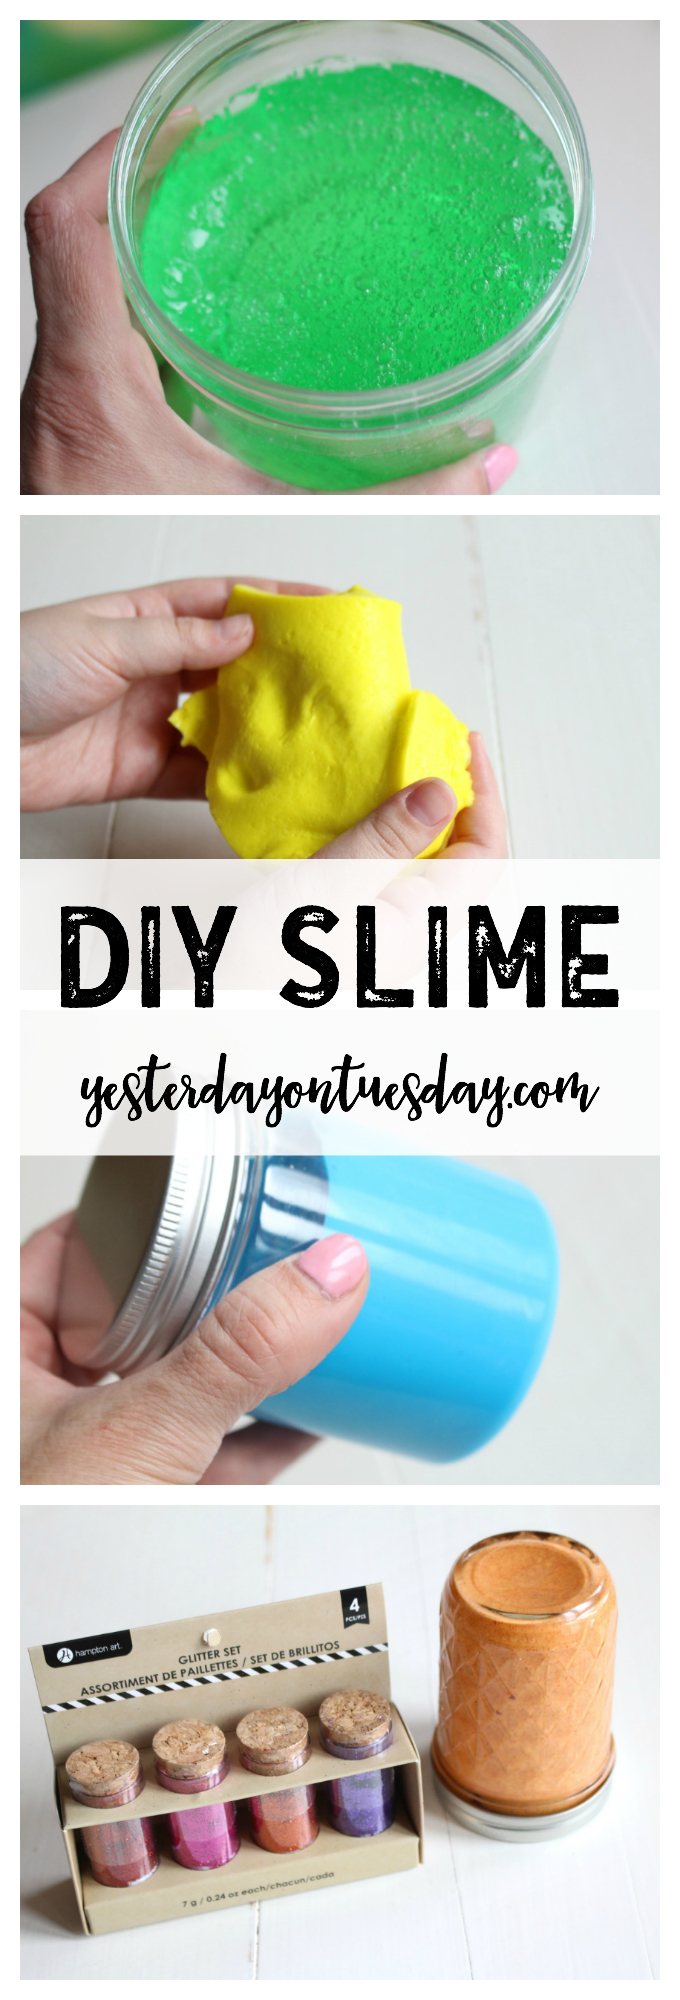
If you’re looking for a fun project for kids, DIY Slime is for you! You can make clear (snot) slime, colorful slime, and ever glitter slime. It’s the hottest craft in town. All the slime supplies and containers are available at Ben Franklin Crafts and Frames in Redmond.
DIY Slime Recipes
Materials
Bottle of Elmer’s Glue-All (regular, clear or glitter)
Borax
Teaspoon measure
Mixing spoon
2 Mixing Bowls
1 cup measure
1/2 cup measure
Zip-Loc bag
Food Coloring
Warm Water
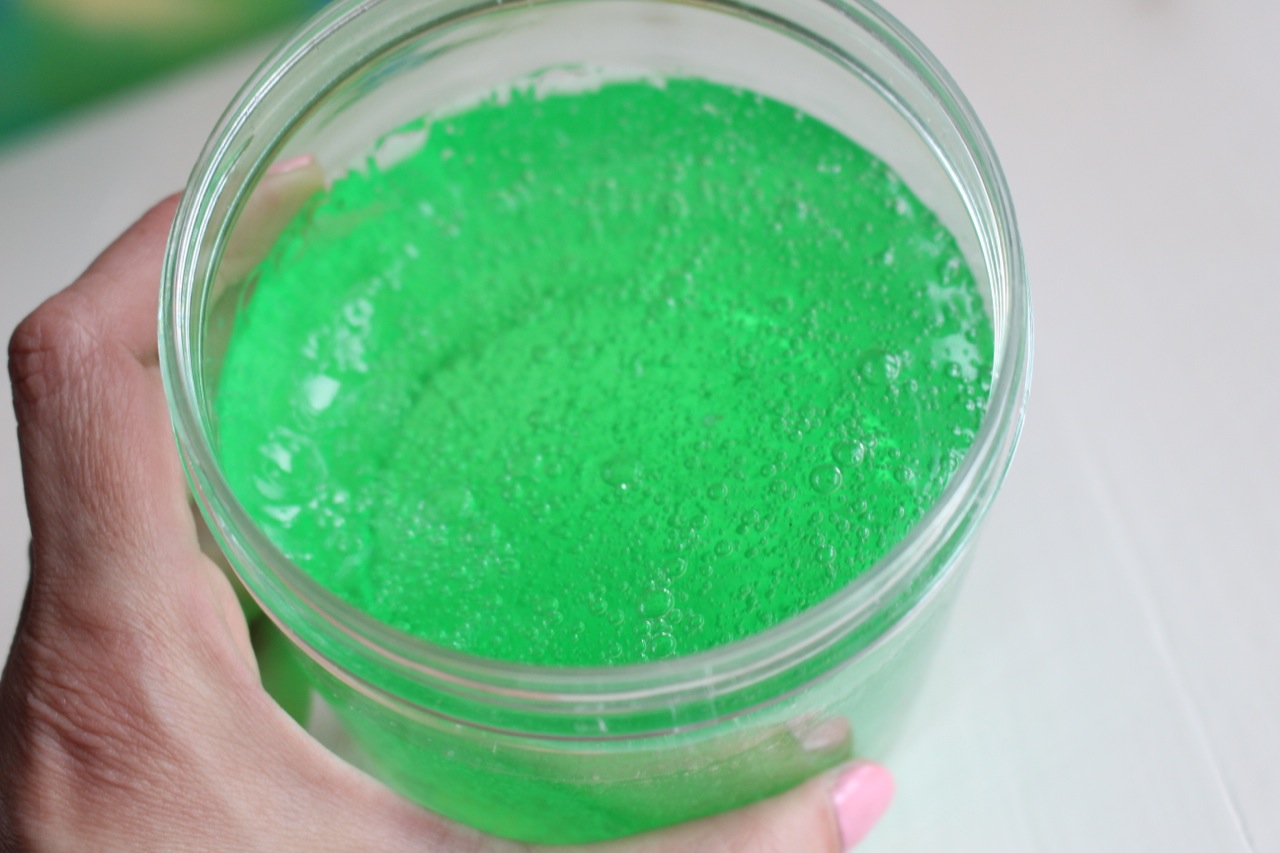
Optional: glitter
Instructions: For a 4-oz. Bottle of Elmer’s Glue (regular, clear, or glitter)
1. In one bowl, mix together 4 ounces of glue with 1/2 cup (4 ounces) of warm water. Mix well.
2. If you want to change the color, add a drop of food coloring now and mix in.
3. Mix together well 1/2 cup of warm water with a teaspoon of Borax.
4. Slowly add the Borax solution to the glue solution, a little at a time. Mix it with your hands (kneading) until you get the consistency you like.
5. If all the water hasn’t been absorbed, just take the slime out and put it in a dry bowl to knead it.
6. Store it in a Zip-Loc bag when you aren’t playing with it.
For a 7.62-oz bottle of Elmer’s Glue (regular, clear, or glitter)
1. In one bowl, mix together 7.625 ounces of glue with 1 cup (8 ounces) of warm water. Mix well.
2. If you want to change the color add a drop of food coloring now and mix in.
3. Mix together well 1 cup of warm water with 2 teaspoons of Borax.
4. Slowly add the Borax solution to the glue solution, a little at a time. Mix it with your hands (kneading) until you get the consistency you like.
5. If all the water hasn’t been absorbed, just take the slime out and put it in a dry bowl to knead it.
6. Store it in a Zip-Loc bag when you aren’t playing with it.

For a 16-oz bottle of Elmer’s Glue
1. In one bowl, mix together 16 ounces of glue with 2 cups (16 ounces) of warm water. Mix well.
2. If you want to change the color add a drop of food coloring now and mix in.
3. Mix together well 2 cups of warm water with 4 teaspoons of Borax.
4. Slowly add the Borax solution to the glue solution, a little at a time. Mix it with your hands (kneading) until you get the consistency you like.
5. If all the water hasn’t been absorbed, just take the slime out and put it in a dry bowl to knead it.
6. Store it in a Zip-Loc bag when you aren’t playing with it.


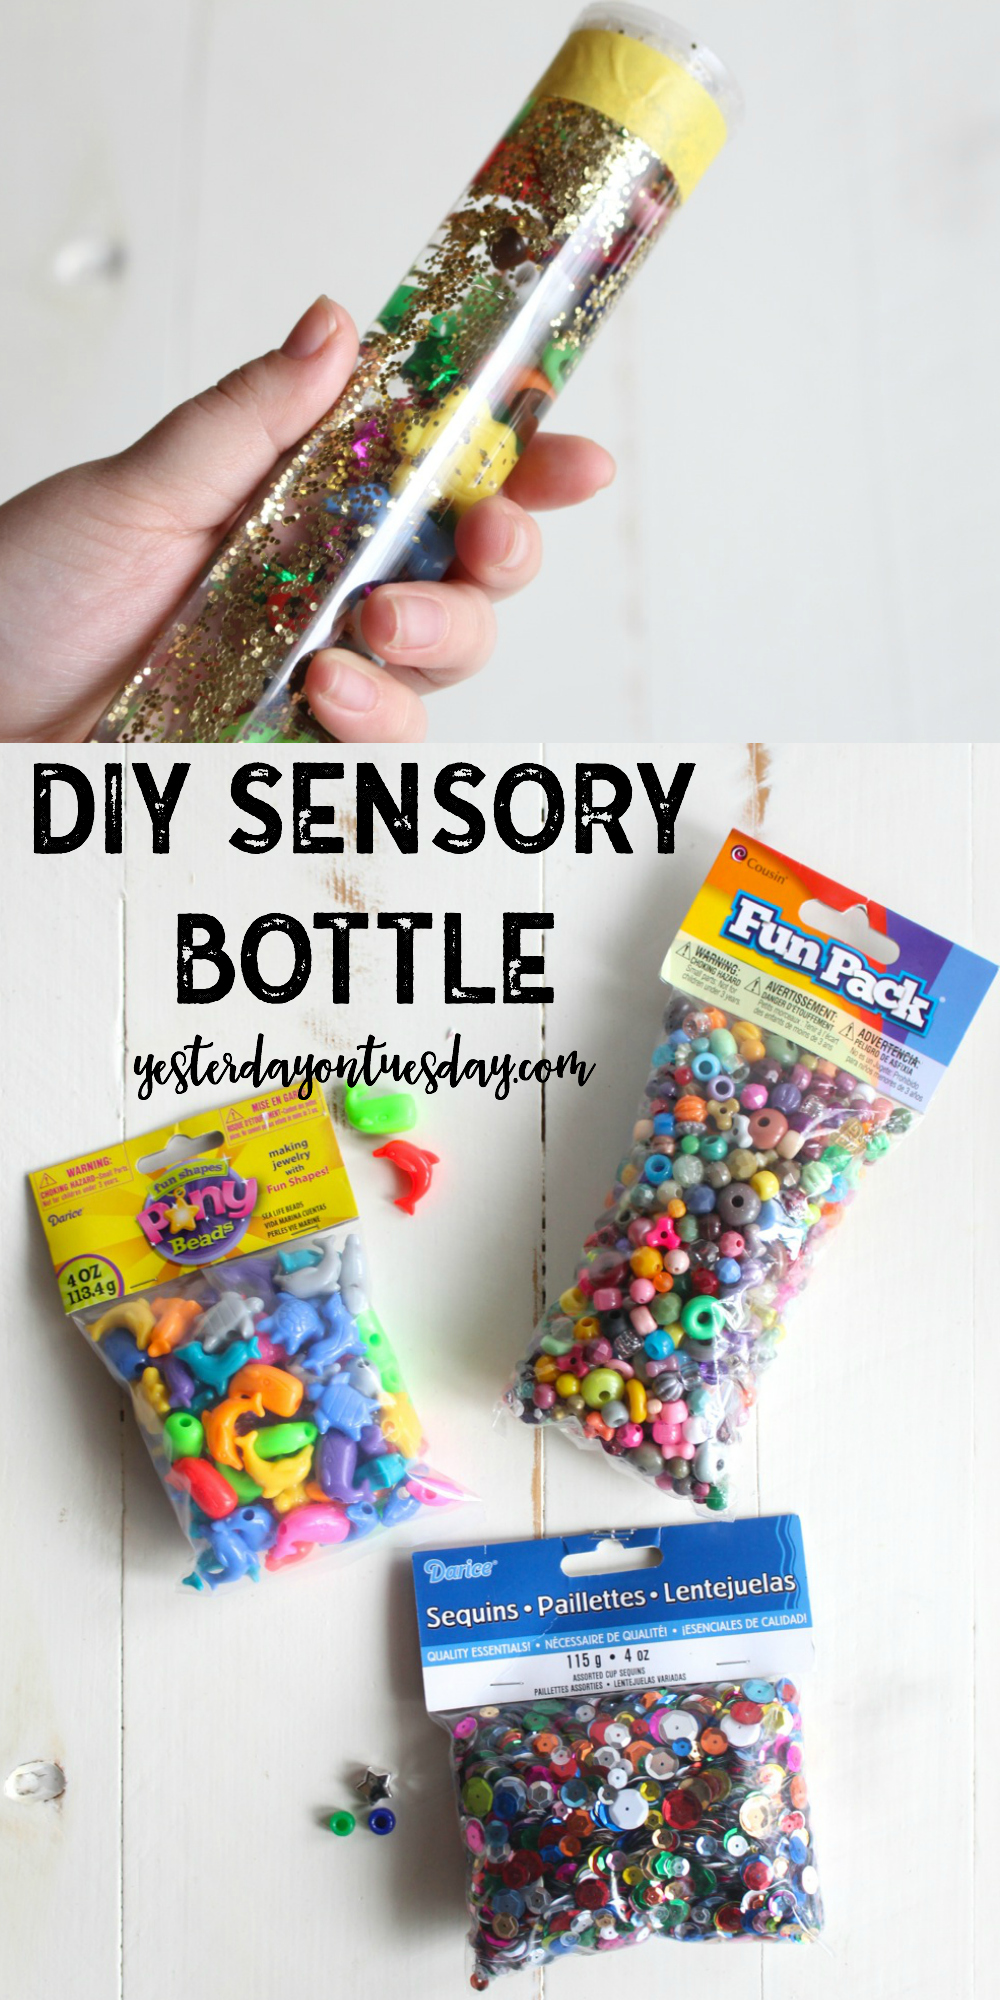
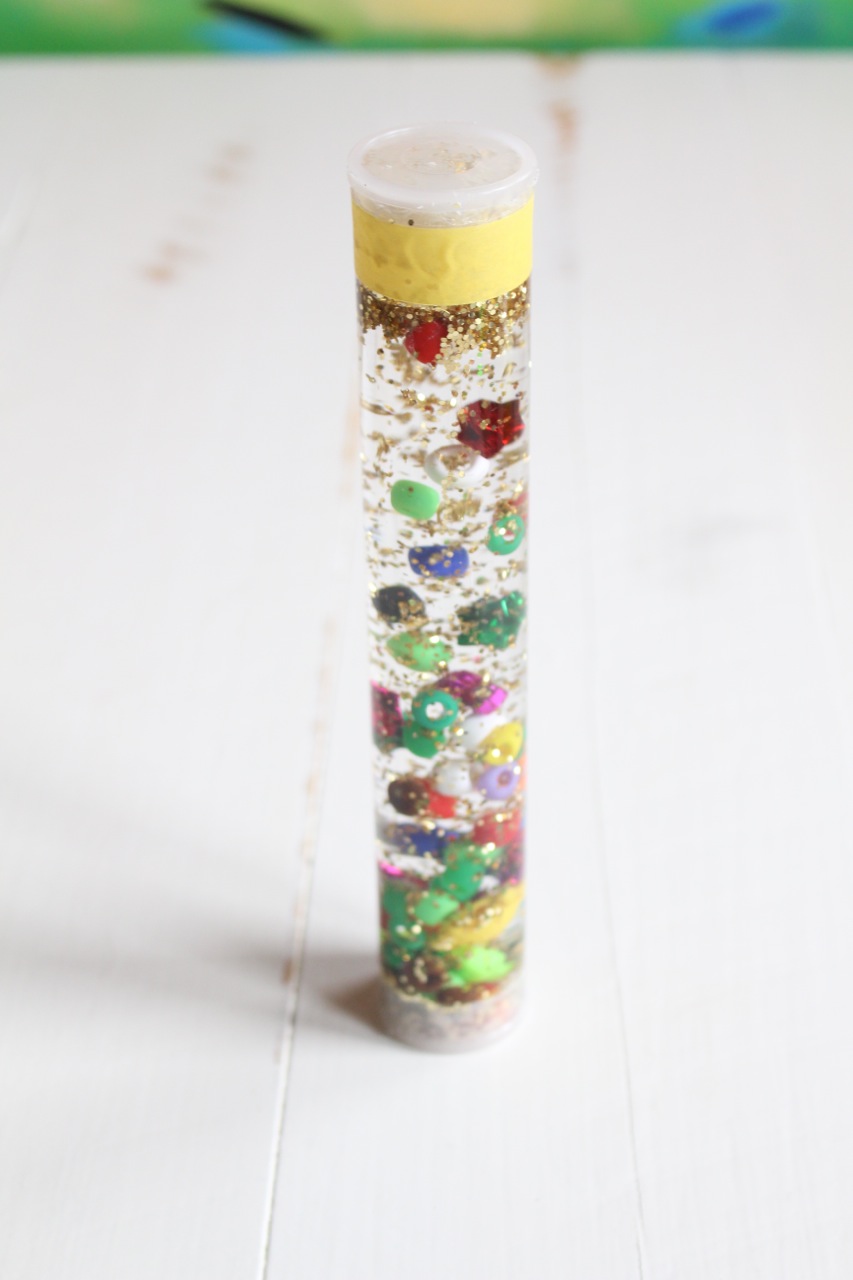
DIY Sensory Bottle
Materials
Bottle or tube with tight fitting lid
Water (enough to fill the container)
Liquid Glycerin
Glitter
Small items like confetti, beads or pom poms
Funnel (optional)
E6000 Glue
Washi tape, stickers, or ribbon (optional)
Instructions: Note if your bottle is not watertight, add a bead of E6000 glue around the neck of the bottle before screwing on the top.
1. Fill the bottle halfway with water.
2. Add sensory items and glitter, using funnel if necessary, Note: Coarse glitter is less prone to clumping than fine glitter.
3. Close bottle tightly and shake to distribute. Add a small amount of glycerine and shake some more.
4. Fill the bottle the rest of the way with water.
5. Glue lid on with E6000 glue to prevent leaks.
6. Decorate lid or bottle with washi tape, stickers or ribbon.
I couldn’t barely make out the text! Please, make the text bolder!