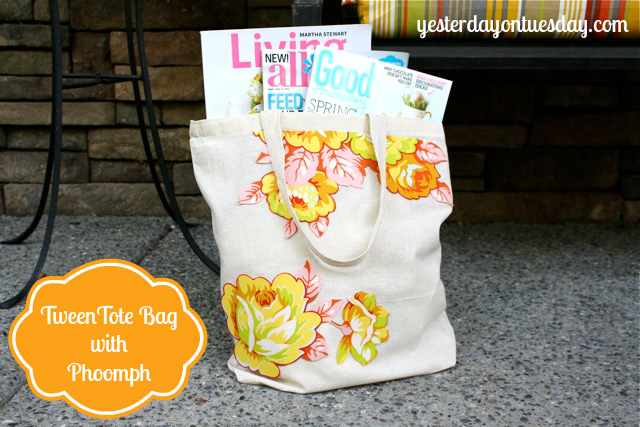
Tween Tote Bag with Phoomph
Tween Tote Bag with Phoomph
Howdy! I am so excited to be part of this month’s Crafty Hangouts. It was sponsored by Phoomph from Coats and Clark.

Phomoph is fabric bonding that lets you use fabric in new ways– not sewing required! It’s very easy to use. For this month’s projects, we got to focus on kid’s crafts. I made a Tween Tote Bag with Phoomp. BTW you can make it two ways… as seen in the photo above or with the added ribbon as you’ll see in the video.
DIY Tween Tote Bag with Phoomph Video
And here are the directions again.

Supplies: Phoomph (pink), fabric, tote bag, scissors and ribbon.

Directions:
1. Remove the sticky top sheet from Phoomph

2. Identify the part of the fabric you want to use and stick it to Phoomph

3. Press down to remove all air pockets and cut out shape

4. Figure out where you want the shapes on tote bag

5. Remove sticky back and apply shapes

6. It’s pretty cute without the ribbon…

Or with! Thanks to Phoomph and Crafty Hangouts. You can see all the Crafty Hangouts videos here.