Scrabble Pendants For School Fundraising
Hi Friends! Hope you having wonderful week so far.
Since we're heading into the back-to-school season (and fundraising time), I wanted to share a project with you that was a hit at our school last year.
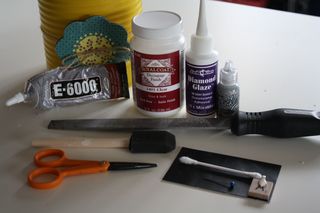
- Scrabble Tiles (in addition to thrift stores and garage sales, ebay is a great source for these)
- A file (you can use a nail file or if you're making a lot of tiles, it might be worth buying a metal file from the hardware store)
- Decoupage
- A Foam Brush
- Scissors
- Diamond Glaze (Here's the deal: Diamond Glaze is non-toxic. You can also use a resin product, which can give your a thicker, clearer coat. Resin is a toxic product that requires a mask and ventilation when applying. Based on the crowd (kids) I was making this for, I chose Diamond Glaze. It's not waterproof but it is non-toxic and looks great too).
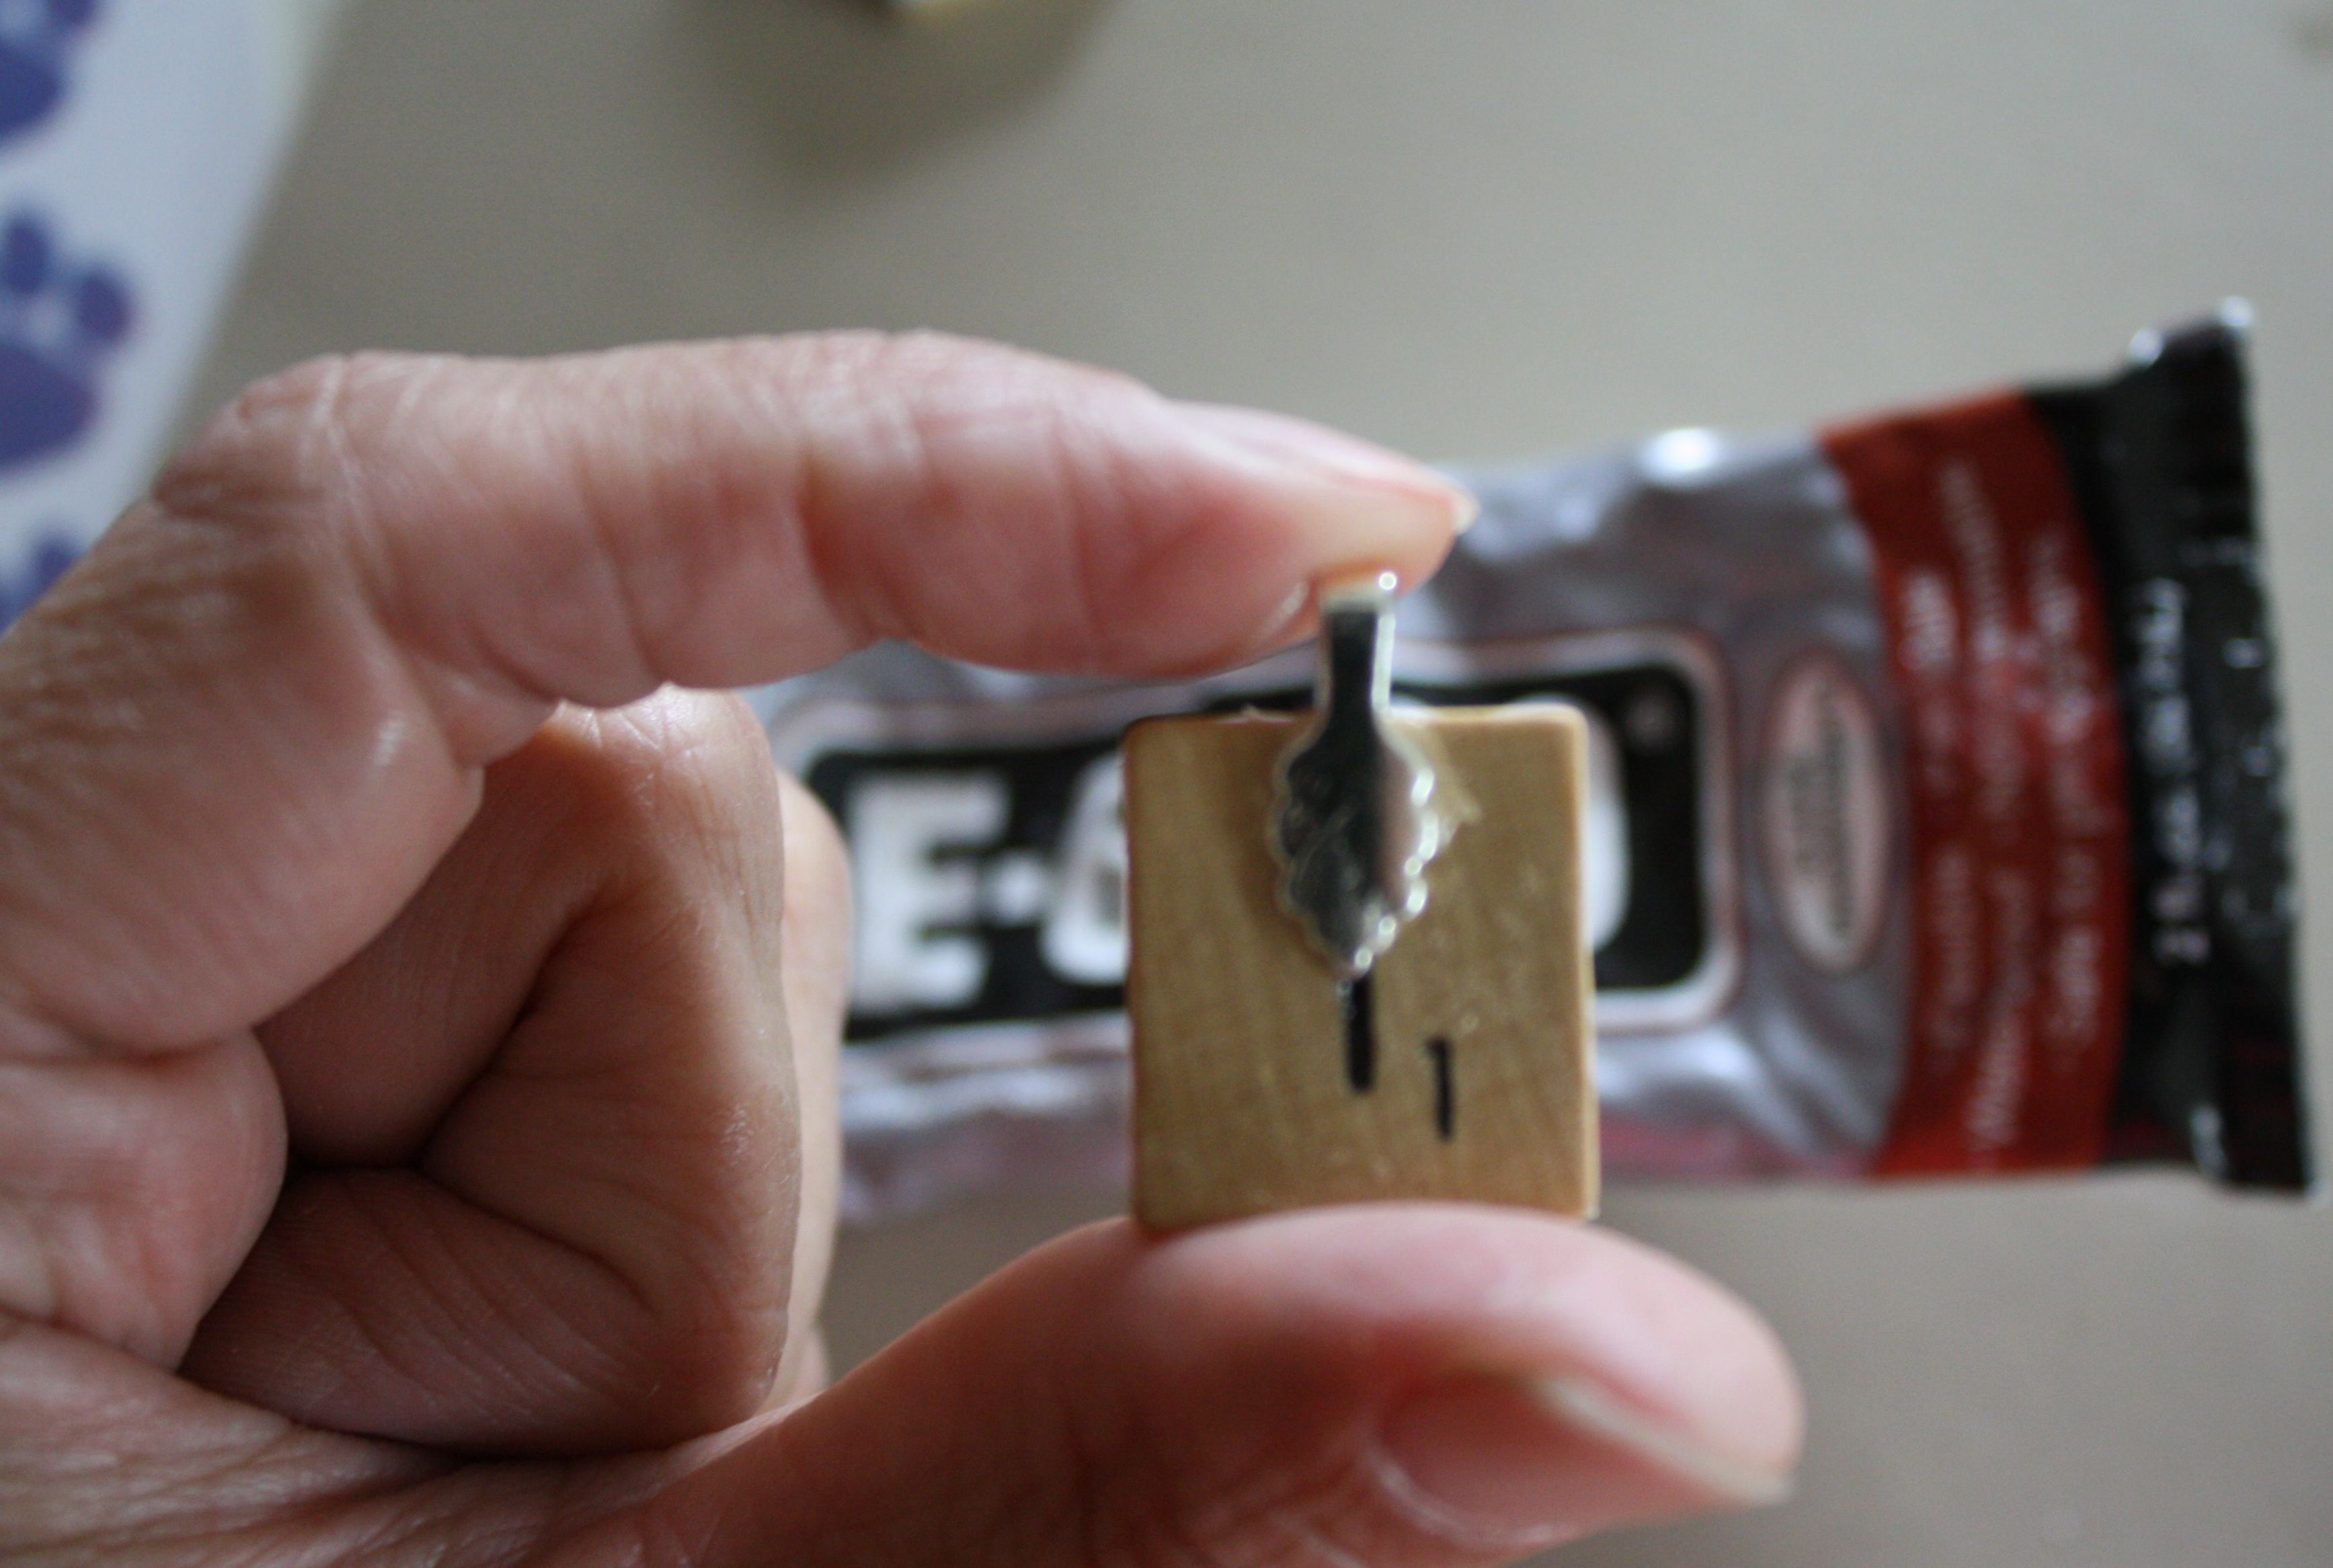
- E6000 glue
- Jewelry Bails
- Straight pins or Q-Tips for taking care of bubbles
- Optional: Stickles (Liquid Glitter), Gems, White Cardstock
- Artwork
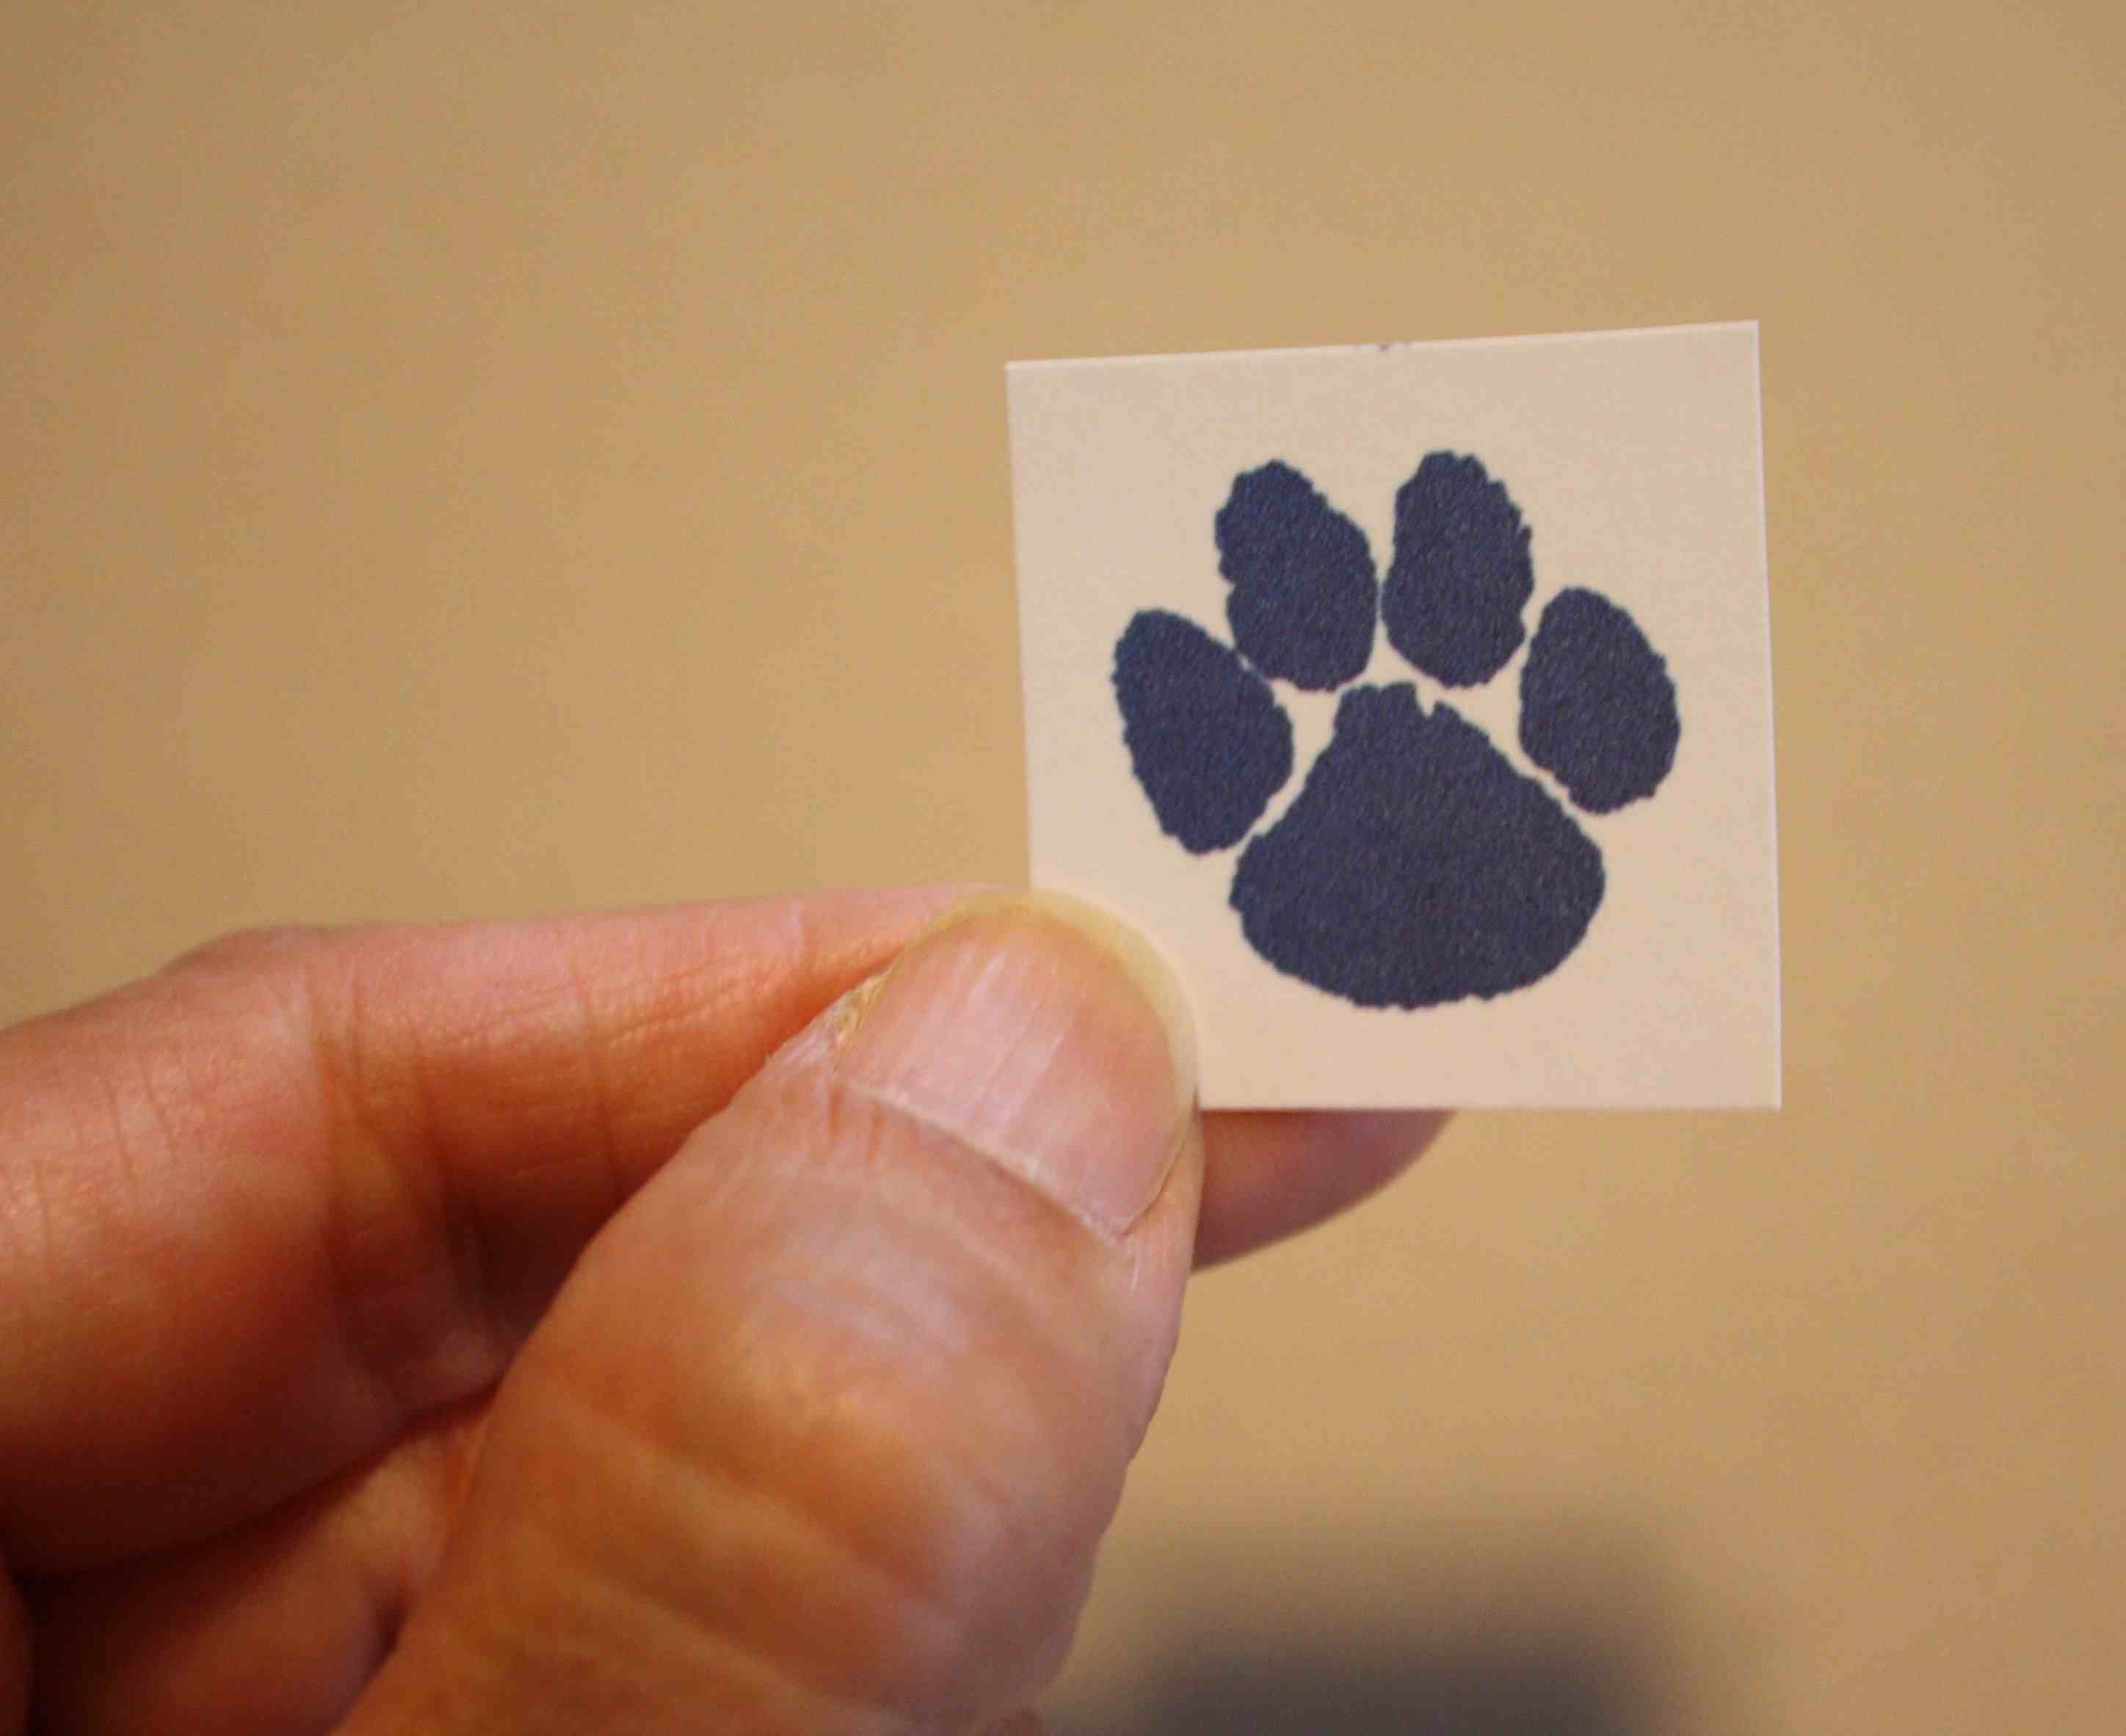
For your artwork, you'll want the school mascot/colors or something similar. Scrapbook paper is an option. You can also take a piece of artwork to the copy shop (make sure you're not violating any copyright laws) and have them shrink the image and create a jpg/sheet for you of the image you want to use. (Of course some of you will be able to do this on your home computer). The size of each image should be approximately 1 inch by 1 inch. So you should be able to fit around eighty-eight on a piece of White Cardstock. Print them out and you're good to go.
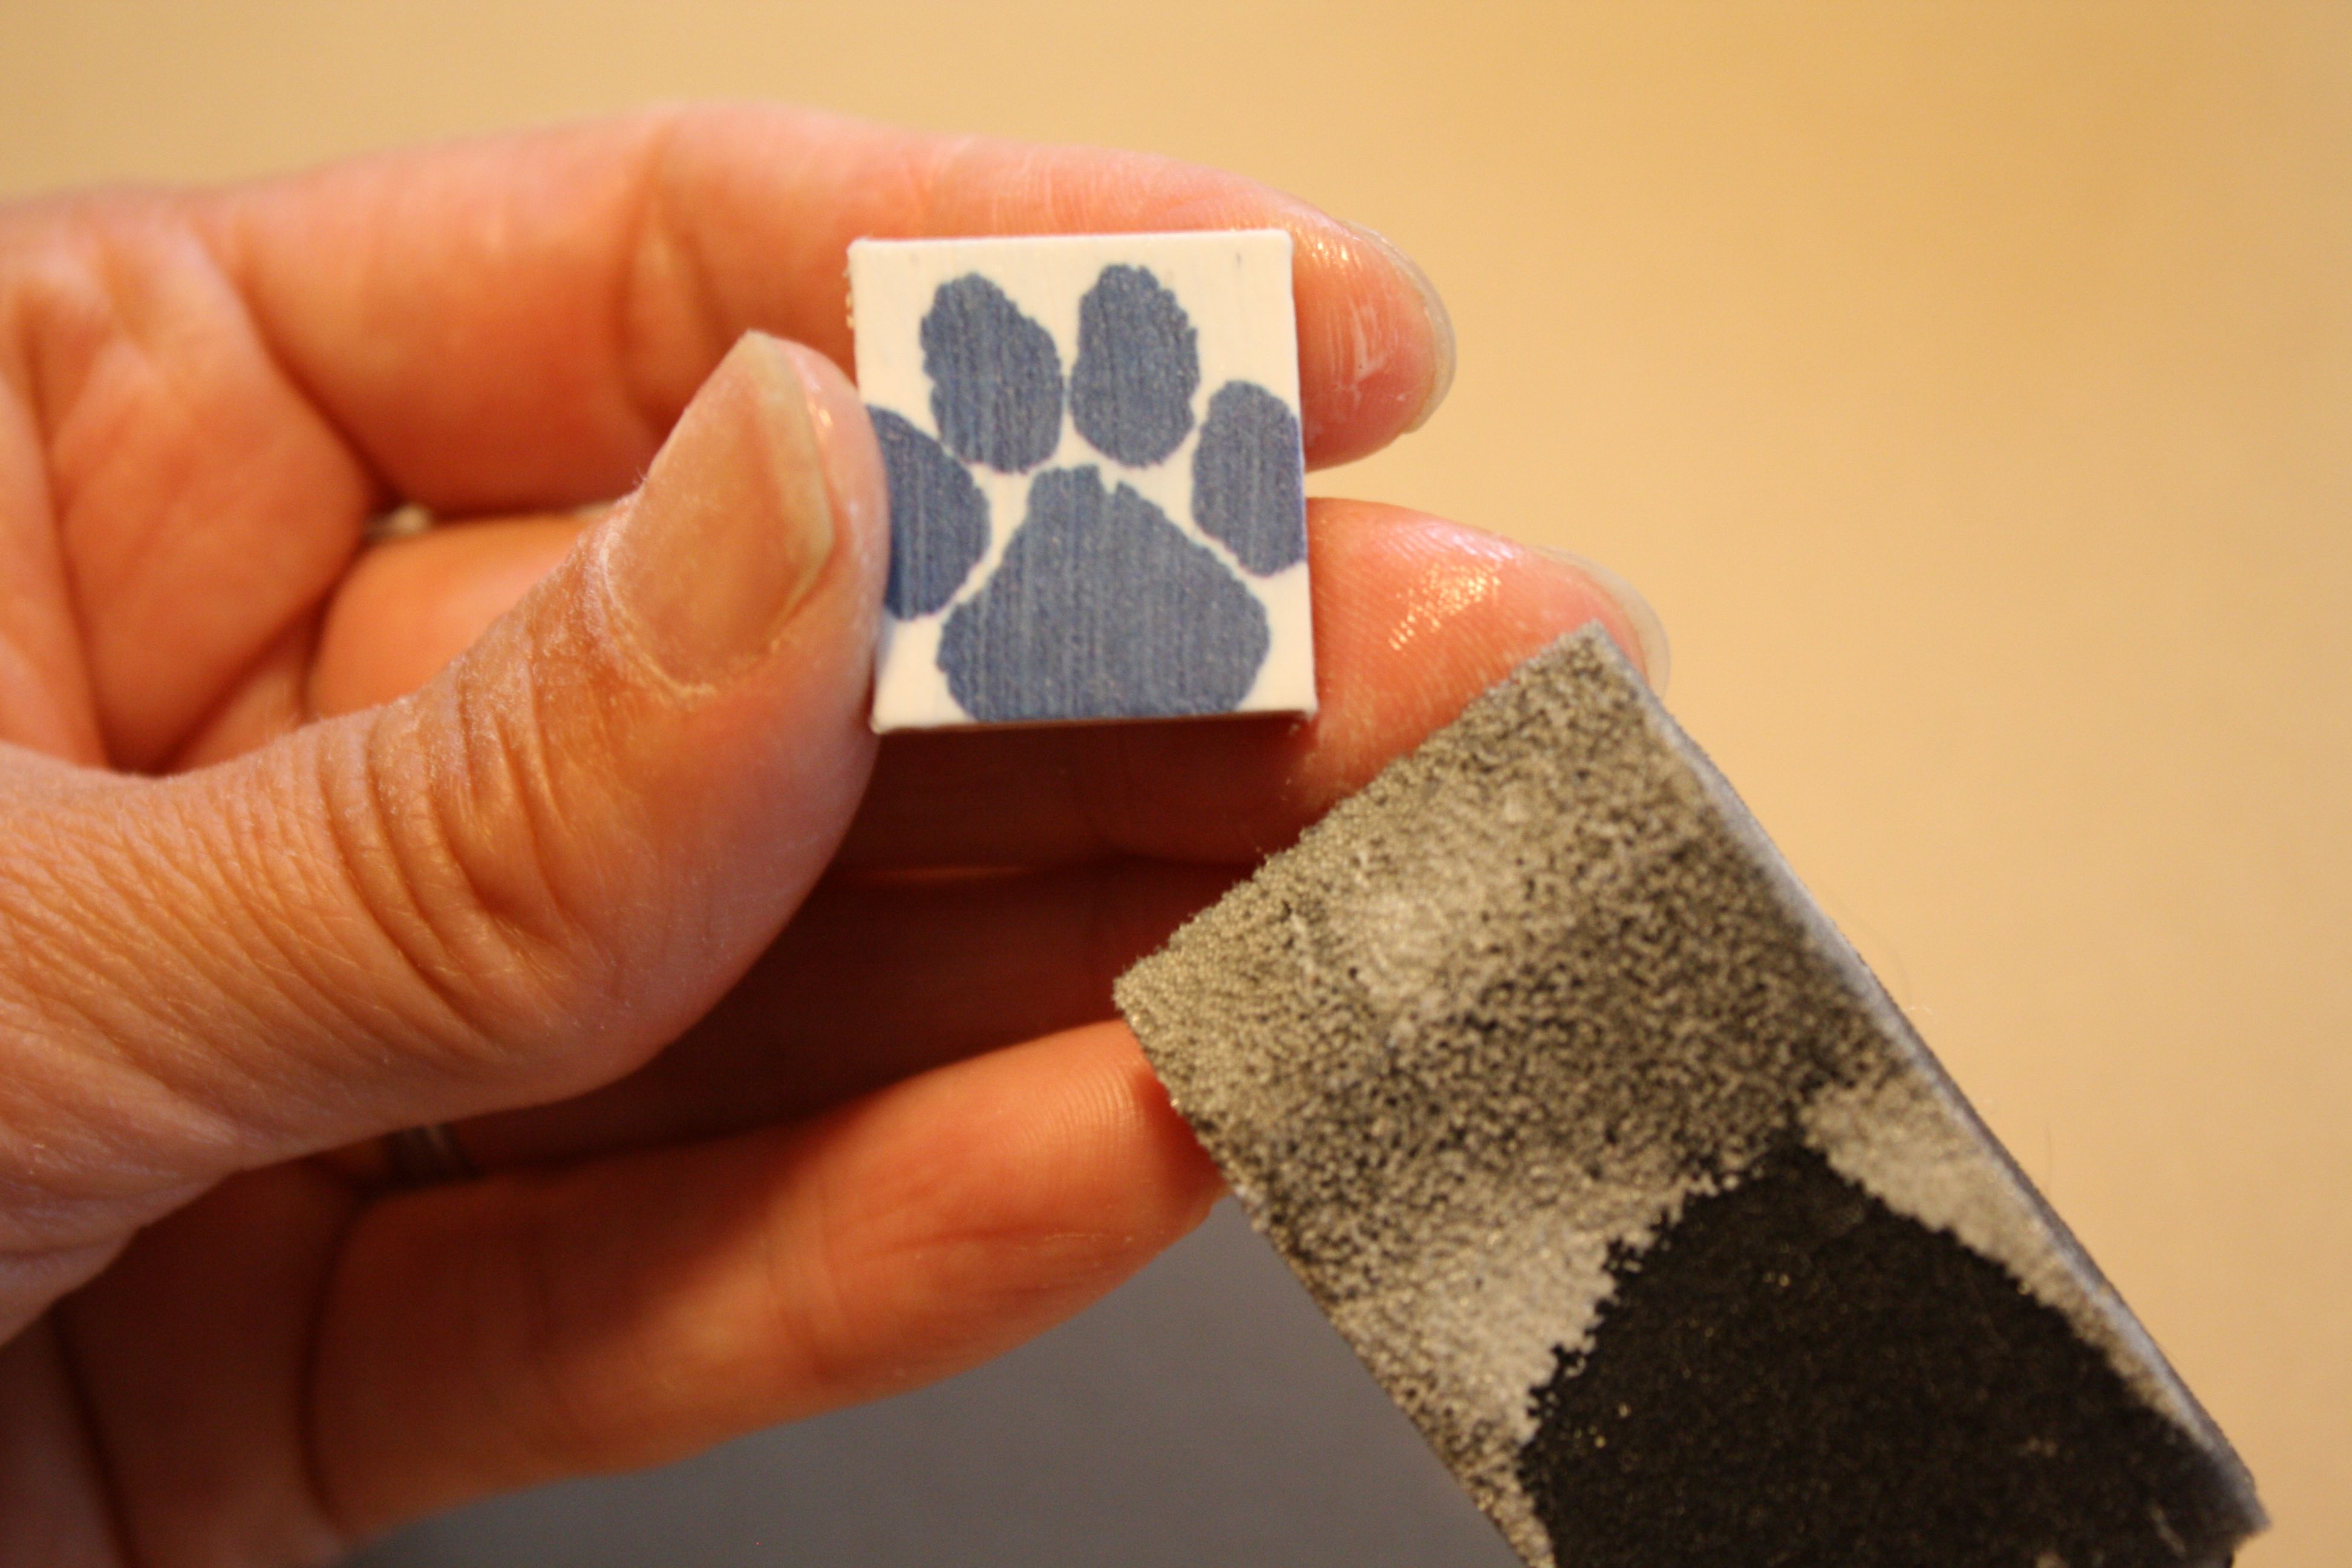
Step 1: Sand a little on the non-letter side of your Scrabble Tile. Cut out your image, leaving some border.
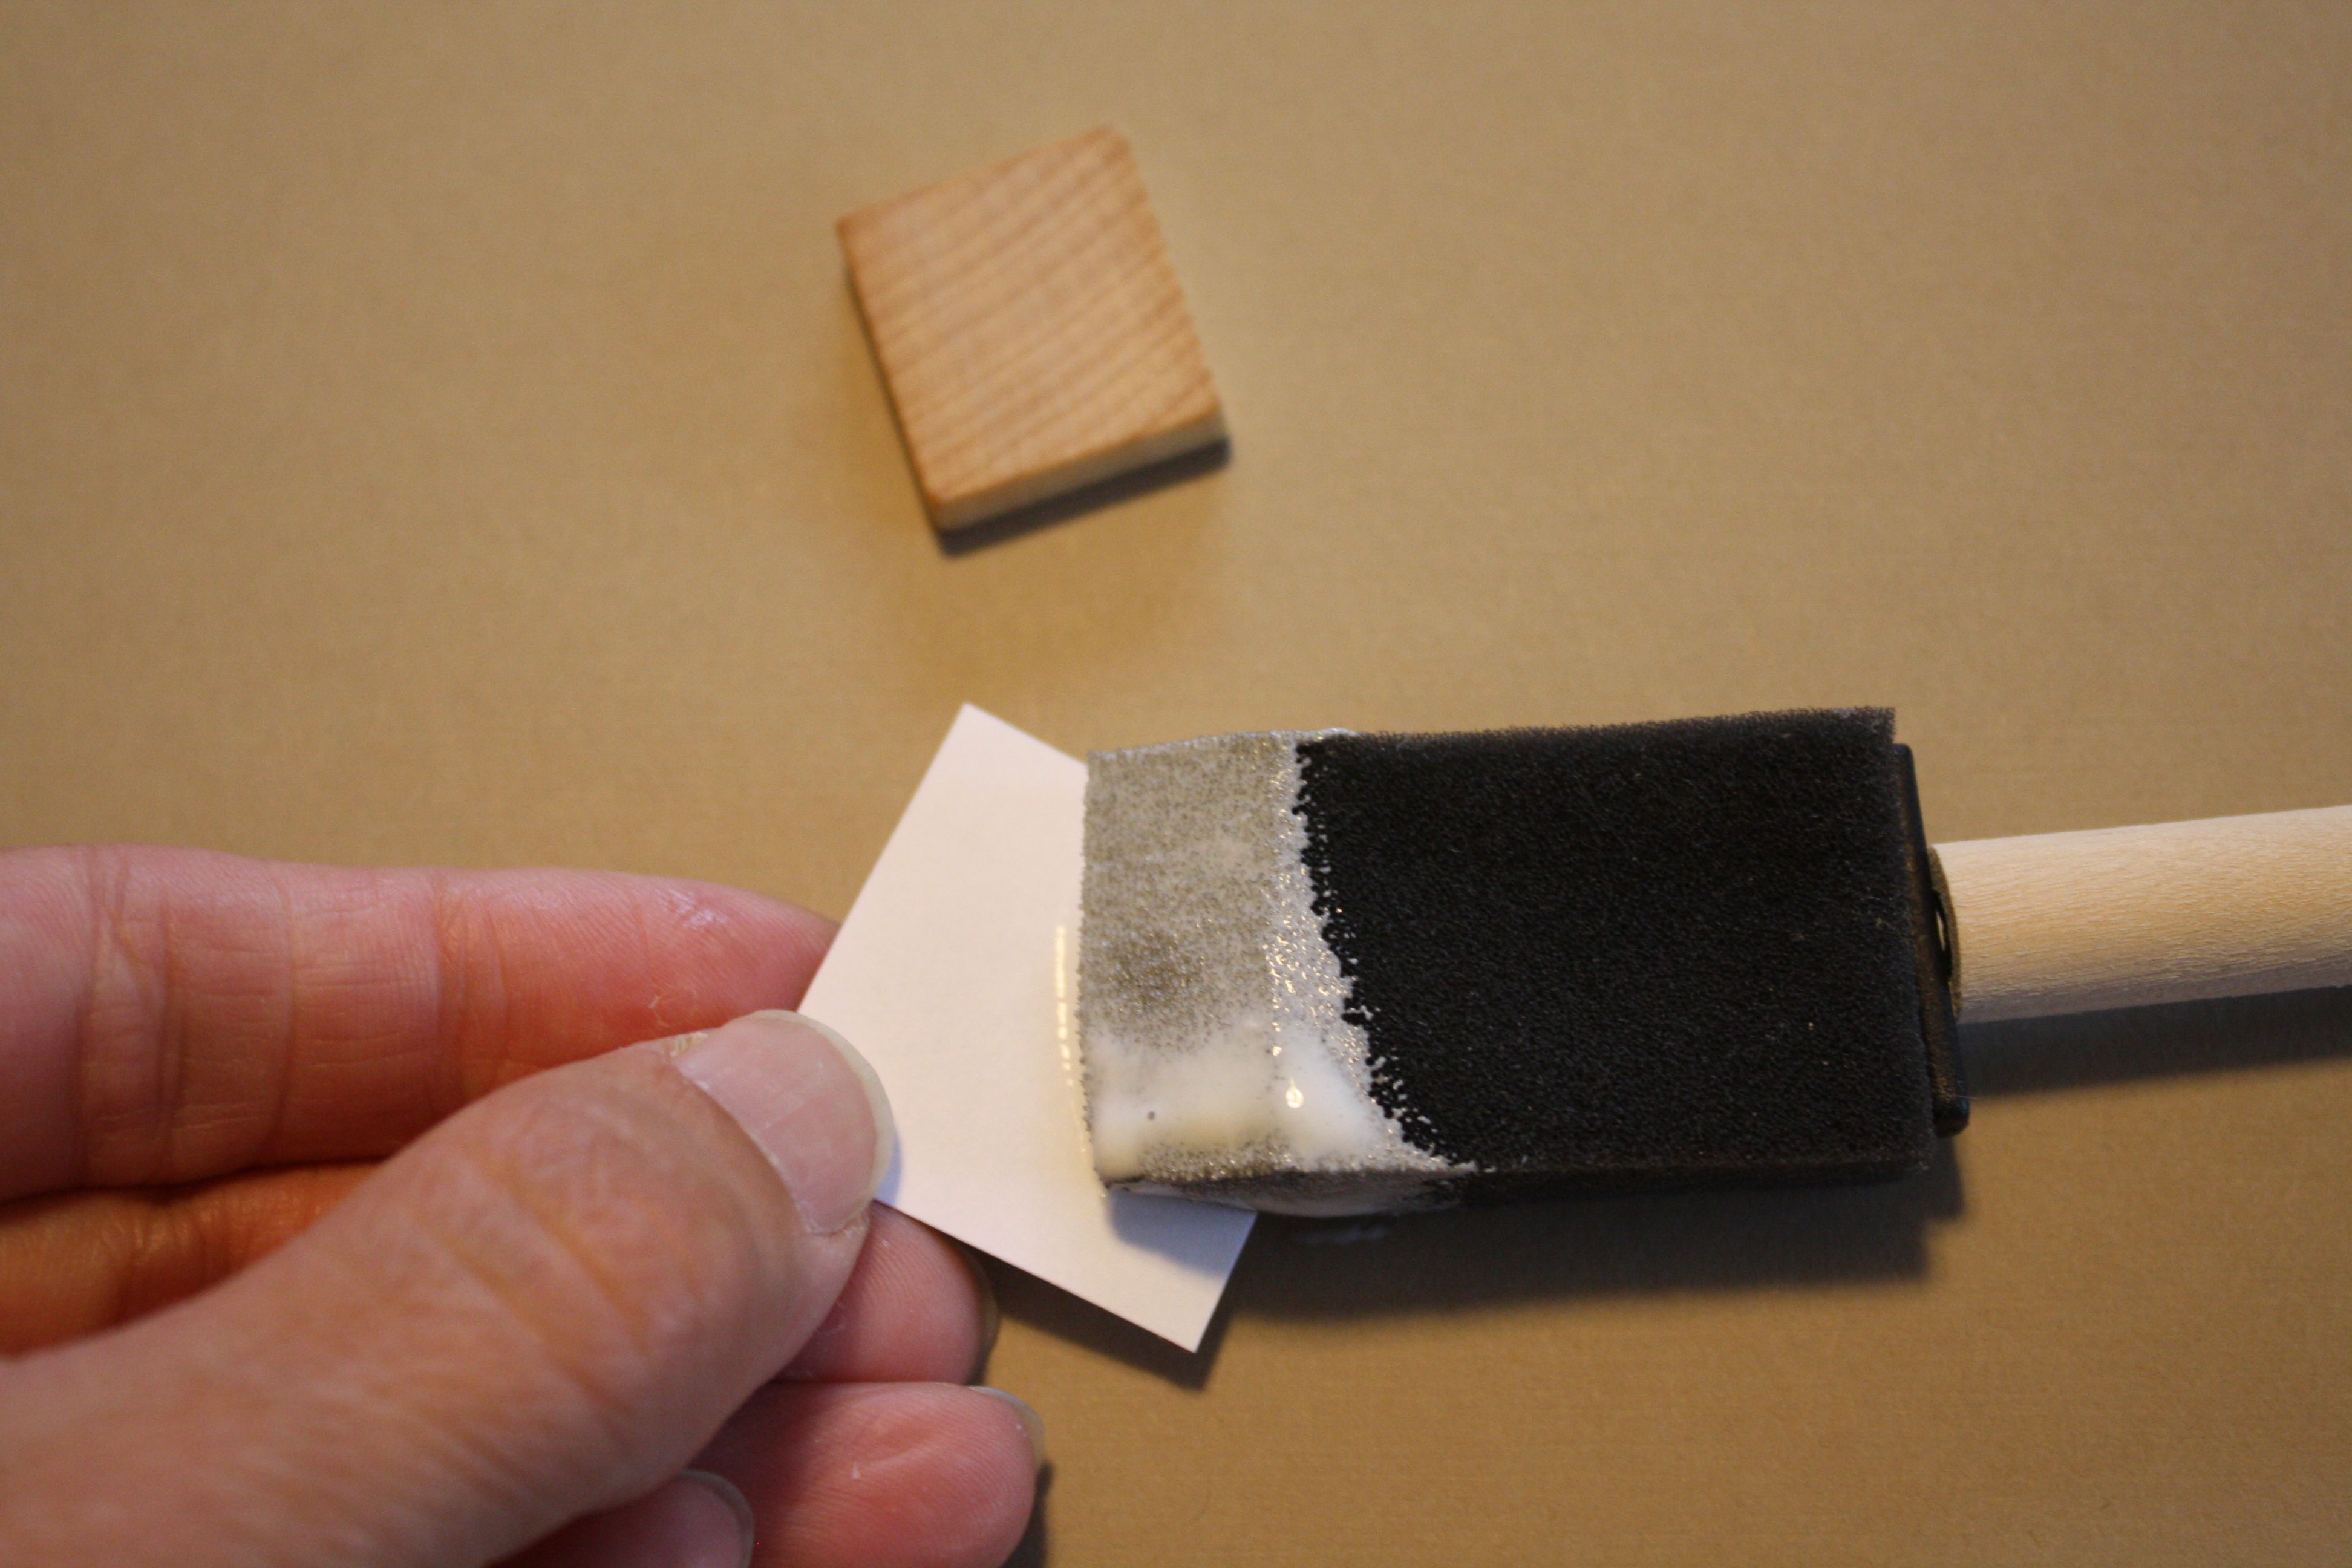
Apply Decoupage on the back of your image. Hold the image and tile up to the window to get proper placement on the non-letter side of the tile. Use your fingers to smooth out any wrinkles. Set aside a let dry for a couple hours.
Step 2: When it's dry, gently sand off the "border" around the tile. Add another coat of Decoupage on top as well as on all four sides. Let it dry.
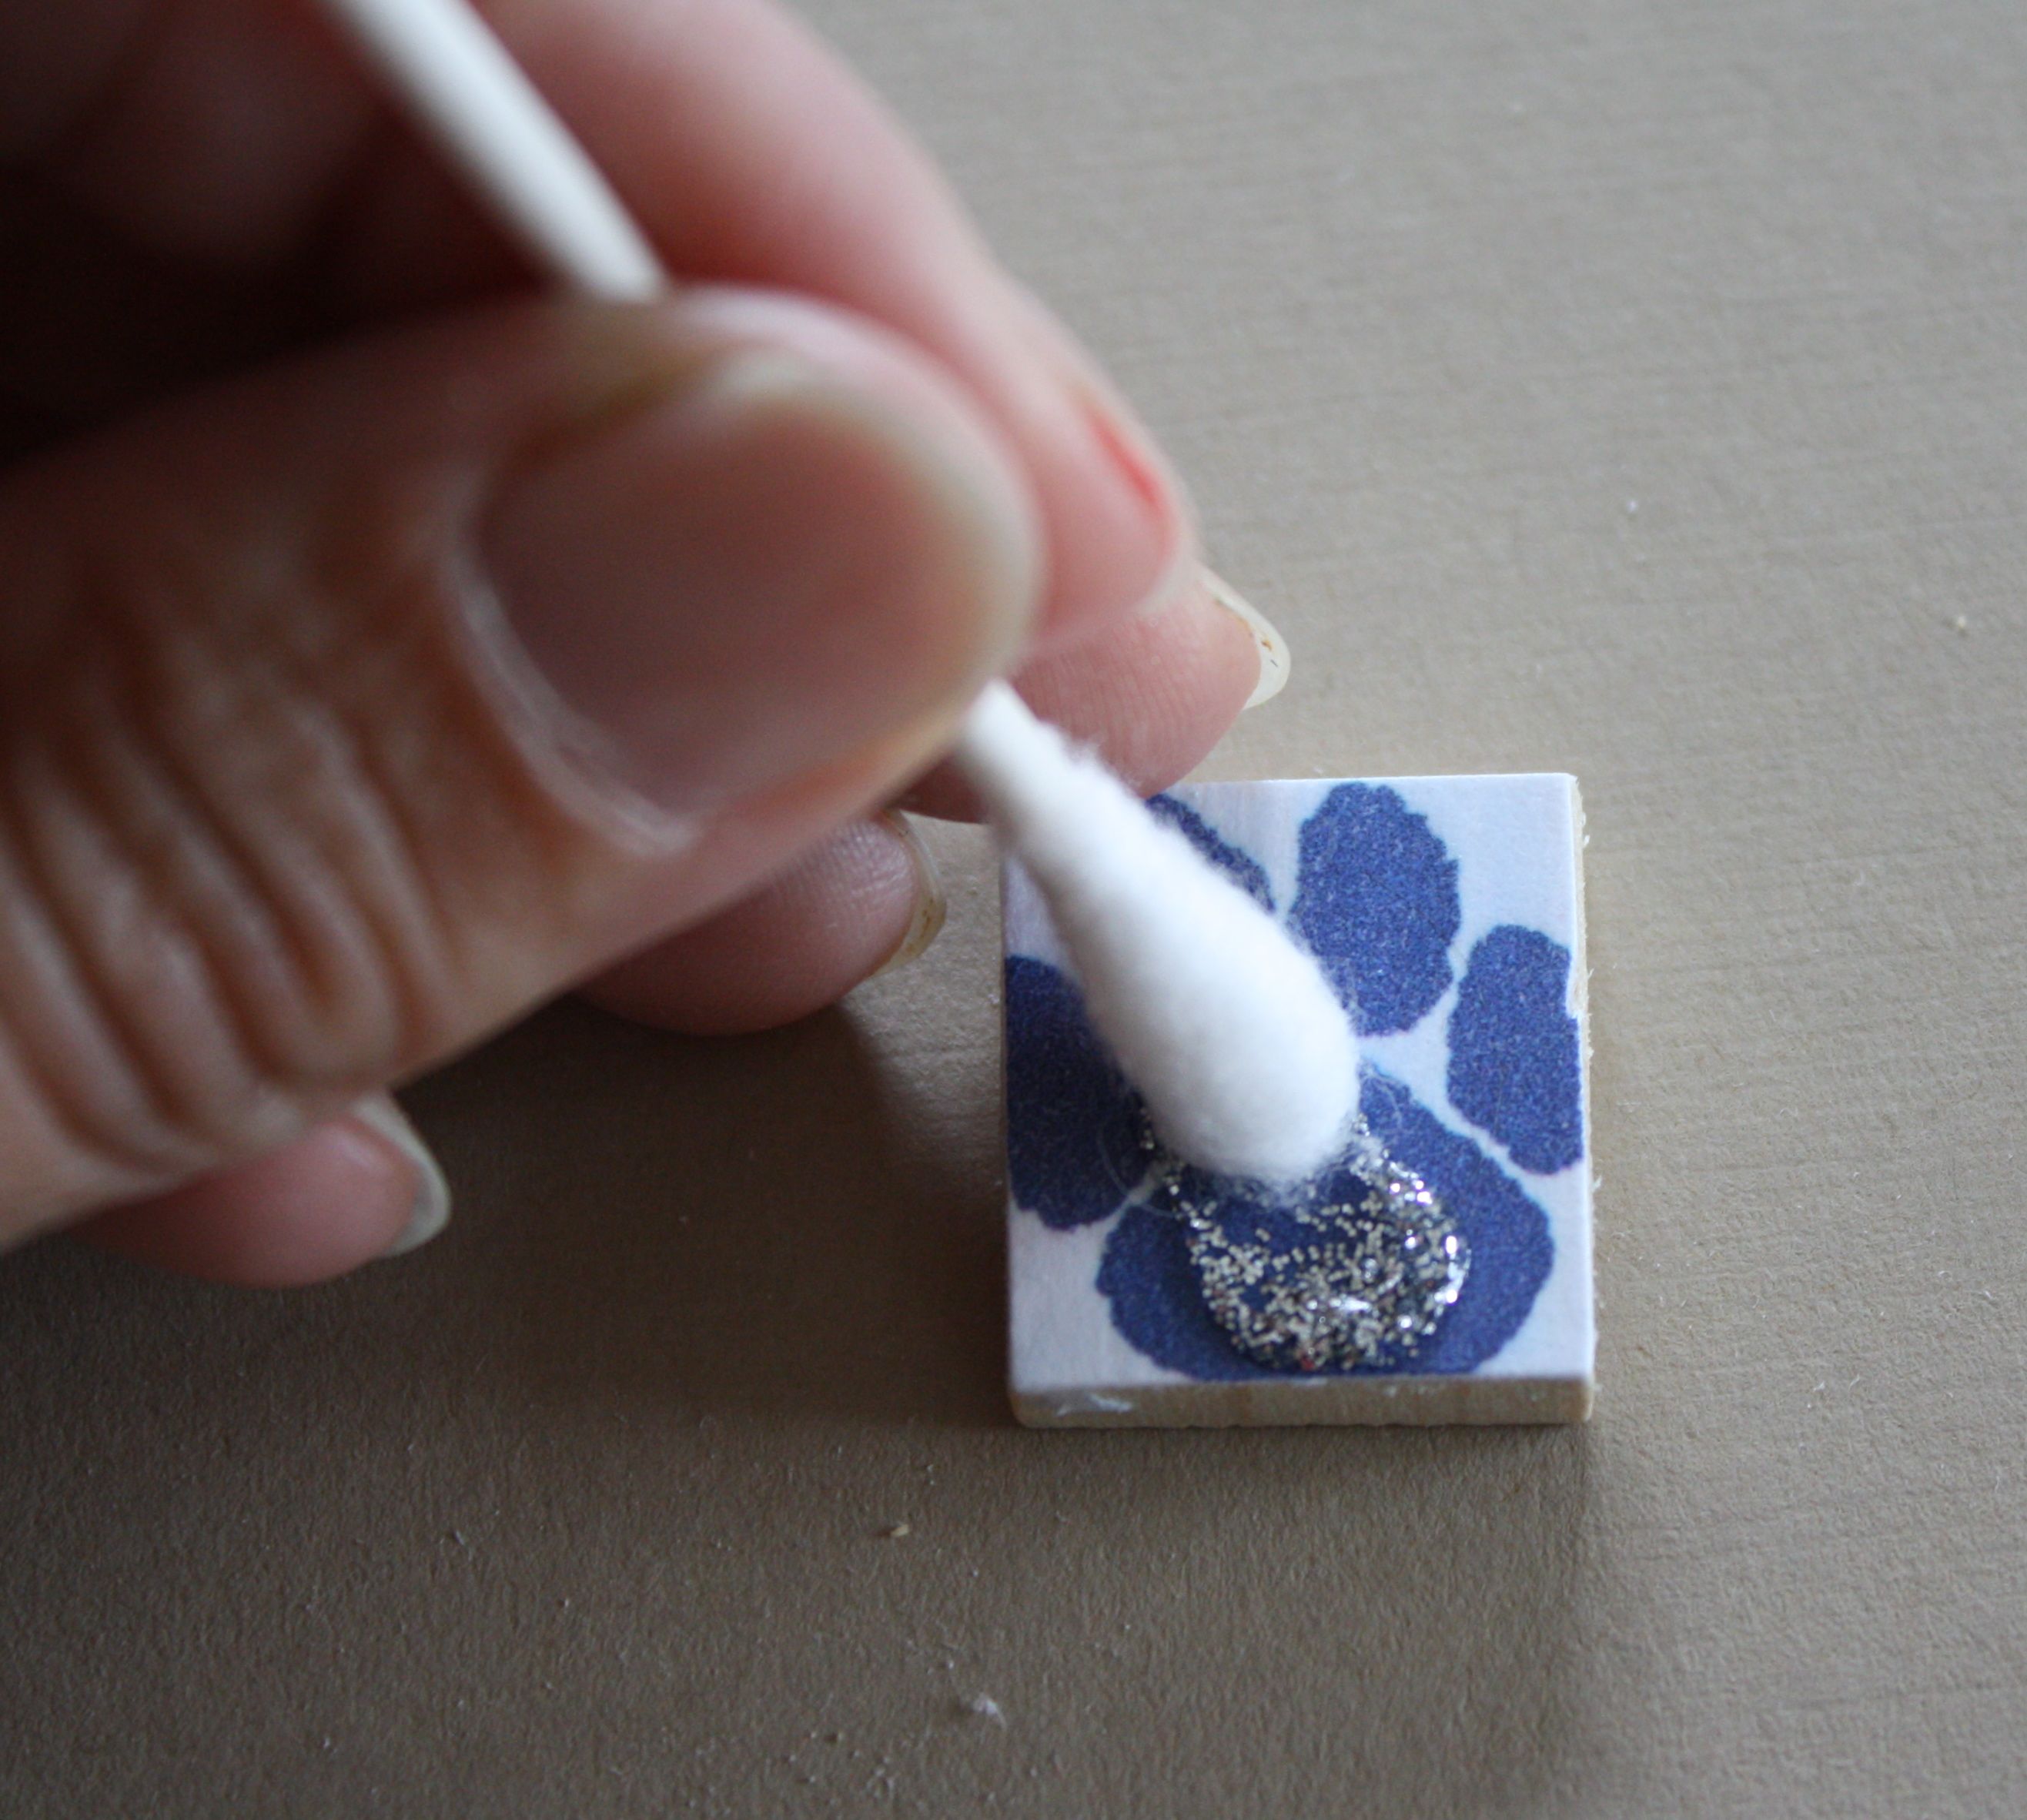
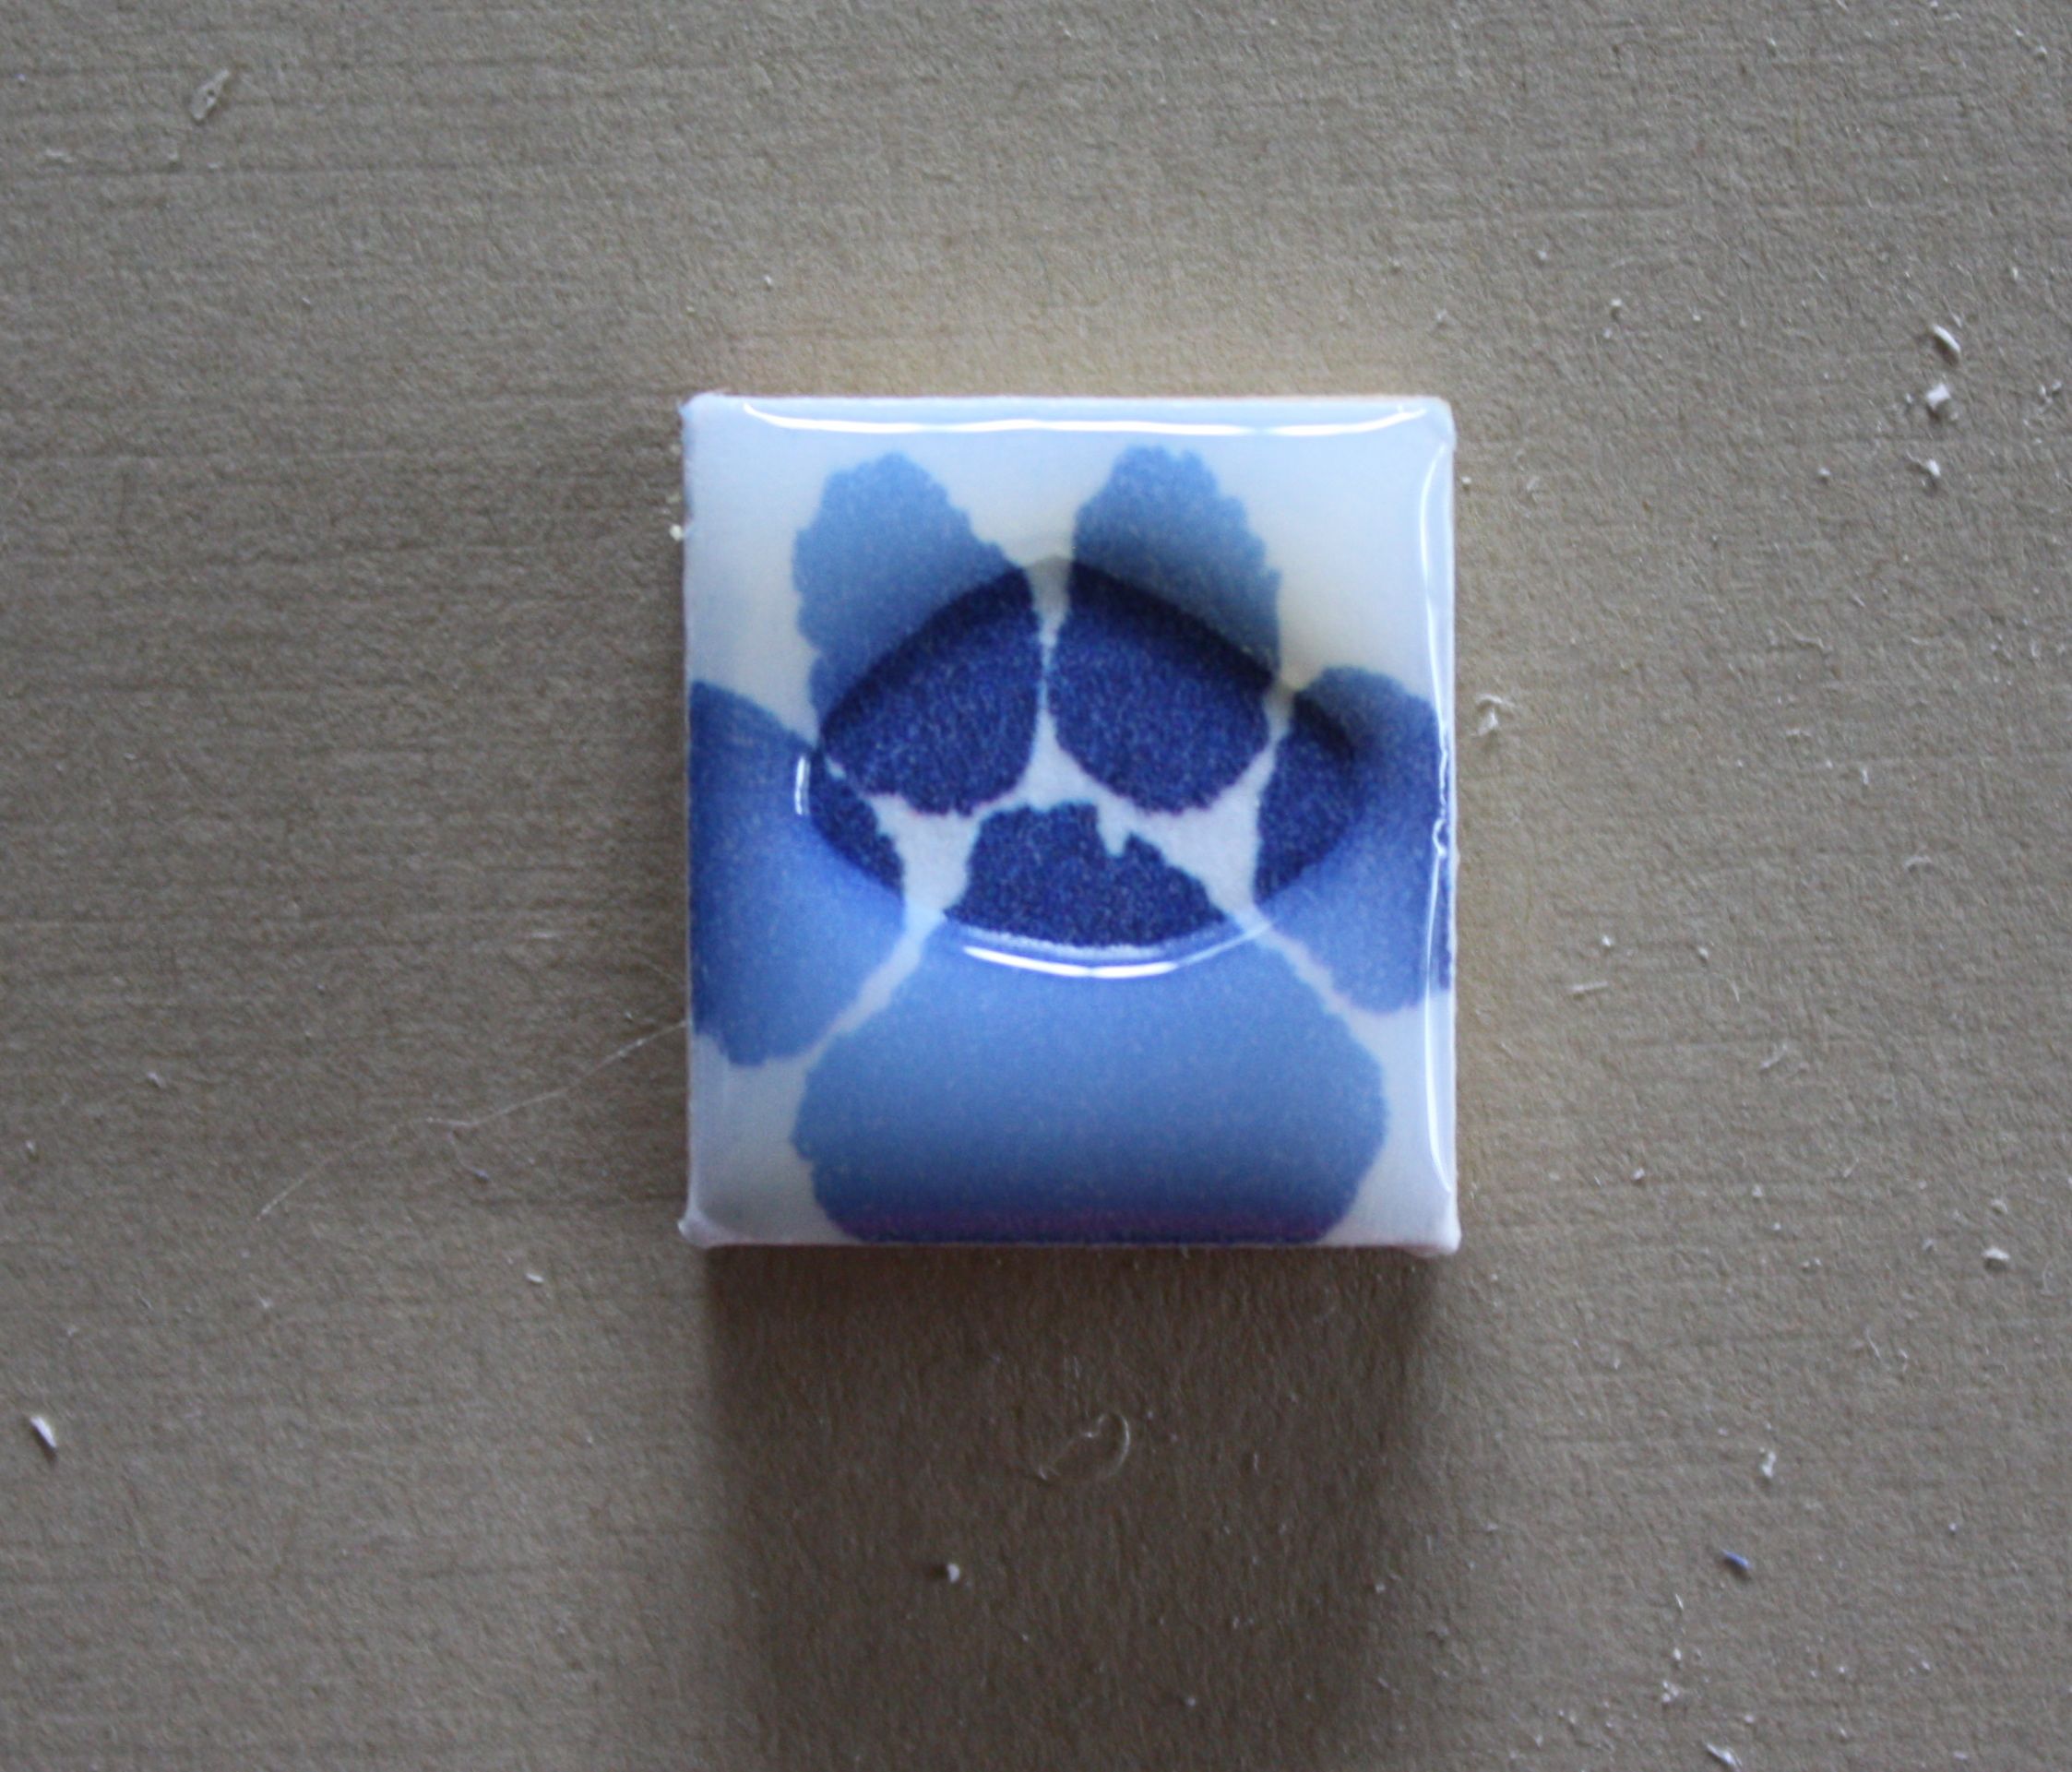
Step 4: Apply Diamond Glaze. Take your time with this. Use a pin to poke a hole in the Diamond Glaze nozzle. Using a steady flow of the glaze, go around the outside of the four corners first, and then continue filling in to the middle. You can gently nudge the glaze in. Don't put too much glaze on. If you get some bubbles don't panic. Use a straight pin to pop them or use a Q-Tip to gently touch them and take them off.
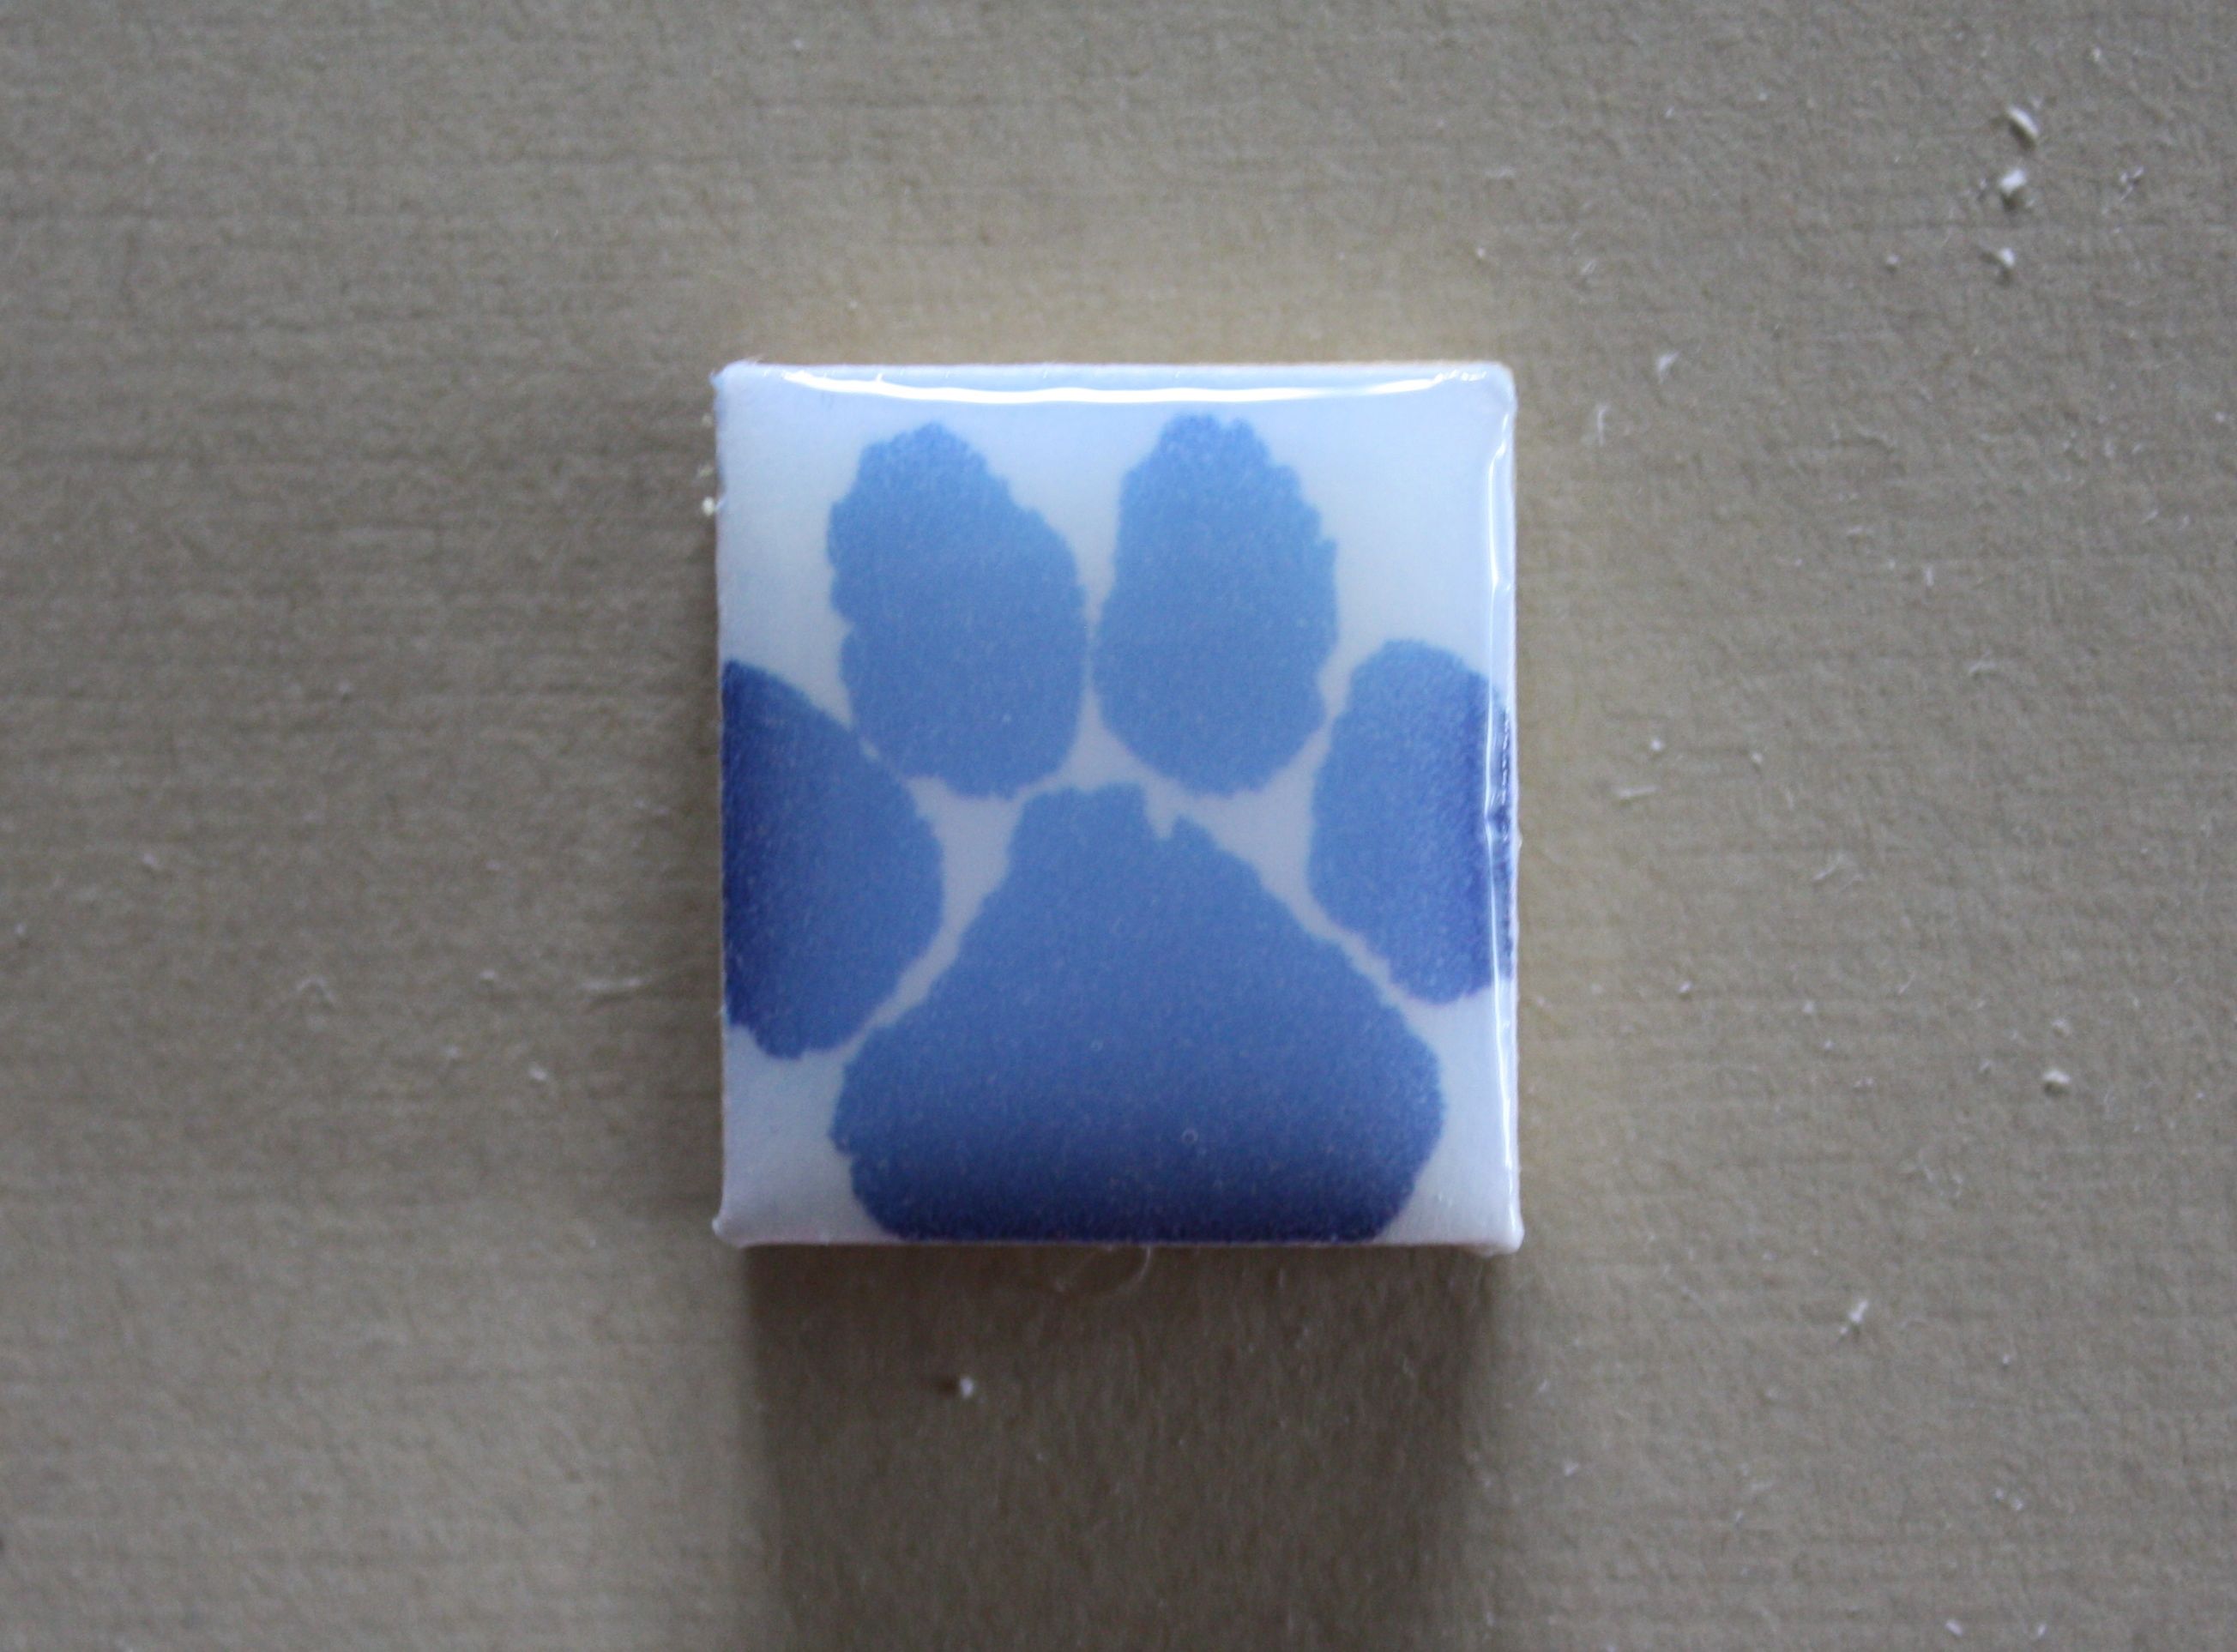
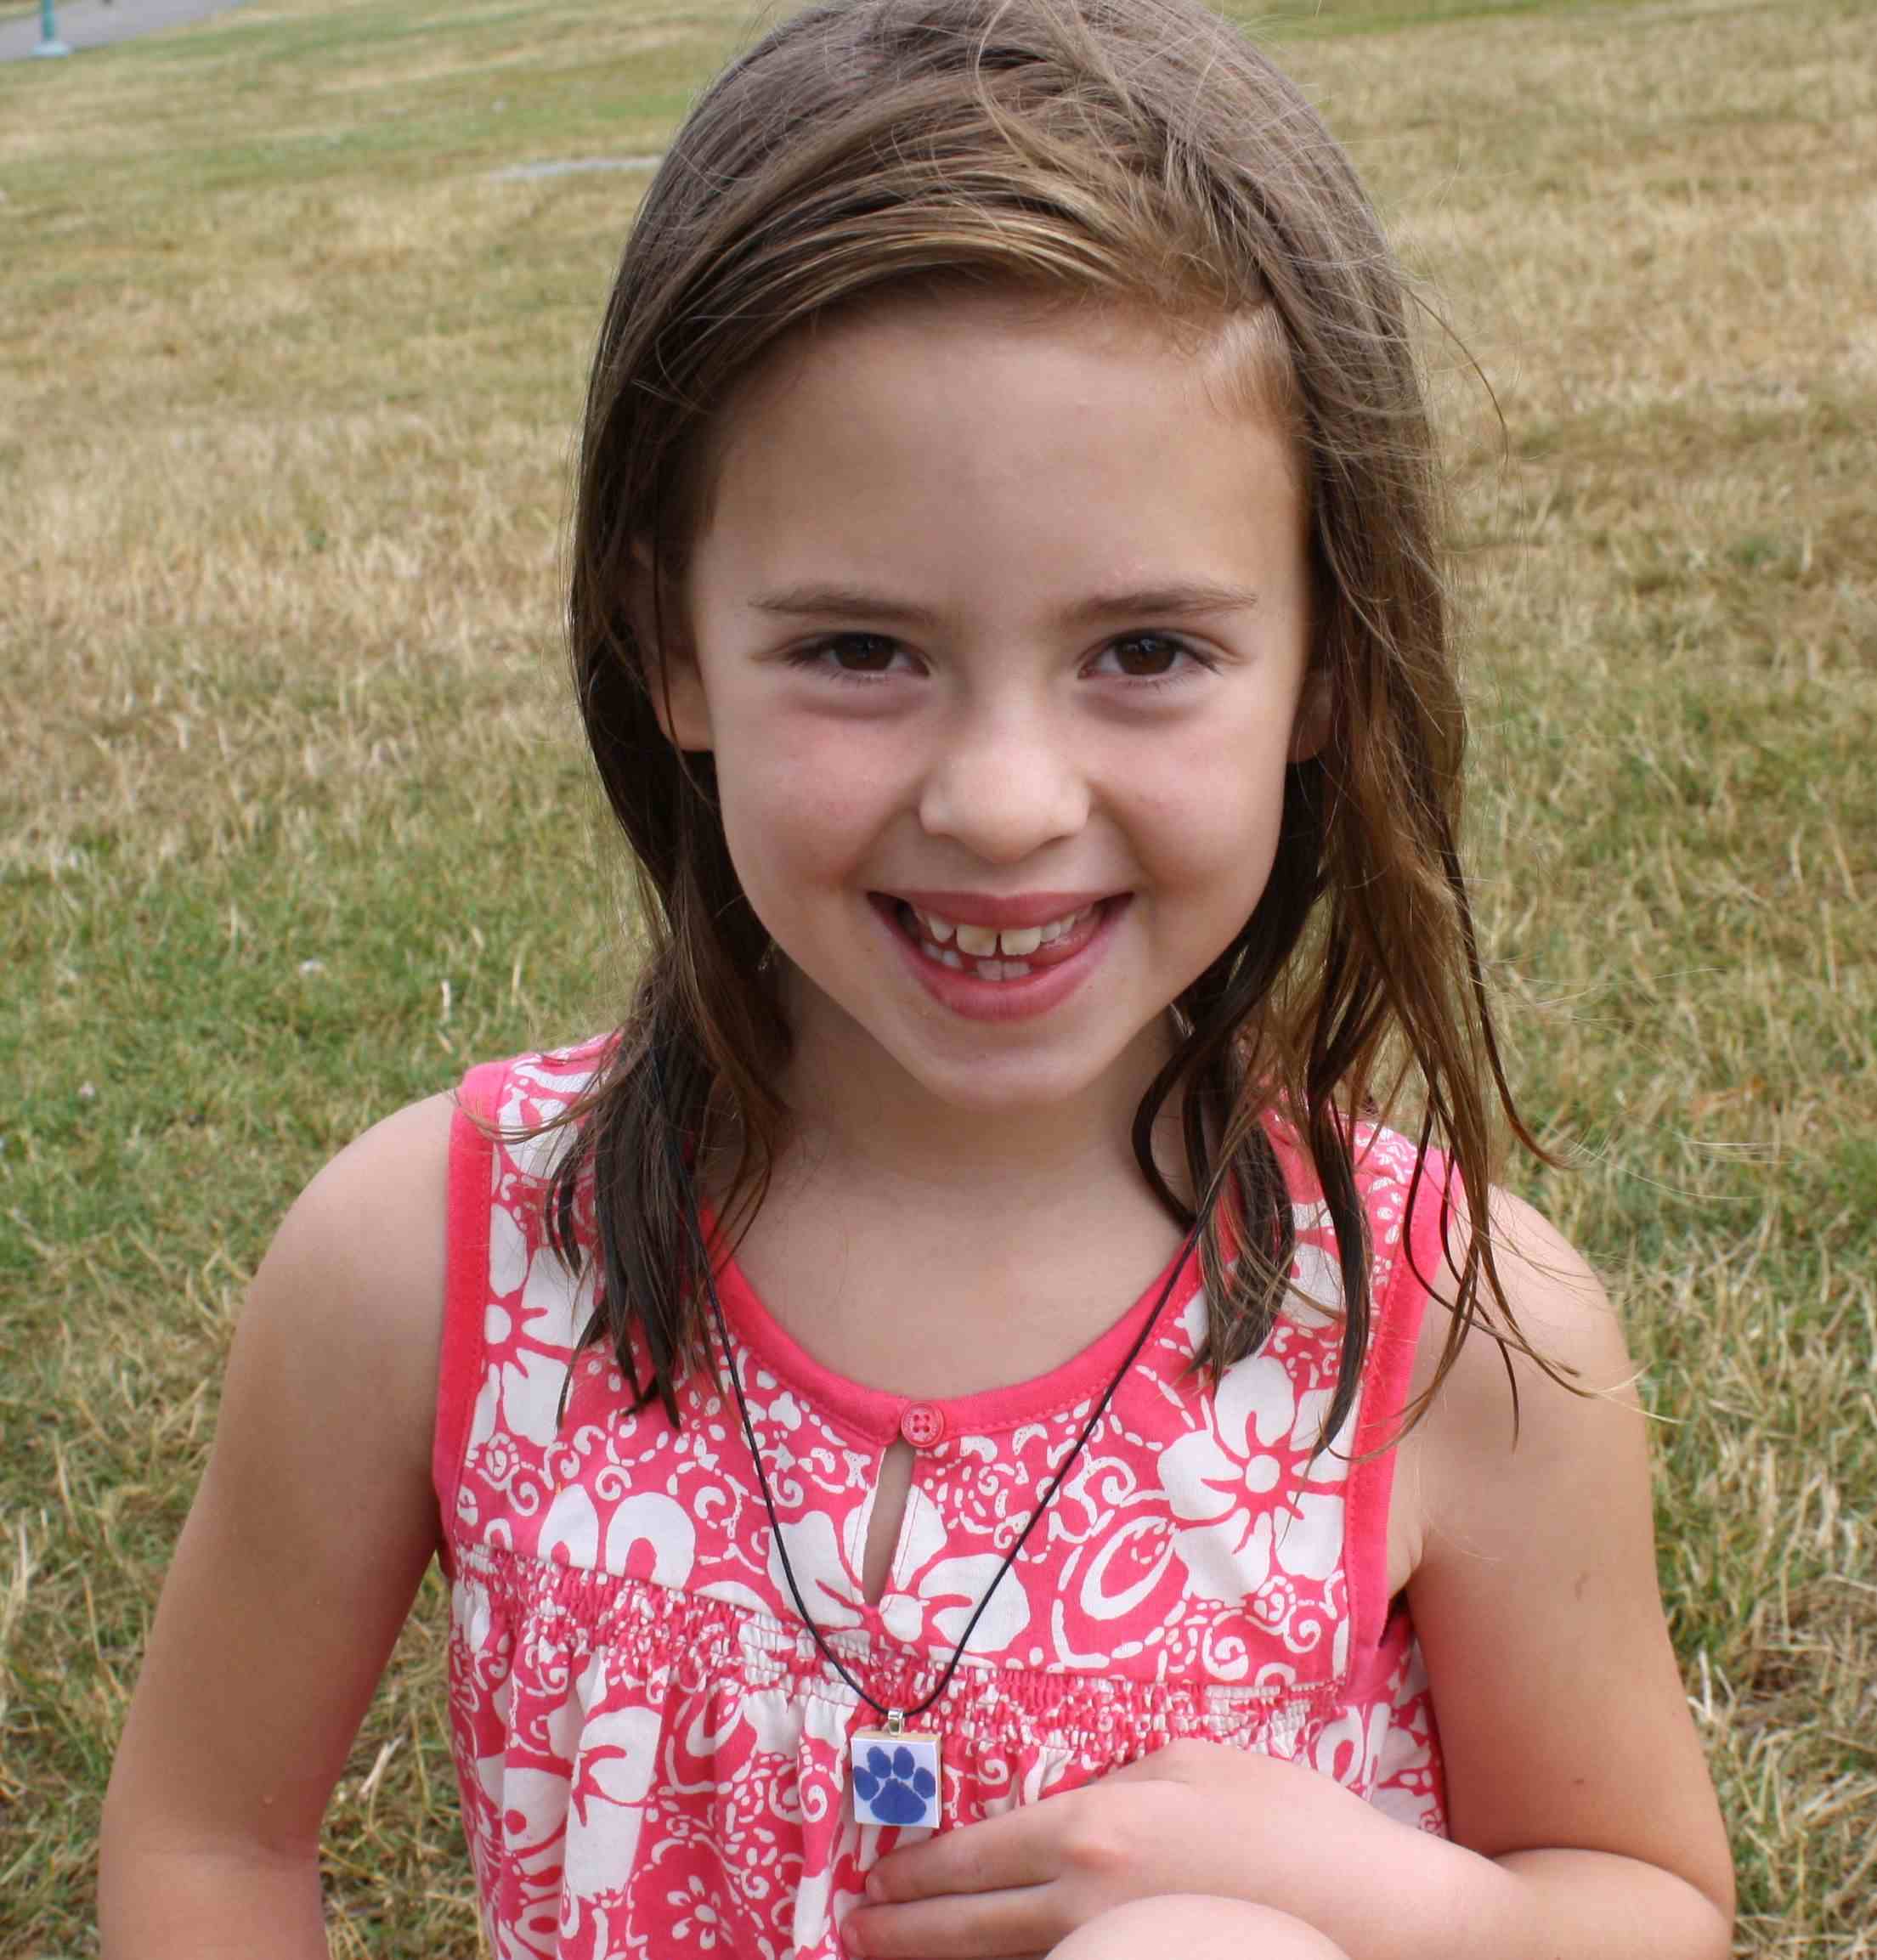
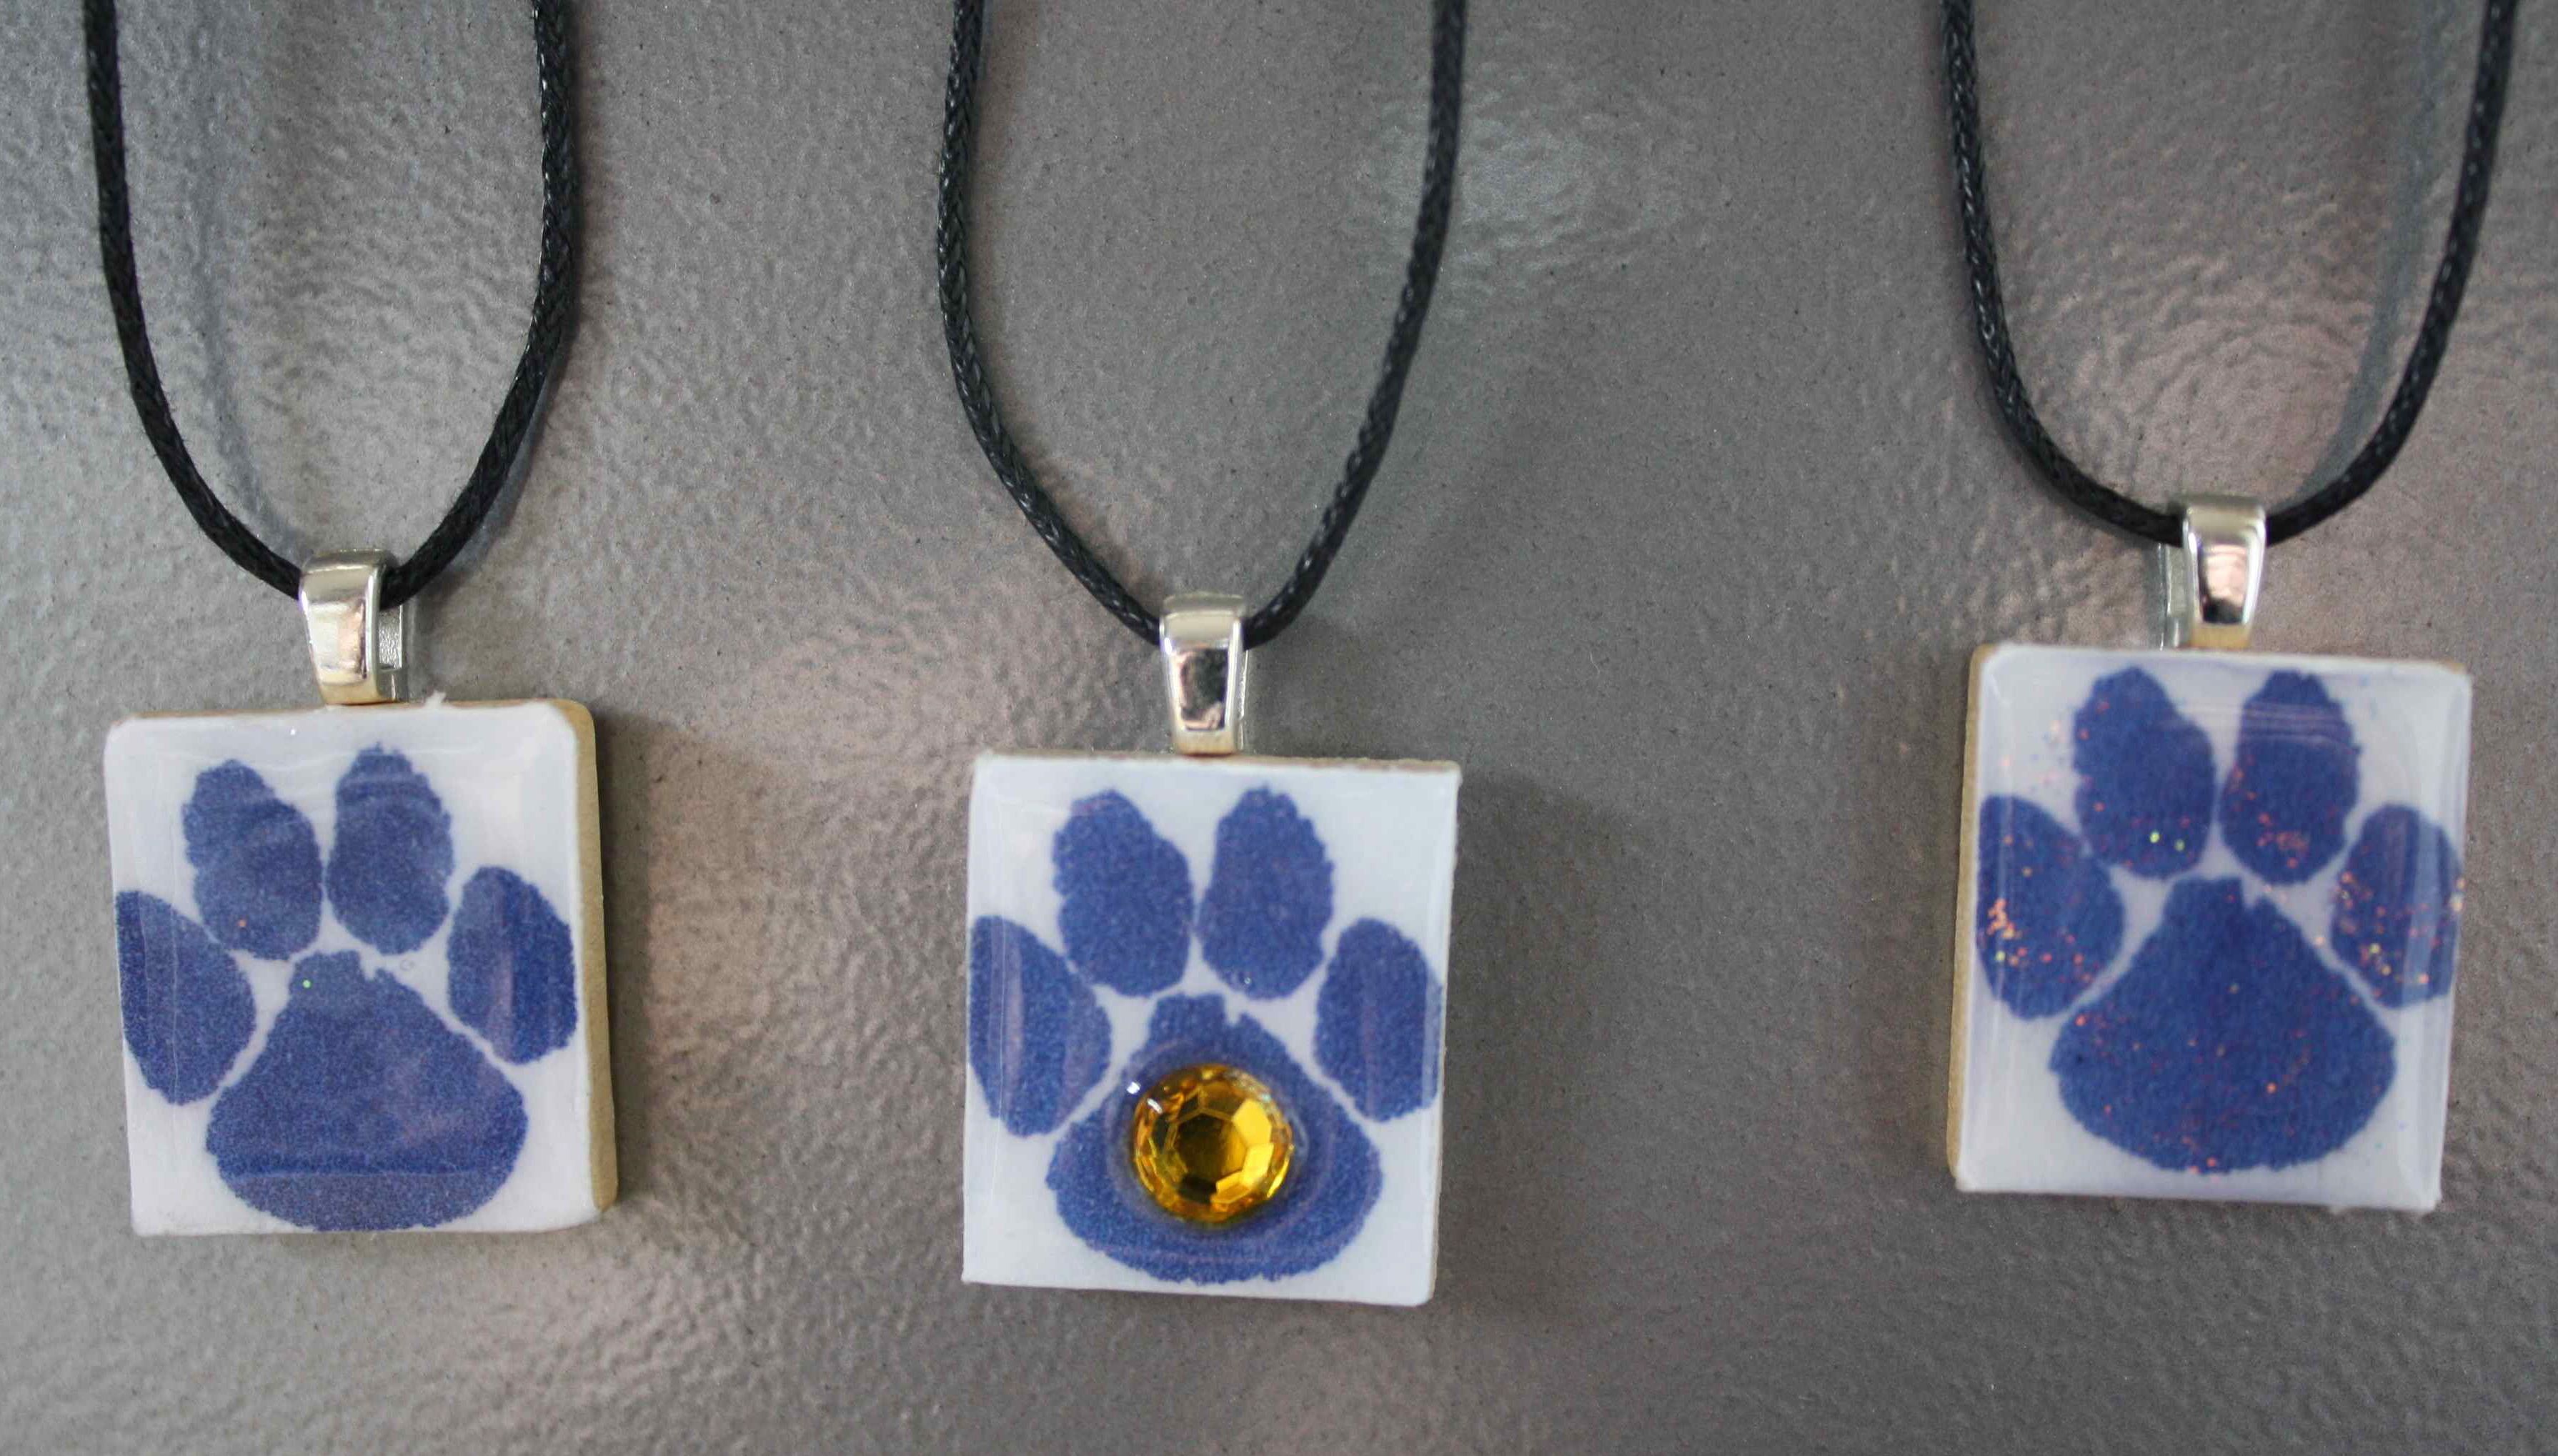
Have Fun + Happy Fundraising! BIG Hug… Malia

Happy Tuesday Tag-Along! I am a new follower and look forward to your blog posts. =) Enjoy your Tuesday!
~Kelley
https://labellabasketswithkelle.blogspot.com/
https://inkelleyskitchen.blogspot.com/
PS: I am interested in trading “Grab Buttons” with other mom bloggers.
So totally cute!!! WHat a great idea!
http://www.makingmemorieswithyourkids.blogspot.com
Newest follower from Tuesday Tag-Along. I hope you can stop in and see me at http://www.hootiebee.blogspot.com
Great job! What a perfect item to sell for a fundraiser!
That is such a great idea! My school would really go for something like this. Unfortunately, I am the most uncrafty person on the planet…
So great! I love that you found a non-toxic way to make these!! I’m tempted to try them myself!
Feel free to post your link on my weekly Blog hop to get more followers!!
https://momsreview4you.blogspot.com/p/blog-hop.html
Adorable. I tried following your wonderful blog, but it won’t let me. I added you to my favorites in the mean time.
Hope to see you at http:inspirationsbyd.blogspot.com
I am so inspired to make these for our school. What a fab idea!
What a great idea! I look forward to teaming up with Holly, above, since our kids go to the same school. Go Falcons!
I have been wanting to make some of these, I have most of the supplies except the bail. Have you tried using liquid arcylics? I saw someone liked that stuff better but it’s toxic and harder to work with. Also, you have to make large batches.
That is awesome! I love your tutorial and will be making some for my daughter for school. However, their mascot is a Falcon…hmmm..a bird footprint would look funny! Thanks for sharing at It’s Party Time Thursday at PonyTails&Fishscales!
I have a question! I’ve been trying to make scrabble pendants for a couple weeks, and I keep having the same problem: I put on the diamond glaze, and it looks like a perfect little “cap” over the picture. But as it dries, the middle sinks like a sad souffle. Even when I add more than I think I need, the middle is always sunken. Any ideas?
What a cute fundraising idea.
Great article, and we Rochesterians are lucky to have pubs this dedicated to great beer, as well as a distribution network that makes buying a pint of these wonderful brews possible. and now I want to introduce our website to you ,link my name and see them,thanks.
Your scrabble pendant is an awesome inspiration! Many thanks for sharing. I would like to feature it at
https://www.handmade-jewelry-club.com/
Contact me here if you have a concern.
Jane
https://diylessons.org/
I really enjoy to read this awesome blog post.
Inspiring!
Love scrabble tile projects and your necklace is gorgeous!
I am stopping by from the Answer Is Chocolate link party where I’ve linked up too.
Hugs, antonella :-)