Hi All… I've recieved some questions about using Rit Dye on paper. So I'll go over the process here. It's very easy. And addicting!
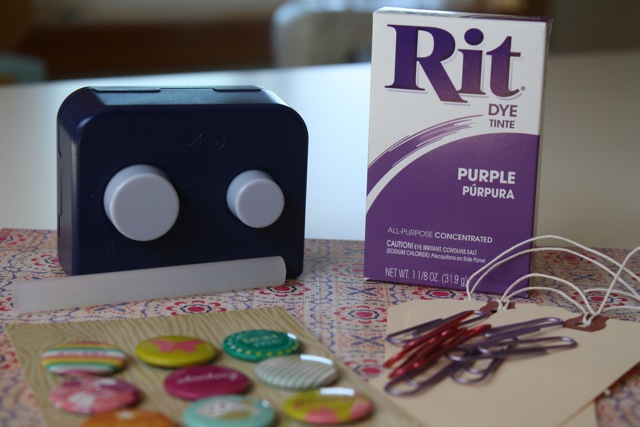
Supplies: Rit Dye, paperclips, button brads or stickers (these are from Making Memories), shipping tags, hot glue, scrap paper (and/or black cardstock), a 1" circle paper punch, strong scissors, a stapler (or sewing machine), pinking shears (optional) and hot glue.
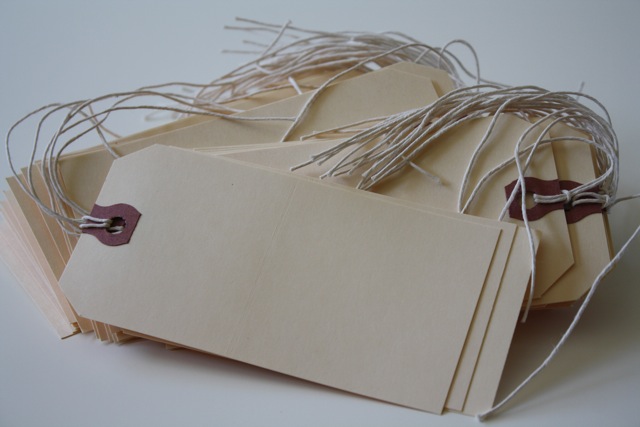
Grab your tags…
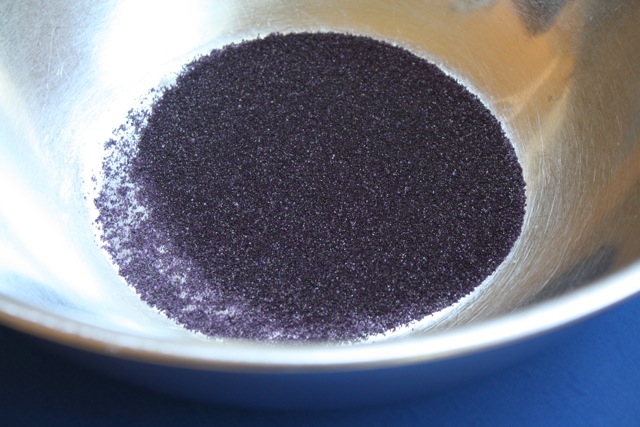
And a large bowl. Open dye packet and dump it in.
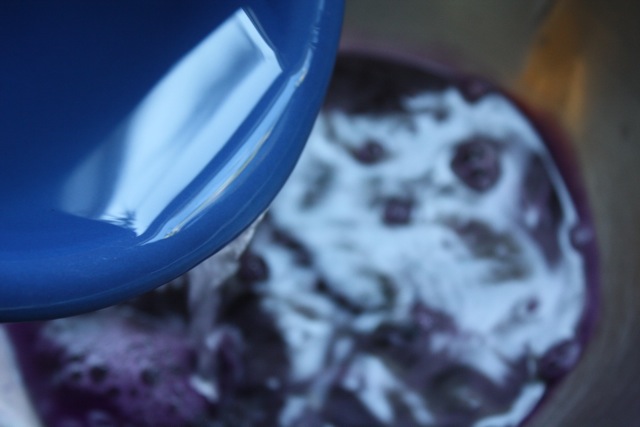
I used 2 cups of boiling hot water.
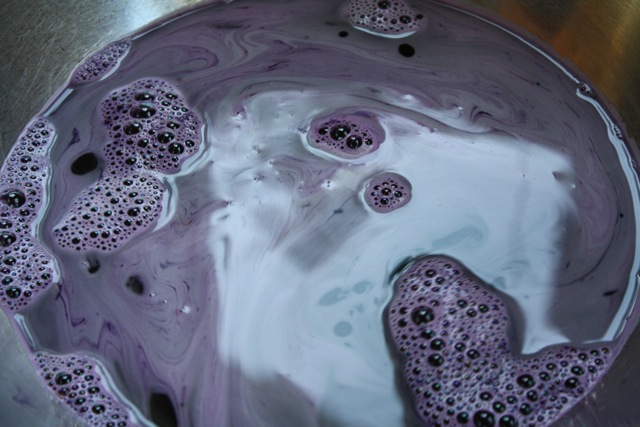
Mix well.
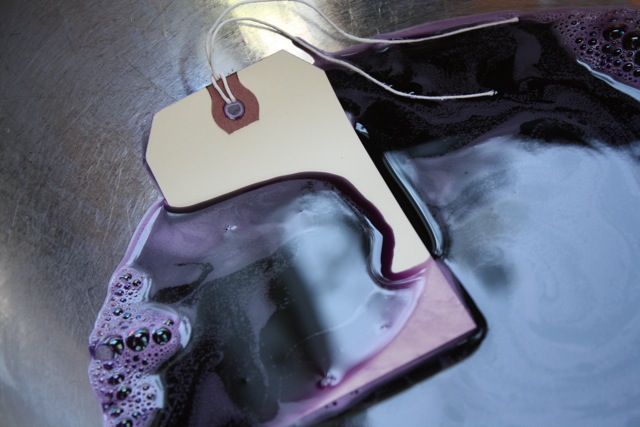
Drop tags in. This is a timing issue. The longer you leave them, the richer the color and the more they get a distressed look. BUT they can also fall apart if you leave them in too long. I think 2-3 minutes is the max. Get some paper towels ready for the wet tags to rest on.
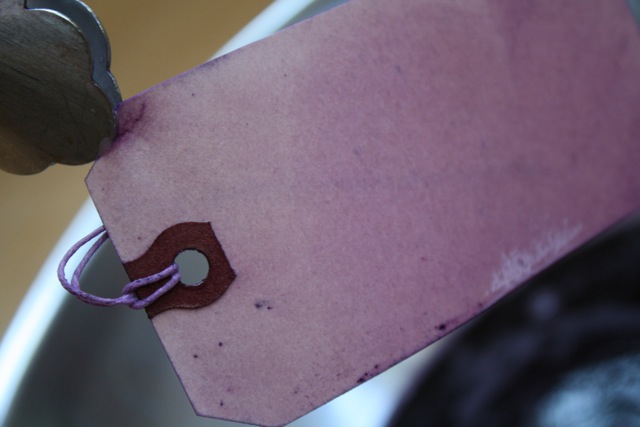
If you don't want to dye your hands(!) salad tongs work well for retrieving the tags.
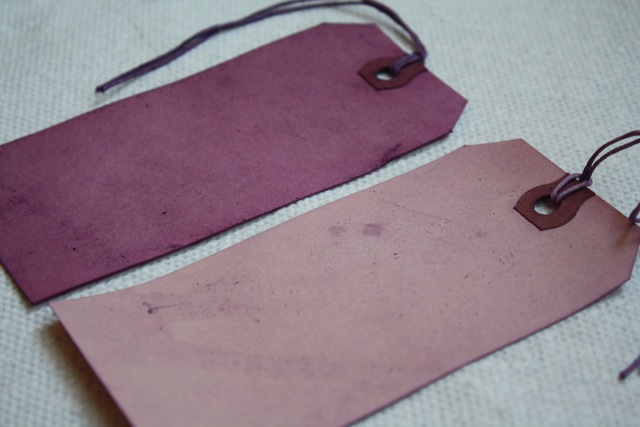
This is an example of how lovely and different two tags can look even when you use the same dye. I let the darker one sit for awhile in the bowl– the lighten one was in there for about a minute.
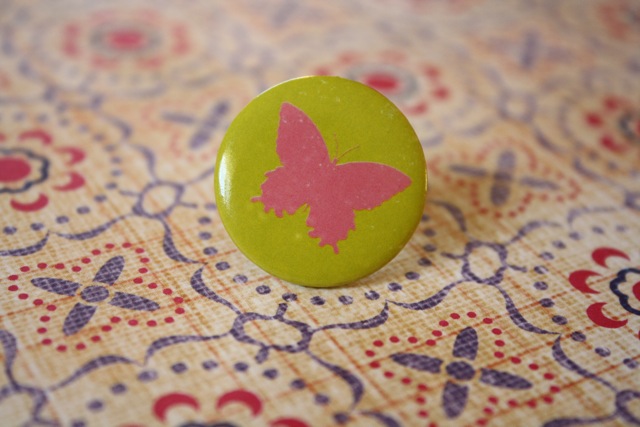
Onto the buttons:
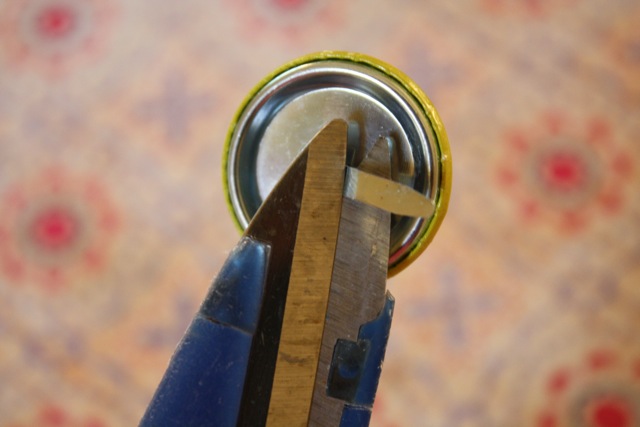
These happened to be brads in disguise, so I snipped them with my scissors. Use hot glue to attach the paperclip to the back of the button.
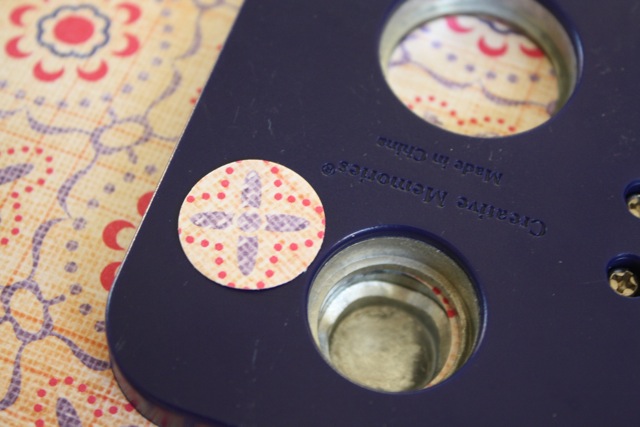
And cover the back with punched pretty paper…
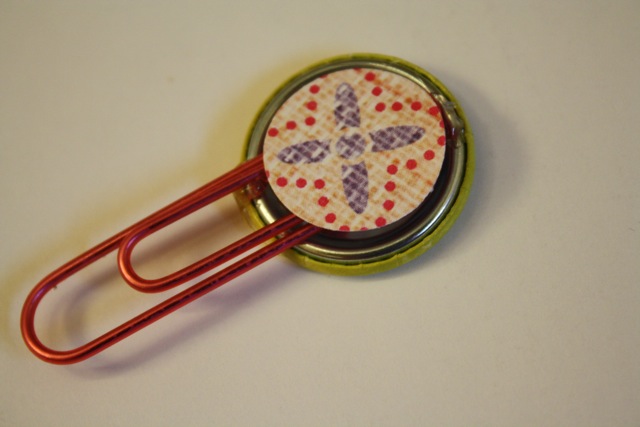
Also securing with hot glue.
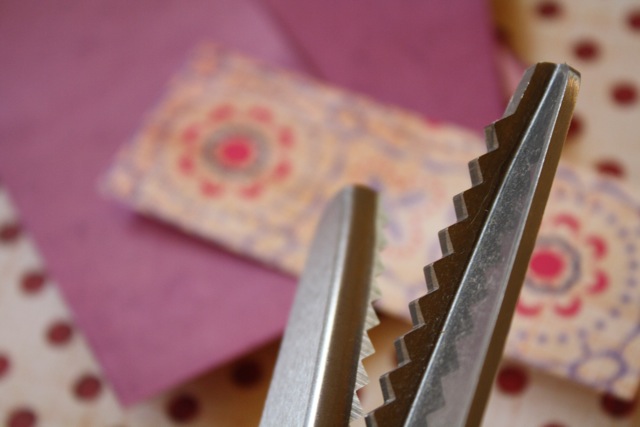
To prettify the tags (where the paperclips will live) cut a strip of patterned paper. You can use pinking shears to add interest.
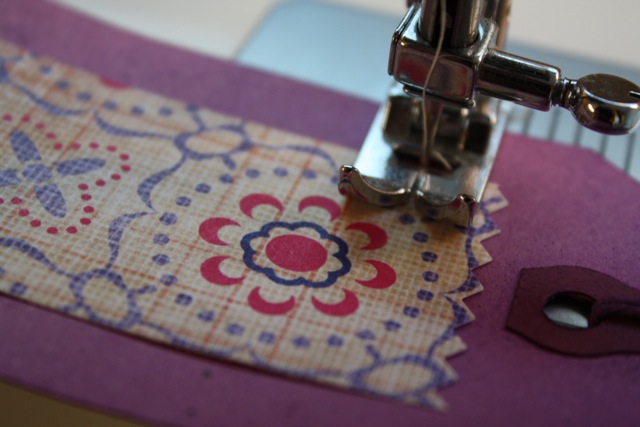
Use a stapler to attach to the tag or use the sew machine.
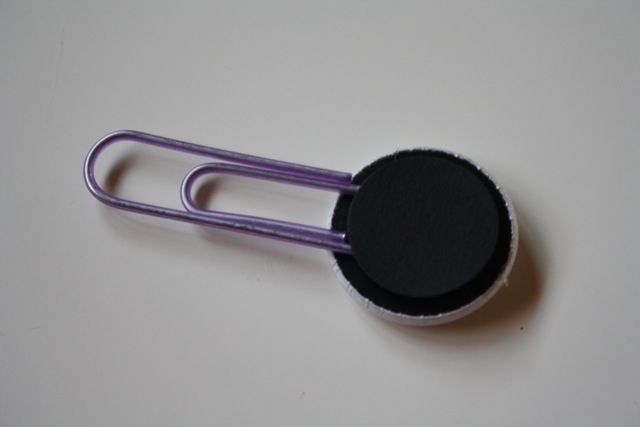
For buttons that have sticker backings, simple remove the sticker– it comes right off– use hot glue to adhere the paperclip. Cover with a 1" punched circle of black cardstock.
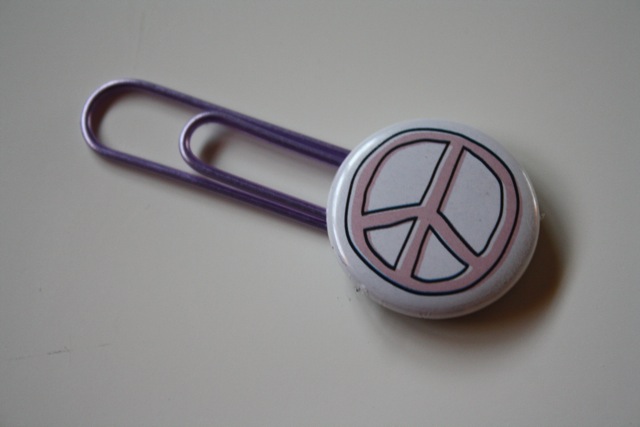
E-Z!
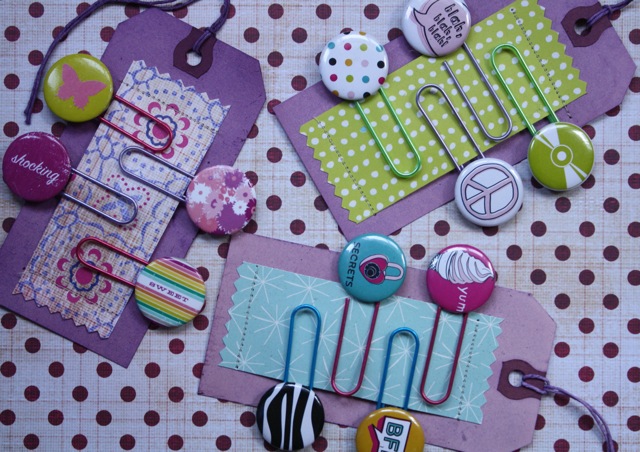
Here's how they turned out.
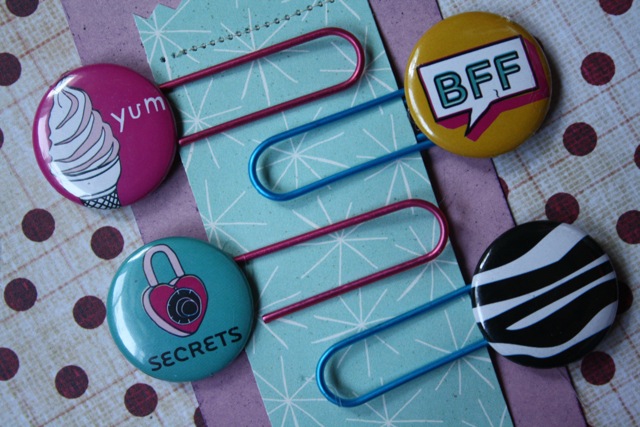
The whole process takes about an hour for a dozen or so– just leave a couple hours in the middle to let the tags dry after dying.
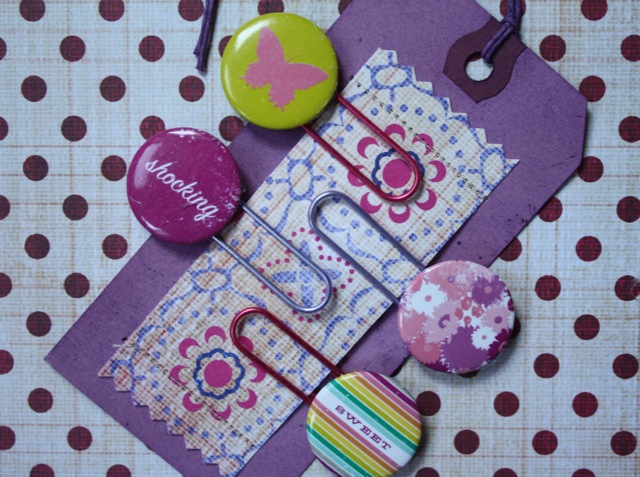
These are great little gifts and a wonderful way to use up stuff you might have in your supplies.
I'm going to add my whole link-up list. I don't always have a chance to visit every party but they are some of my favorites. Wishing everyone a very happy week.

Monday
https://rebeccacooper.blogspot.com/
https://sewcando.blogspot.com/
https://makingtheworldcuter.blogspot.com/
https://www.thegirlcreative.com
https://www.creatingreallyawesomefreethings.com/
https://www.betweennapsontheporch.blogspot.com/
https://www.craftskeepmesane.blogspot.com/
https://sumossweetstuff.blogspot.com/
https://craftomaniac.blogspot.com/
https://www.lifemadelovely-blog.com/
Tuesday
https://carolynshomework.blogspot.com/
https://funkypolkadotgiraffe.blogspot.com/
https://www.sugarbeecrafts.com/
https://allthingzrelated.blogspot.com/
https://todayscreativeblog.net/
Wednesday
https://www.freeprettythingsforyou.com/
https://takeitfrom-me.blogspot.com/
https://www.bluecricketdesign.net/
https://somedaycrafts.blogspot.com/
https://nightowlcrafting.blogspot.com/
https://www.thethriftyhome.com/
https://gingersnapcrafts.blogspot.com/
Thursday
https://www.yesterdayontuesday.com/
https://www.somewhatsimple.com/
https://www.theshabbychiccottage.net/
https://www.paisleypassions.blogspot.com/
https://www.theshabbychiccottage.net/
https://firefliesandjellybeans.blogspot.com/
https://www.houseofhepworths.com/
https://bec4-beyondthepicketfence.blogspot.com/
https://alliemakes.blogspot.com/
Friday
https://shabbynest.blogspot.com/
https://romantichome.blogspot.com/
https://www.findingfabulousblog.com/
https://lollyjaneboutique.blogspot.com/
https://www.chiconashoestringdecorating.blogspot.com/
Saturday
https://www.fingerprintsonthefridge.com/
https://thirtyhandmadedays.com/
https://tatertotsandjello.blogspot.com/
https://www.bedifferentactnormal.com/
https://funkyjunkinteriors.blogspot.com/
Sunday

These are perfect … thanks for sharing!!
Super cute, Malia! I love the Rit Dye technique AND the paperclip tutorial. I’ll definitely be pinning!!
Those would be great for favors for a back to school party. I never thought to dye paper with Rit, so thanks for sharing how to do that.
They are amzaing,I can’t wait to give it a go, especially for christmas tags. Even though its only july.
x
Fabulous….and you answered all my questions, thank you!
hugs
I host a link up party, Inspire Me Fridays! would welcome you, Malia, anytime! :)
When I first heard of Rit dye, I was intrigued that you could just dye your clothes another color. I’d never thought of that. And now paper!
Cute! These make great gifts!
lovely!!! I´ll feature on my blog. Hope you don´t mind
hugs from Brazil
I love it, super cute and I have some of those Flair like thingamajigs that I probably won’t ever use in my stash. Love how you always go the extra mile and have a fabulous presentation. I really need to start dyeing my own tags too, they are just so much more interesting than just cutting cardstock into shape.
Oh wow! I love how you died your paper with Rit die — never thought of using that! Everything is so lovely!
Very cute!! I love the presentation of the whole thing. I’ve been wanting to make some cute paperclips for my newest mini-album so I might just have to try this. Thanks for sharing!
Visiting from https://whipperberry.com/
Linda
I like your idea for using the tags to give them. And I like your Rit Dye idea for the tags.
I am loving this! I HAVE to pin these!
Good work, i love the concept.
Best regards!
Maria
The tags, the clips, every detail — incredible! Malia, your projects definitely have a style, quality and pizzazz that sets them a cut above! Thank you so much for linking up to “A Little Birdie Told Me…”!
Jenn
You’re so creative! Love your site!