Birthday Card & Keepsake Box
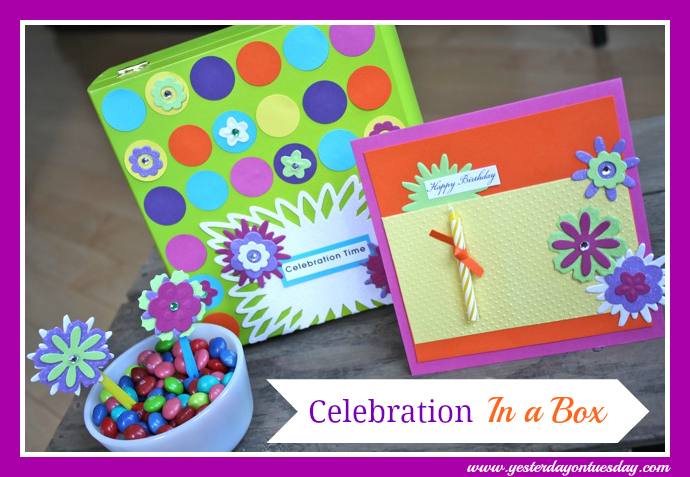
We all have those amazing people in our lives– family members or friends– who are just SO WONDERFUL we want to do something extra special to celebrate their birthday… what better way that a Celebration In a Box using the fabulous David Tutera Paper Crafts Celebrate card line… available soon at JoAnn Fabric and Craft Stores!
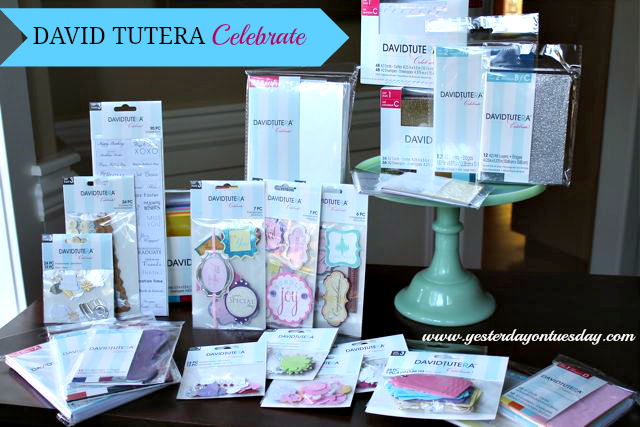
I received this EXTREMELY generous box of paper goodies in the mail– what a joy it was to look through all the amazing products. This whole David Tutera Paper Crafts Celebrate card line is so thoughtfully designed to make it EASY (Yay) for you to create custom cards.
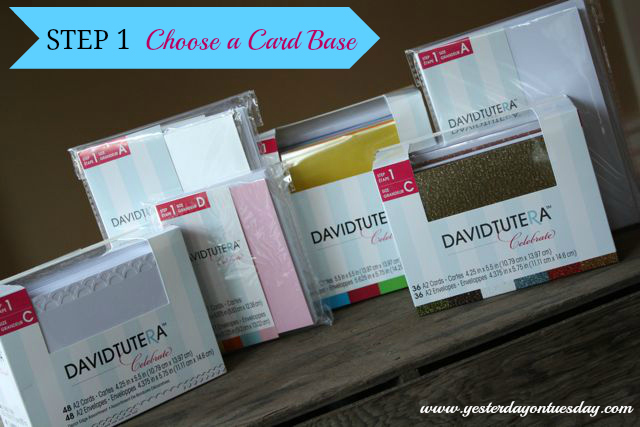
You are going to love this system. STEP 1: Choose a Card Base. The Card Bases come in many different sizes… Size A cards are 5" x 7", Size C cards are 4.25" x 5.5" and Size D cards are 3.475" x 4.875"– so you can always find the perfect size.
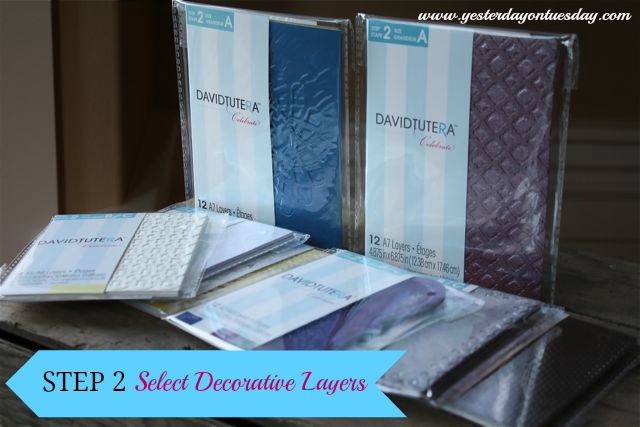
STEP 2: Select Decorative Layers. There are all sorts of fabulous layers to choose from. The layers come in all sorts of eye catching colors and are also available in different sizes. Size A Layers are 4.875" x 6.875" and Size B/C Layers are 4.125" x 5.375"– lots of options to choose from.
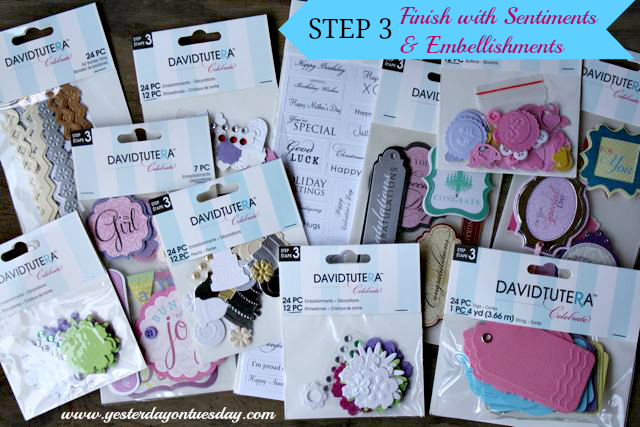
STEP 3: Finish with sentiments and embellishments. This is the REALLY fun part. Select the perfect embellishments including 3-D stickers, colorful tags, die cut shapes and sentiments.
Only 3 simple steps to remember!
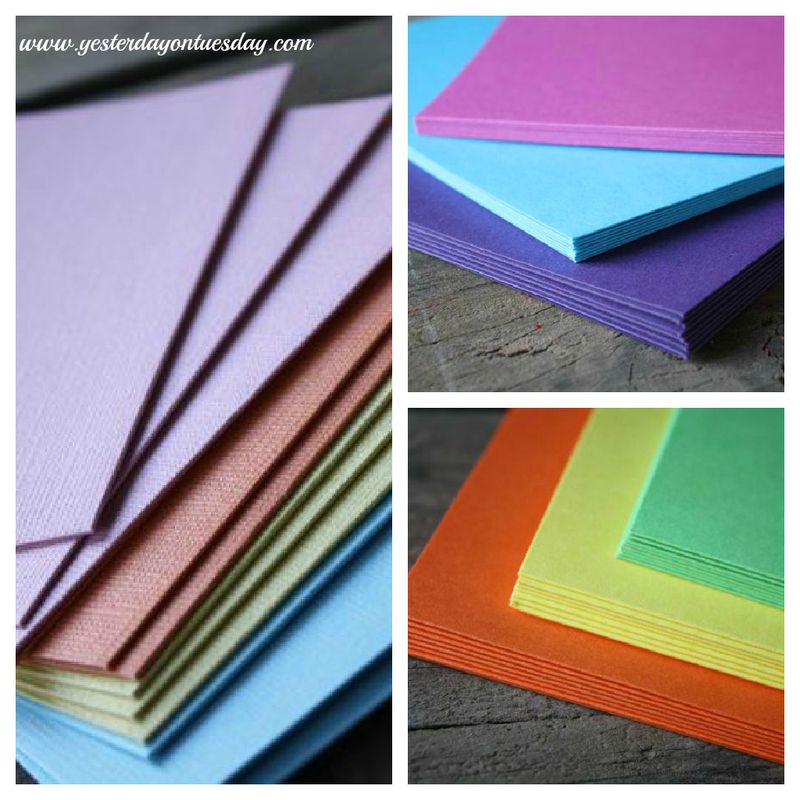
I gotta tell you when I open that GIGANTIC box of paper crafting supplies I was taken by all the bright colors and decorative layers. I started thinking INSIDE the box! With the holidays just around the corner, wouldn't a suppy of fancy cards (for special occasions) in a keepsake box make the perfect gift for someone?
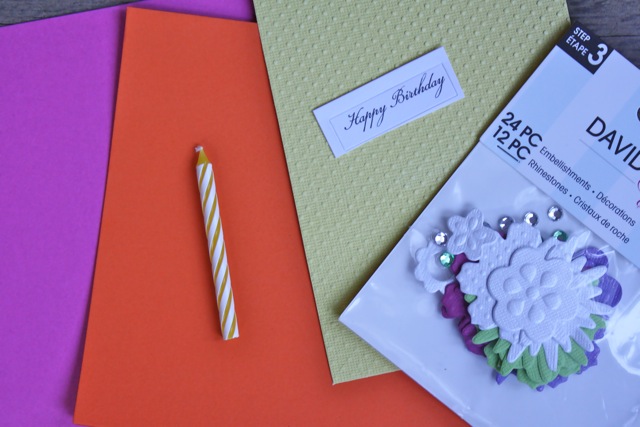
I started by selecting by selecting my pink card base, decorative layers and embellishments (and a birthday candle J). I decided to also use a orange card as a decorative layer.
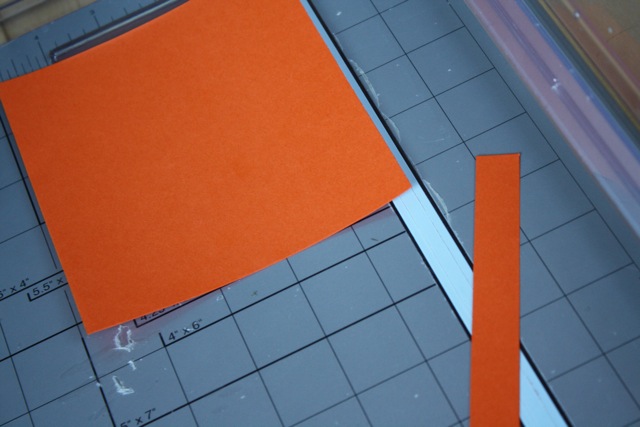
First I trimmed an inch off both sides of one side of the orange card.
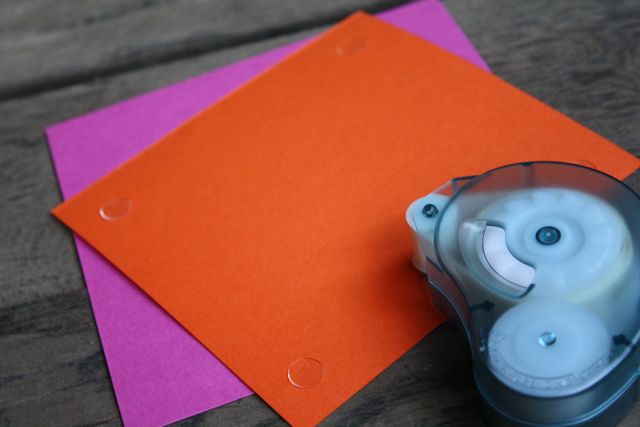
Then apply glue dots to the back of the orange piece.
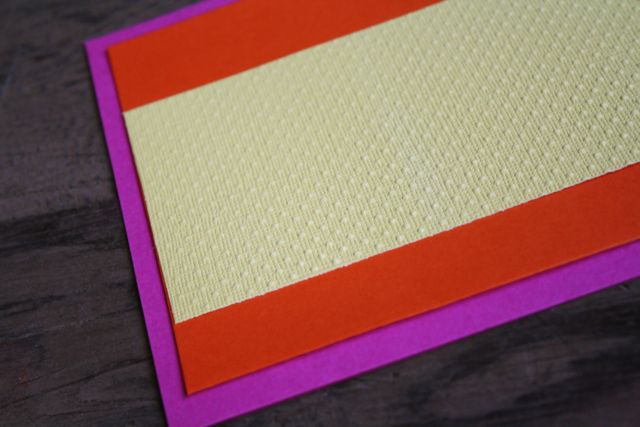
Next add the yellow decorative layer.
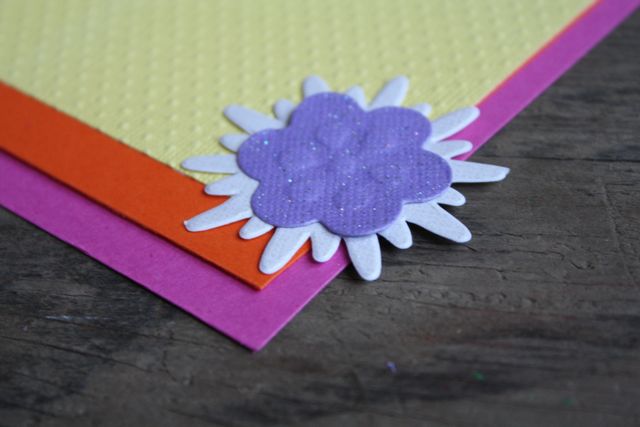
And the fun part… playing with embellishments. Add a flower…
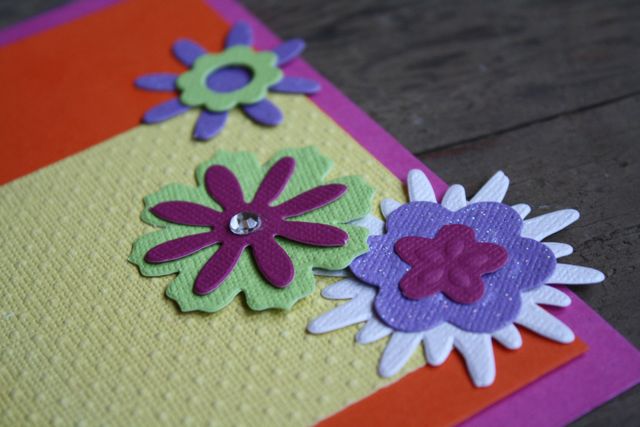
Or two or three! It's easy to stack them– you can't go wrong.
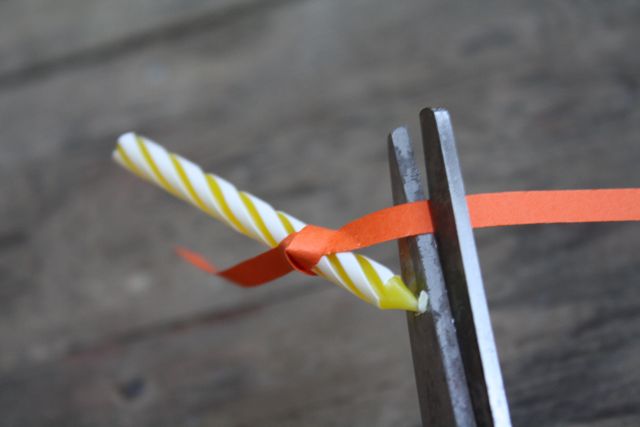
Use a small piece of the orange paper you trimmed and trim again. Tie in a bow around the candle.
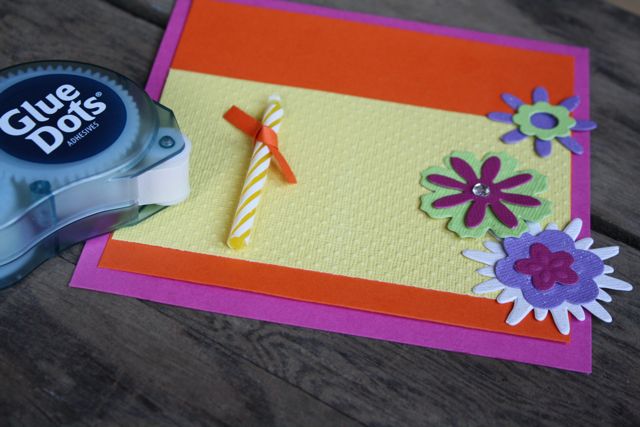
Then the finishing touch.
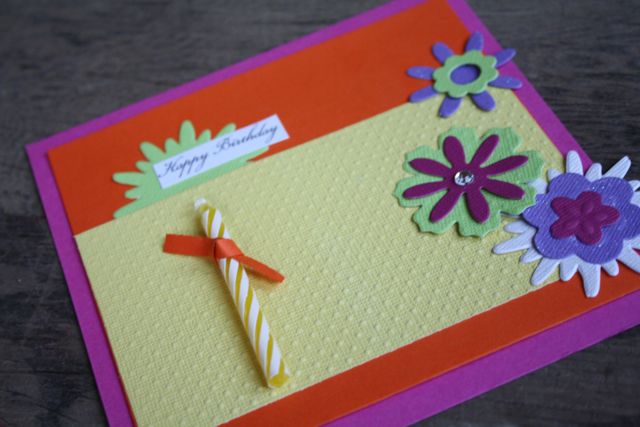
Slip a flower embellishment behind the paper part and for the grand finale… add a Happy Birthday sentiment sticker.
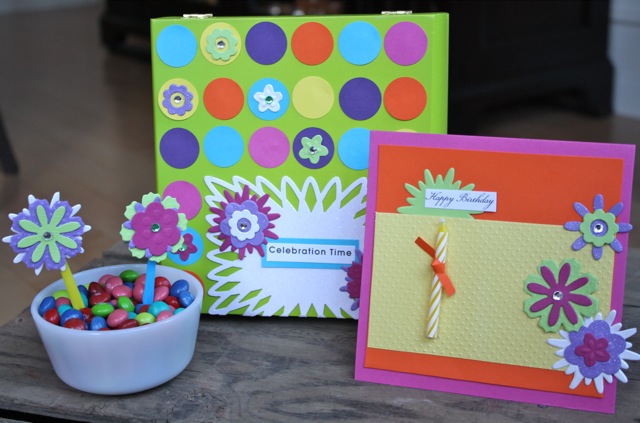
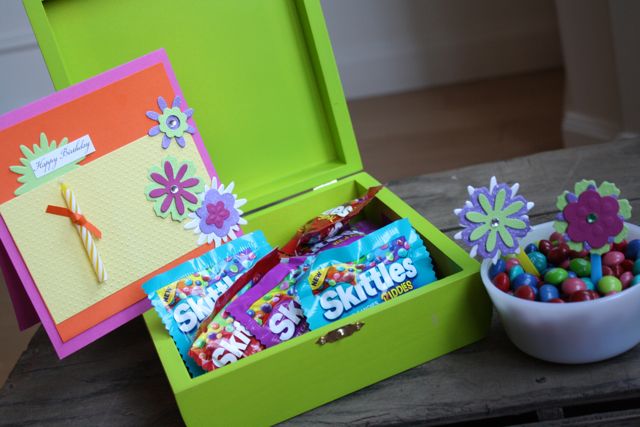
To make the birthday card extra special– only the most celebratory packaging will do! Warning– there are skittles involved…
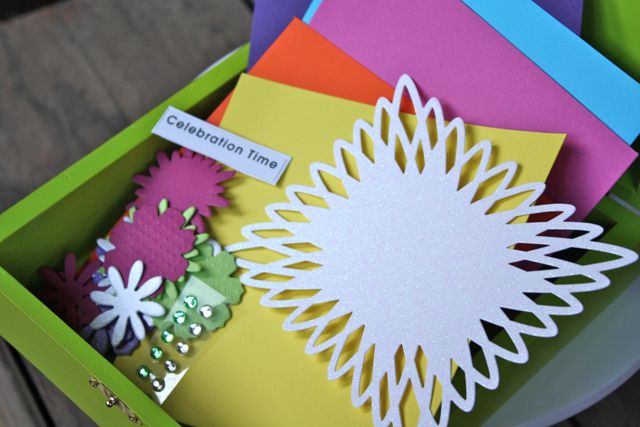
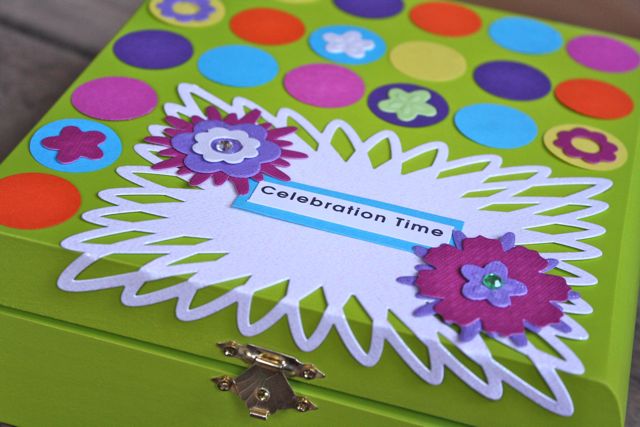
Keeping with the upbeat theme of the birthday card, I chose some brights from a card base package in the David Tutera Paper Crafts Celebrate line, as well as a decorative layer, embellishments and a sentiment — "Celebration Time…" and a brightly painted box to place the card as well as some sweet treats.
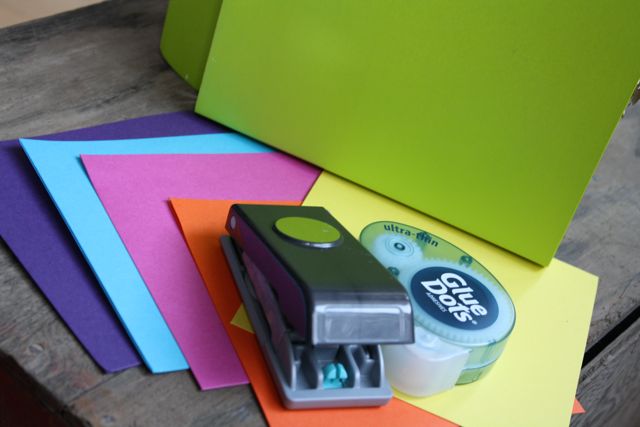
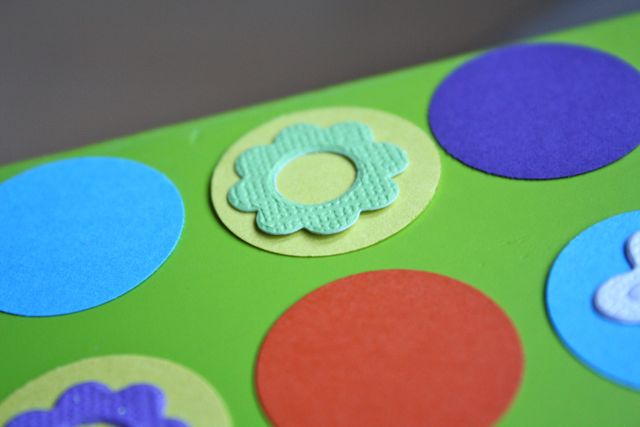
Punch circles in the paper with a 1 1/2 punch.
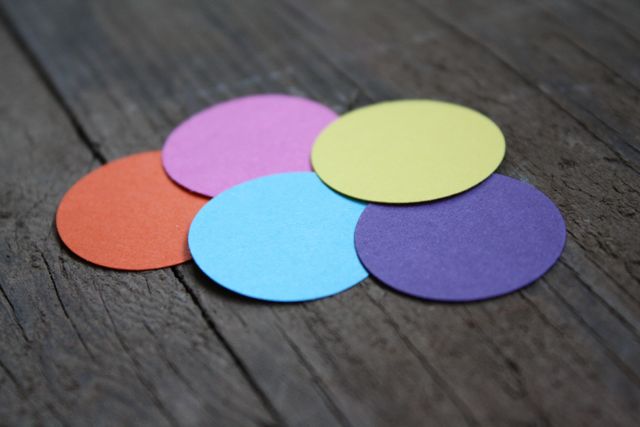
Play around with the circles on the box.
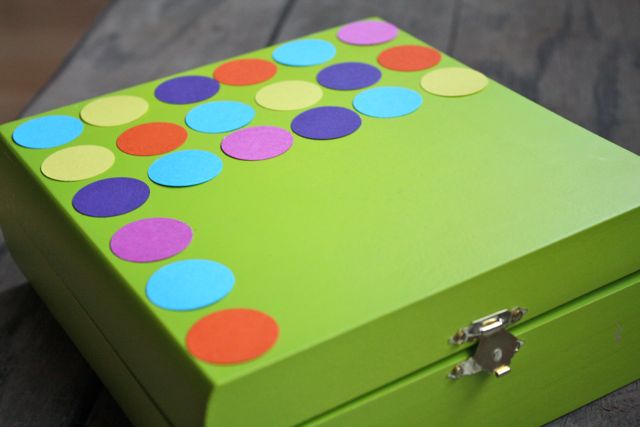
Leaving some space for the decorative layer.
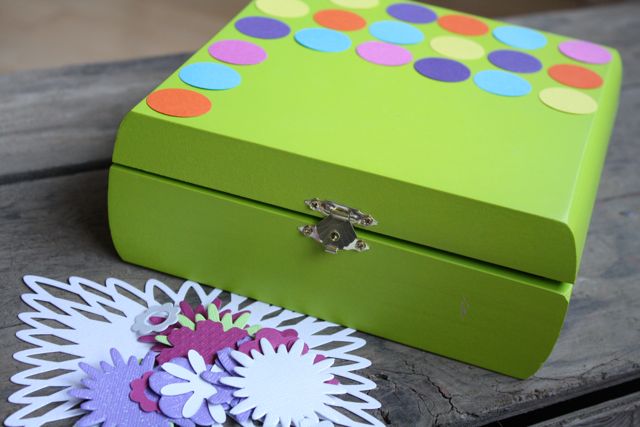
The detail on the decorative layer is so — HAPPY — I don't know how else to describe it!
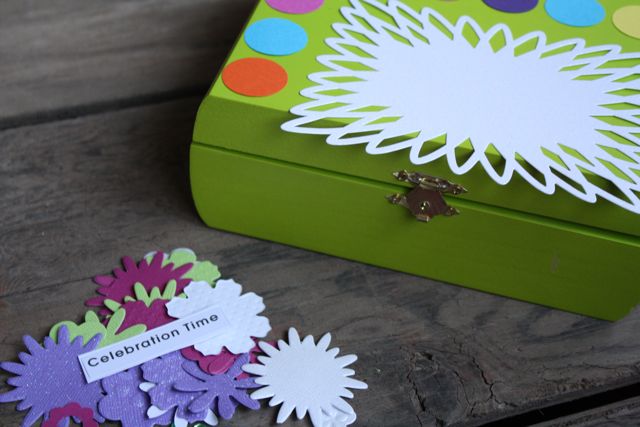
Using thin glue dots, secure the circles and the decorative layer, gently folding it over the edge of the box.
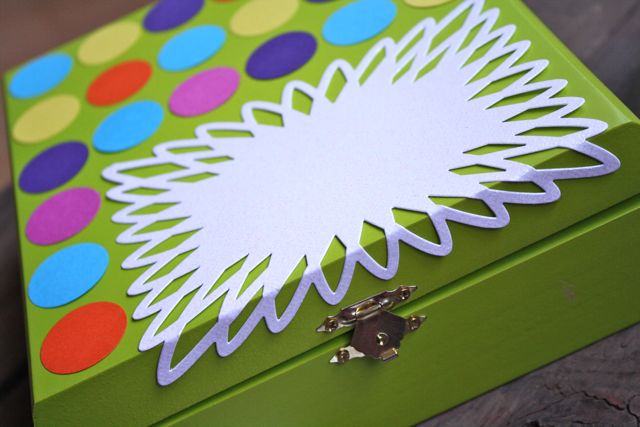
Layer some lovely flowers from the David Tutera Paper Crafts Celebrate embellishment collection…
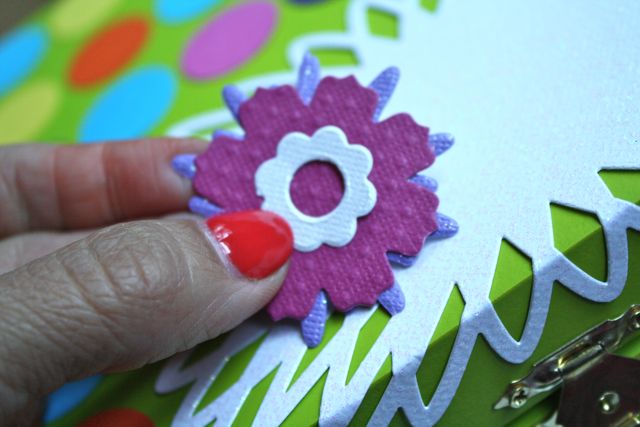
Add some small flower embellishments to the circles for added dimension.
Place the David Tutera Paper Crafts Celebrate line sentiment… ""Celebration Time" on the box, backed with a think strip of paper from a card base package.
Final step– grab some fun size candy… I had to go with Skittles for the bright colors– and fill the box up with them… placing your card on top so when the birthday girl or boy opens the box… they will see your fun card and the treats!
GUESS WHAT?
Three lucky winners will receive a $300 grand prize pack of supplies from David Tutera's Celebrate cardmaking line AND a personally signed book from David!
20 additional winners will receive a $50 Celebrate prize pack.
Sign up here for a chance to win: https://pages.exacttarget.com/tutera-optin-blog/.

Keep up with David Tutera Paper Crafts via Social Media
Find my post disclosure here.
Let's see what other cool projects people have created!

Brilliant! I just love this idea. Great job.
http://www.itsybitsypaperblog.com
Very cute! Love the celebration in a box idea. :)