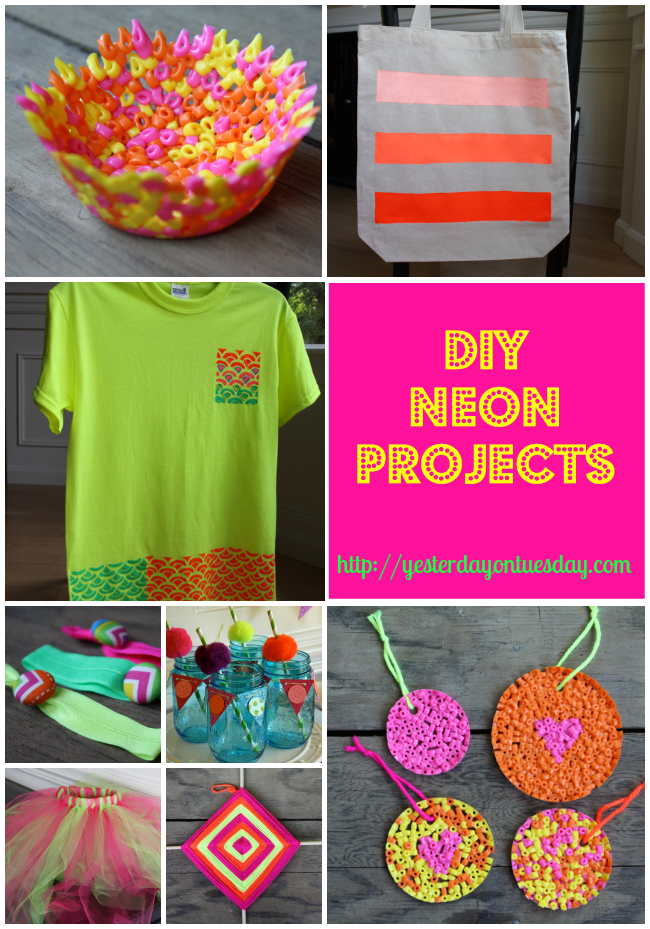
DIY Neon Projects
Catch these DIY Neon Project Ideas LIVE on KOMO TV (Channel 4) Monday July 8th at 4pm
DIY neon projects are HOT this summer! Whether you’re interested in keeping your kids busy with some cool neon crafts, or you want to add a pop of neon to your wardrobe– or brighten up your summer soiree… neon is versatile and fun.
Chances are that if you have young children, you have perler beads. Kids love making jewelry with these versatile plastic beads, but there are other fun things you and your children can create with them.
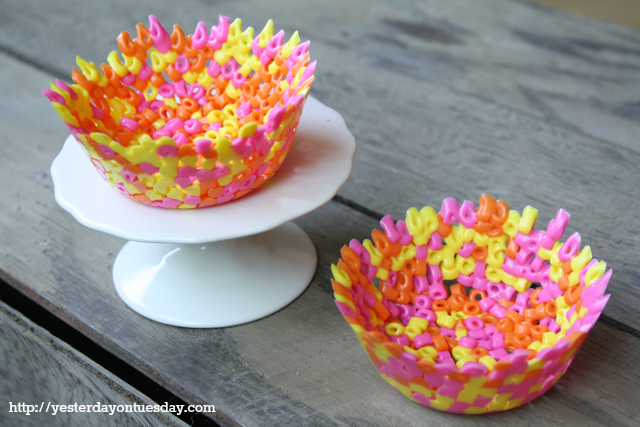
Neon Perler Bead Bowls
Supplies: Neon perler beads, cooking spray, small oven safe bowls. Craft supplies from Ben Franklin Crafts and Frames Redmond.
Directions: Preheat oven to 400 degrees. Spray bowls with cooking spray. Add neon beads, placing on bottom of bowl and up the sides. Place in oven. Checking everything 2-3 minutes, watch for when beads melt together. In my oven it took about 20 minutes but every oven is different. When the beads meld together, use an oven mitt to remove bowls. After they cool off, slide perler bowls out.
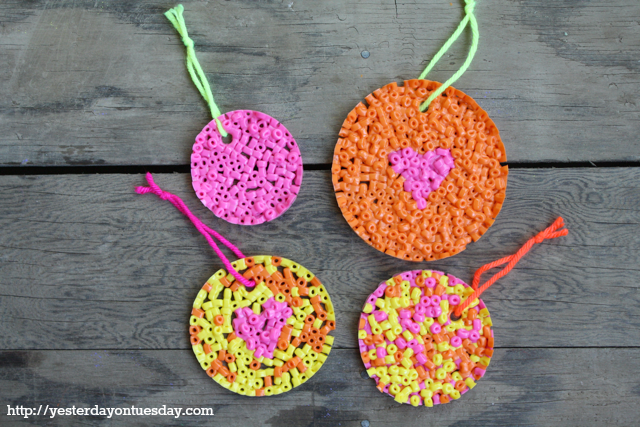
Neon Perler Bead Suncatchers
Supplies: Neon perler beads, parchment paper, cooking spray, cookie cutters, a cookie sheet, neon yarn or ribbon and a paper straw. Craft supplies from Ben Franklin Crafts and Frames Redmond.
Directions: Preheat the oven to 400 degrees and cut the straw into small sections (you’ll use the straw to make the holes for hanging). Line the cookie sheet with parchment paper and spray the cookie cutters with cooking spray. Place cookie cutters on the sheet and add beads to the inside of the cookie cutters. Put cookie sheet in over for approximately 10 minutes or until beads melt together (but check every 2-3 minutes). After beads have melted, remove cookie sheet from oven and use a section of the straw to poke a hole on the top of the suncatcher. After they cool off, gently remove from cookie cutters and use yarn or ribbon to string them up.
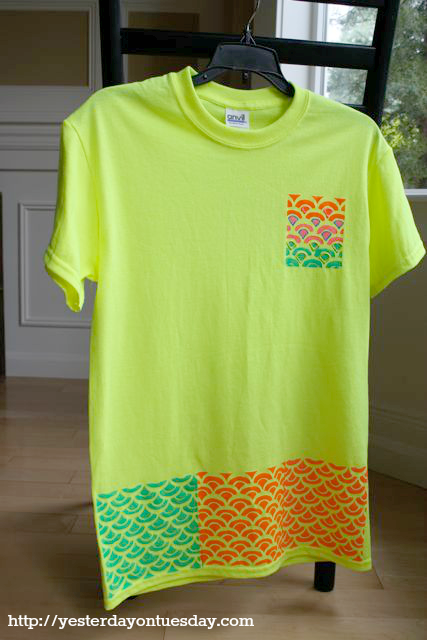
Neon Stencil Tee Shirt
Supplies: Neon tee shirt, a stencil, masking tape, foam sponcer (paint brush), neon paint (Jacquard Textile Paint in Fluorescent Orange), Tulip Slick Paint in Fluorescent Blue, Tulip Slick Paint in Fluorescent Yellow and Tulip Slick Paint in Fluorescent Pink, cardboard for inside of shirt. Craft supplies from Ben Franklin Crafts and Frames Redmond.
Directions: Put cardboard inside shirt. Place stencil on desired area tee shirt and secure with masking tape. Gently apply paint in an up and down motion. After section dries, gently remove stencil and move to next area. After all the stenciled areas are dry, add dimensional paint if desired.
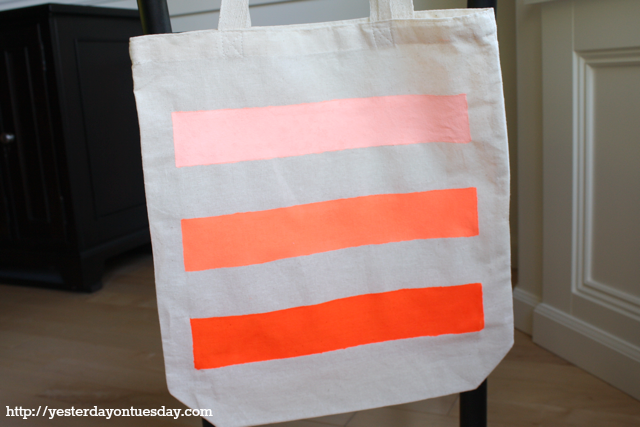
Neon Striped Tote
Supplies: Tote bag, neon paint (Jacquard Textile Paint in Fluorescent Orange), Tulip White Fabric Paint, masking tape, cardboard for inside of tote, paper plates for mixing paint. Craft supplies from Ben Franklin Crafts and Frames Redmond.
Directions: Place cardboard inside tote bag. Use making tape to tape off borders and three sections to paint. Paint the first section with the Jacquard Textile Paint in Fluorescent Orange. Using a paper plate to mix the paint, add some white paint to the orange and paint another section. Add even more white paint and mix with orange. Paint the final section. Let it dry.
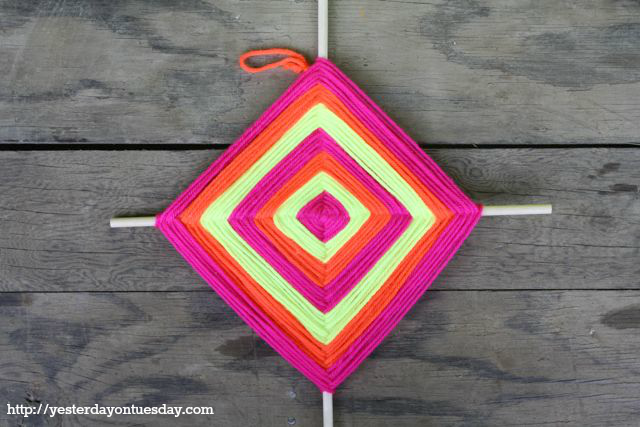
Neon God’s Eye Yarn Craft
Supplies: 2 or more colors of neon Yarn, 2 dowels or popsicle sticks, scissors, chenille stems. Craft supplies from Ben Franklin Crafts and Frames Redmond.
Instructions: Arrange the two sticks in the shape of a cross and tie a piece of yarn around the top (you can stabilize but cutting off a piece of chenille stem and wrapping it around the cross to stabilize it). Wrap the yarn around the two sticks in the shape of an “X” several times. One the sticks are fairly secure, loop the yarn around the top stick once. Repeat on the remaining sticks until you return to the top. Continue wrapping the yarn around the sticks until you’re ready to switch colors. To switch colors, simply cut the yarn and tie the end to your new yarn. Be careful to place the knot on the backside of the “God’s Eye.” Tutorial Courtesy of Ben Franklin Crafts and Frames Redmond.
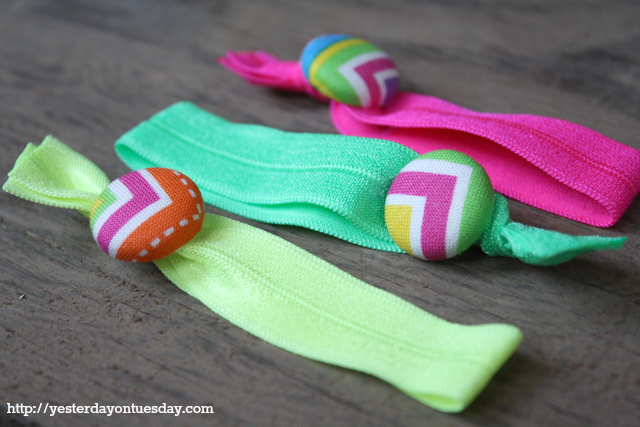
Elastic Neon Hair Ties
Supplies: Neon elastic, button making kit, neon fabric, scissors. Craft supplies from Ben Franklin Crafts and Frames Redmond.
Directions: Cut elastic into 9 inch strips. Make buttons with kit. Add button to elastic and tie a knot.
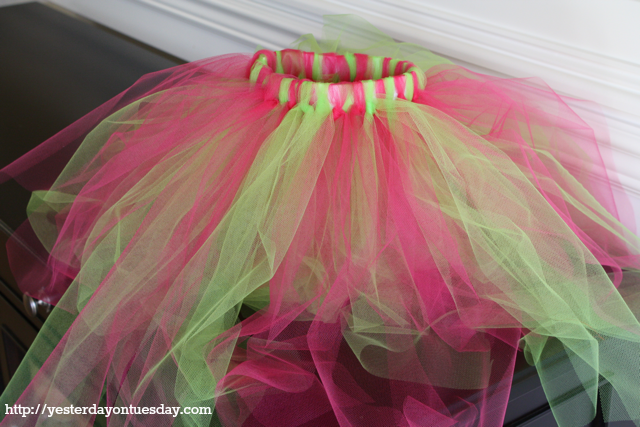
Neon Tulle Skirt
Supplies: Elastic, 2-3 rolls of neon tulle, scissors. Craft supplies from Ben Franklin Crafts and Frames Redmond.
Directions: Measure shild’s waist and cut elastic to fit. Sew ends together or use fabric glue. Cut tulle into 1 yard pieces. Tie a knot in tulle around elastic. Alternate colors. Continue until elastic is covered.
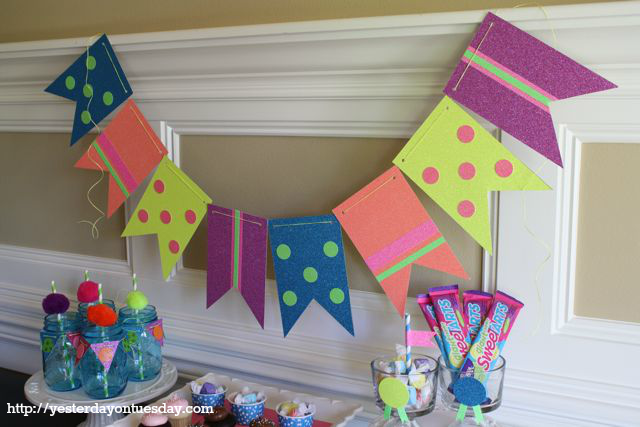
Neon Pennant Banner
Supplies: Gitter cardstock, scissors, glitter tape, double sided sticky tape, hole punch. Craft supplies from Ben Franklin Crafts and Frames Redmond.
Directions: Using a cardboard pennant pieces as a template, trace 8 pennant shapes out of the glitter paper and cut out. Adhere to pennant shape with double sided sticky tape. Make designs with the glitter tape and/or punch circles out of contrasting cardstock colors and stick to pennants. Punch holes on top and using twine or ribbon to string up.
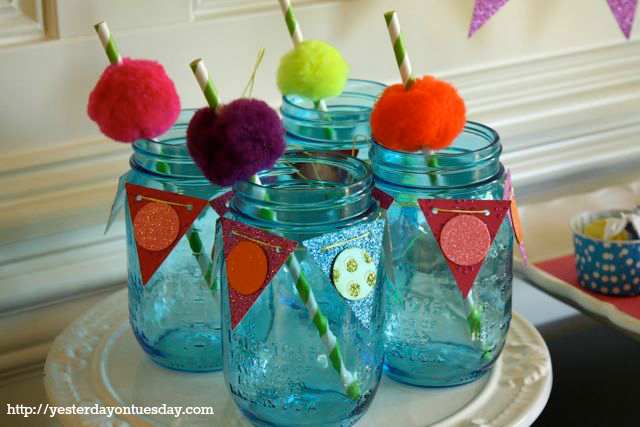
Neon Pom Pom Straws
Supplies: Blue Mason Jars, straws, Darice Neon Pom Poms. Blue Mason Jars and craft supplies from Ben Franklin Crafts and Frames Redmond.
Directions: Slide pom pom on straws, add to glasses.



Very cool! Pinned this for later inspiration.
I see so many cute things that I’d love to make with a child. Since I don’t have any, I may have to invite a few of my neighborhood children over to craft!
Paula@SweetPea recently posted…Yard Sale Chair Makeover
I love the neon trend and these are such great projects. My kids would love to make all of them!
Randi – Dukes and Duchesses recently posted…A Princess Celebration #DreamParty #cbias
Awesome Malia way to go!!!
These are all so fun!! I love how colorful and creative everything is!
Beverly {Flamingo Toes} recently posted…DIY Vintage-Style Happy Place Sign
What a great round-up of ideas! Love them all!
Take care,
Trish
Trish @ Uncommon Designs recently posted…Summer Beach Tablescape and a Summer Tablescape Party
I am really in to neon green. :) These are very cool. Thanks.
Barbara Boser recently posted…What is Organic Anyway?
Totally itchin’ to melt some perler beads!!
Jenn Erickson recently posted…Future Heirlooms: Family Silhouette Pendant Tutorial