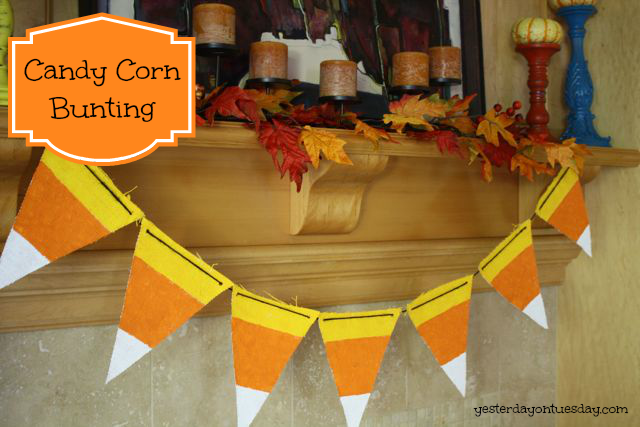
Candy Corn Bunting
{Candy Corn Bunting}
Last week I shared 7 Simple Halloween Decor Ideas in conjunction with my TV segment on KOMO here in Seattle.
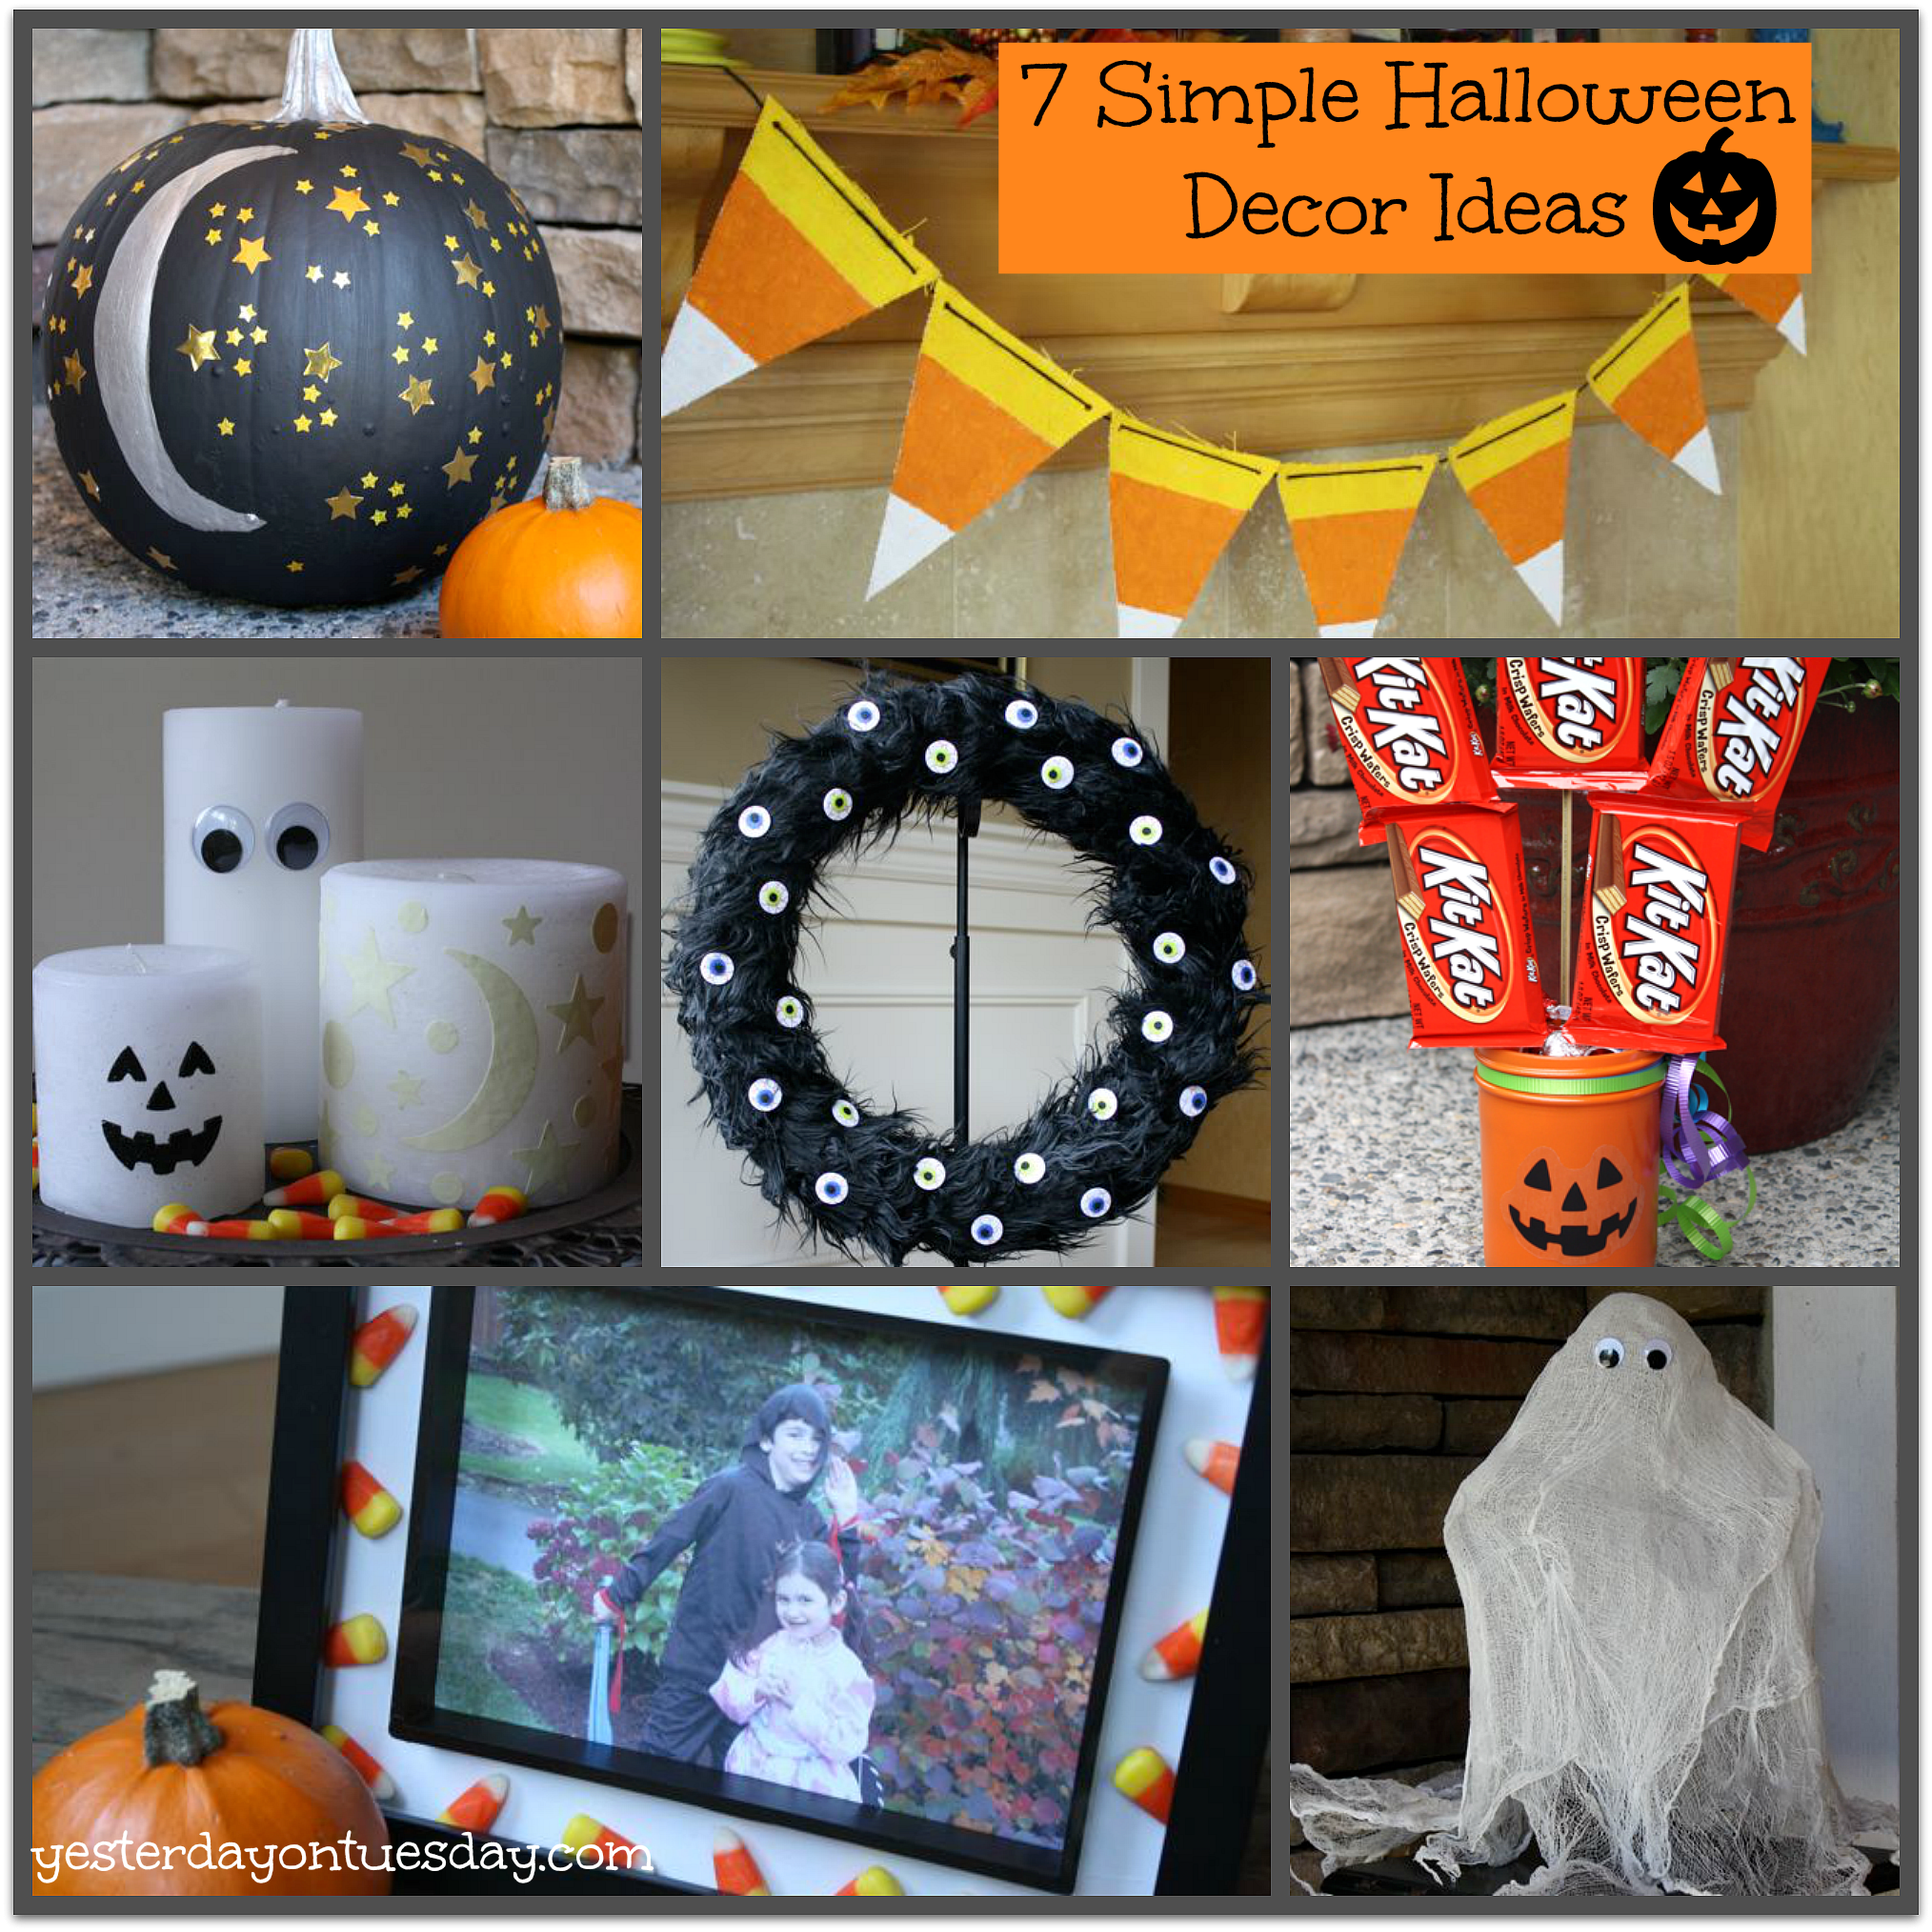
When I do my TV segments and the blog posts that go along with them, I don’t always include step by step photos… because if I did, the post would be EXTREMELY long! But if I have the chance, I like to post more detailed instructions later. This project was so cute, I wanted to share the how-to’s with you.
Candy Corn Bunting
Supplies: Four 12 x 12 Burlap Sheets from Canvas Corp, a die cut machine (or cardboard triangle patter, ruler, hole punch and scissors) Delta Creative Cermacoat Acrylic Paint in White (2), Yellow and Bittersweet Orange, ruler and masking tape, Black Canvas Corp Cord. All craft materials available at Ben Franklin Crafts and Frames.
Optional but highly recommended: use large plastic bags on your work surface to protect it and also to expedite painting.
Step 1: Die Cut (or cut with scissors) 7 large triangle shapes. If cutting with scissors, create a cardboard template of a pennant measuring 7 x 10 x 10 inches. Then trace and cut 2 triangles from each sheet. Punch two holes on the 7 inch side for hanging later.
Step 2: Cover your workspace with plastic bags and paint the front of each triangle white, let it dry. I used Delta Creative Cermacoat Acrylic Paint in White . Then do the same on the back.

Step 3: Use the masking tape to mark off three different sections. Remember, on “real” candy corn, the middle is the largest area. Tips: Use a credit card or ruler to “burnish” the masking tape… meaning press down hard on it so you get a nice clean line.
You already painted the burlap white, so there are only 2 more sections to go!
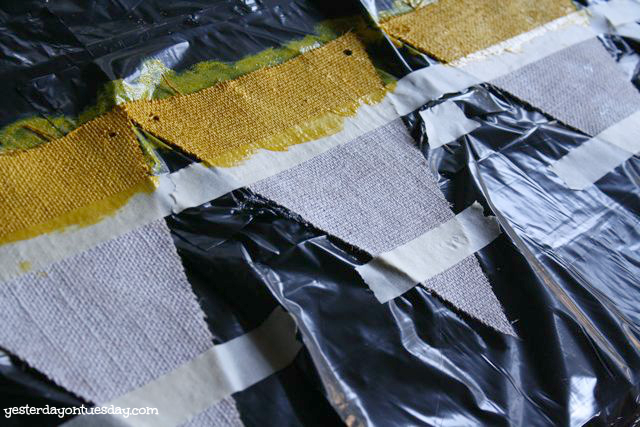
Step 4: Paint the top section orange. I used Delta Creative Cermacoat Acrylic Paint Delta Creative Cermacoat Acrylic Paint in , Yellow. Let it dry.
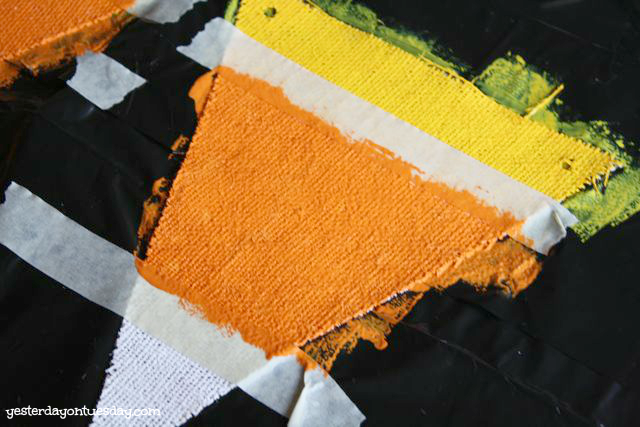
Step 5: Reapply your tape (don’t worry, the tape will not harm the acrylic paint) and paint the middle section orange. I used Delta Creative Cermacoat Acrylic Paint in Bittersweet Orange.

Step 6: Remove the masking tape and punch holes in the top (short) side of the triangles. Do any necessary touch-ups and then string cord through the tops of the triangles. I used black cord from Canvas Corp.
Hang and enjoy!
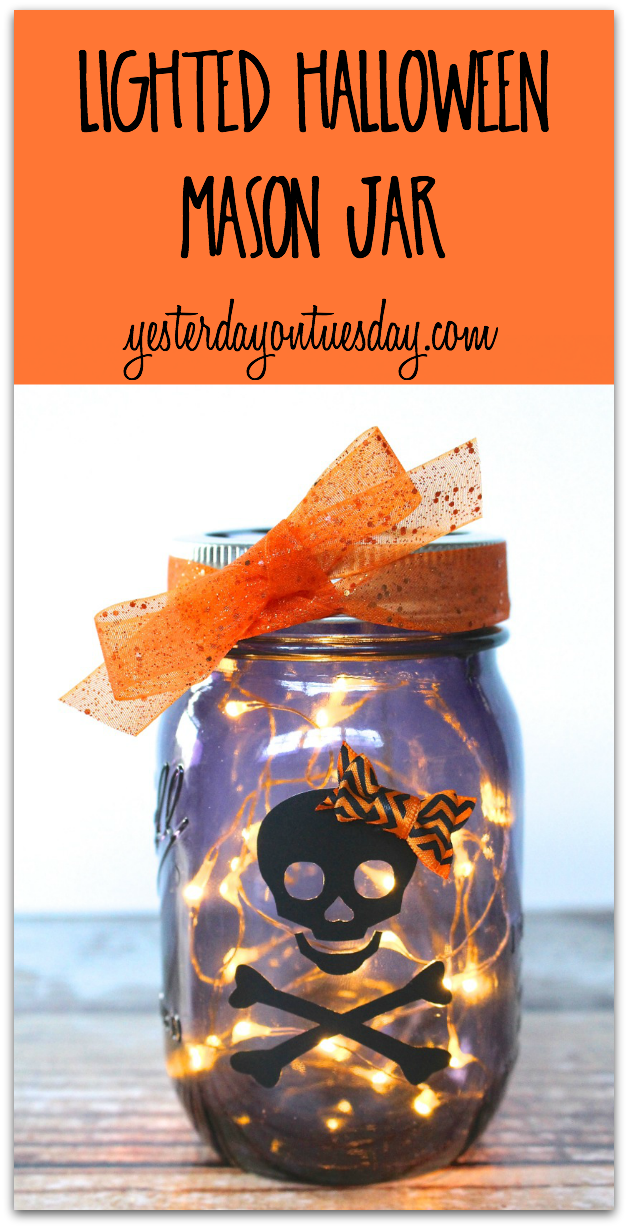
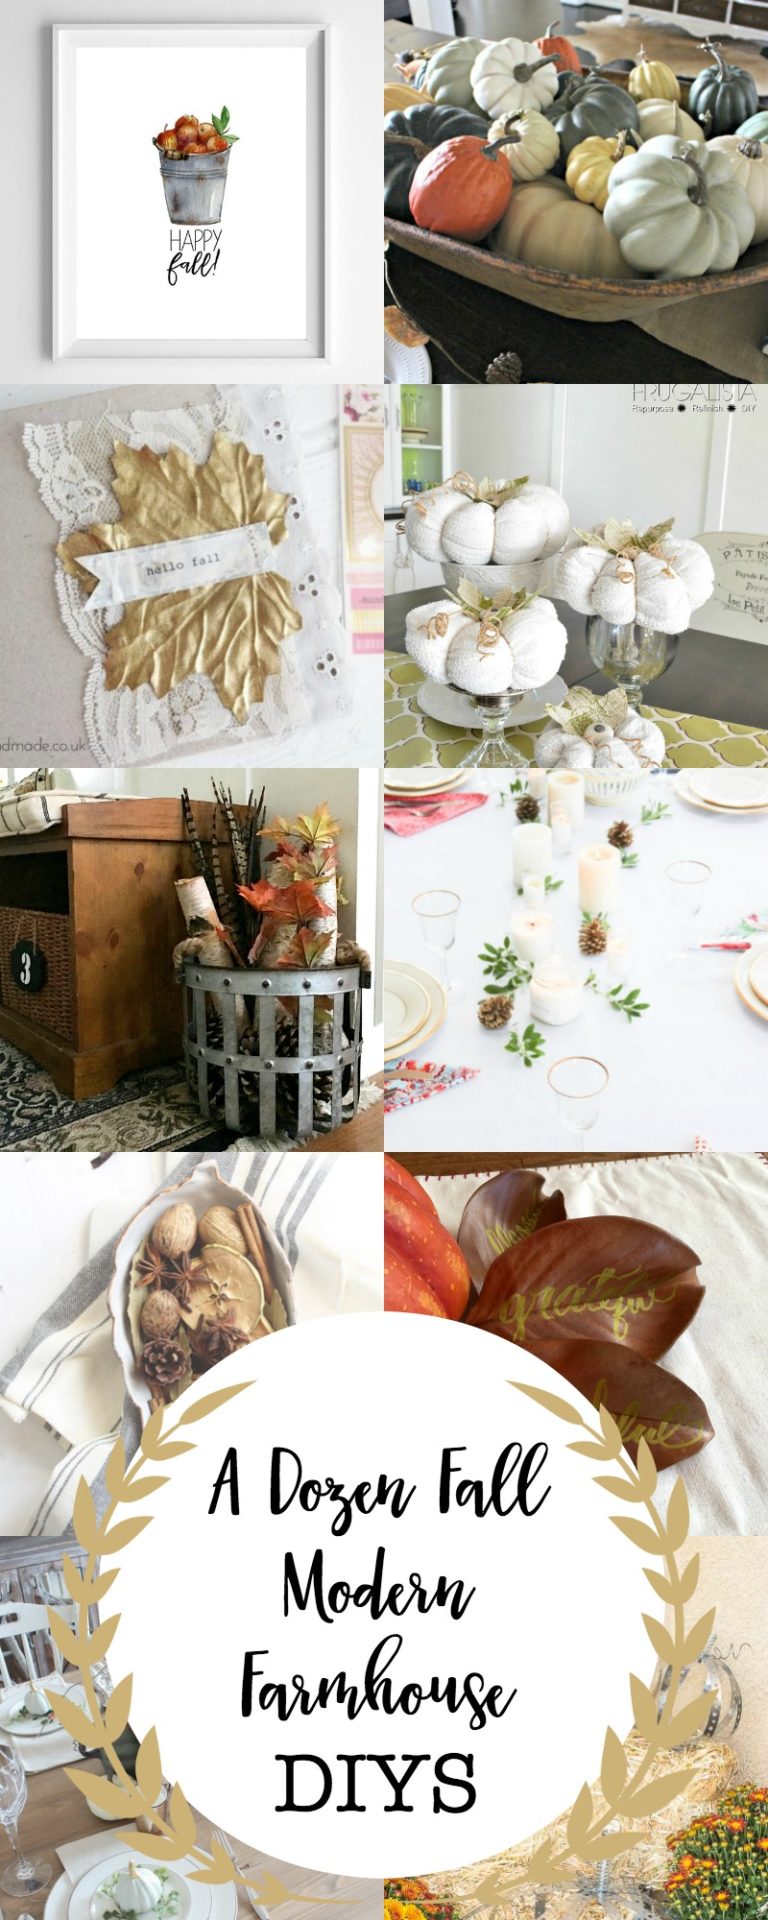
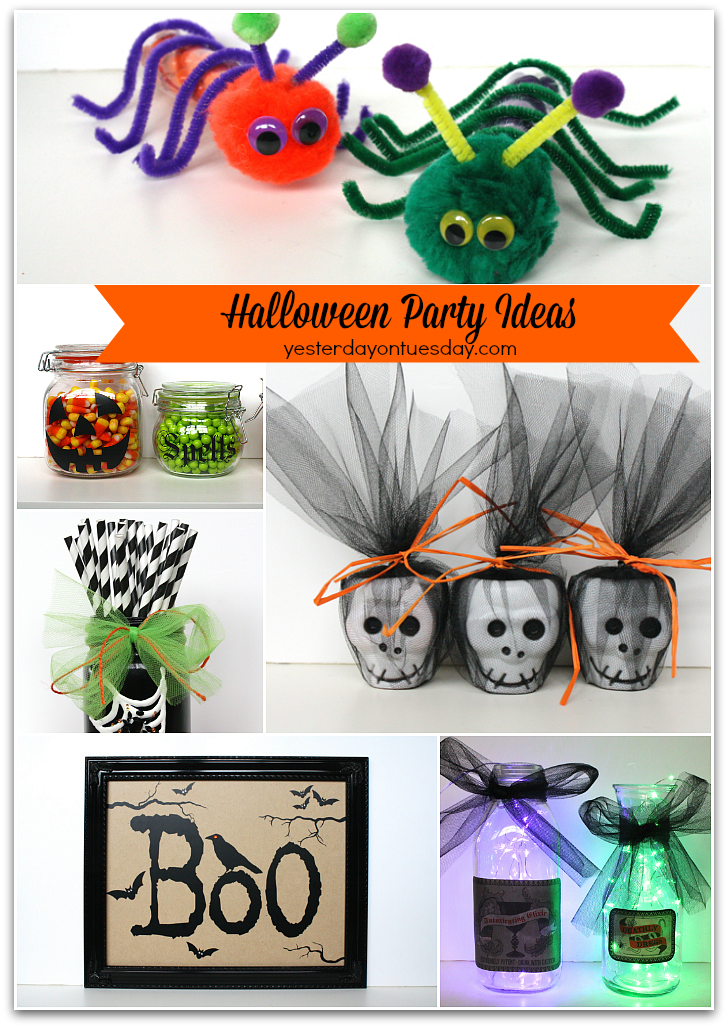
Check out my gallery of fun Halloween Crafts and Food ideas!
Sharing at these great parties.


I’m not much of a burlap gal but I LOVE this banner. The little candy corn pennants are so sweet! If you’re interested, I’d love to see you at my new-ish link party, Link It or Lump It – https://www.dreamalittlebigger.com/post/link-party-9.html
Allison @ Dream a Little Bigger recently posted…Fruit and Fish Perler Bead Bracelets
So cute! I love painting on burlap now…gives such a great look!
Holly Lefevre recently posted…DIY Tree Silhouette Art & A Spooky Spaces Mantel
Burlap is the bomb! Thanks for the visit Holly!