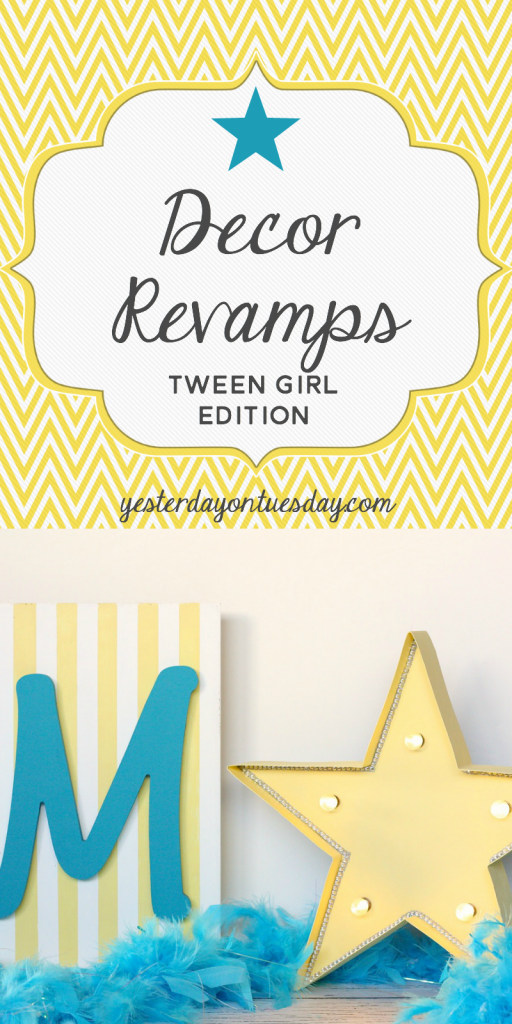
Decor Revamps for Tween Girls
Disclosure: This post is sponsored by DecoArt, where I’m a Core Blogger.
Decor Revamps for Tween Girls
All of the sudden, my baby is a tween girl! Some of the decor I picked out for her when she was a toddler is all wrong now. Plus she’s got her own passions and her space should reflect what she’s into now.
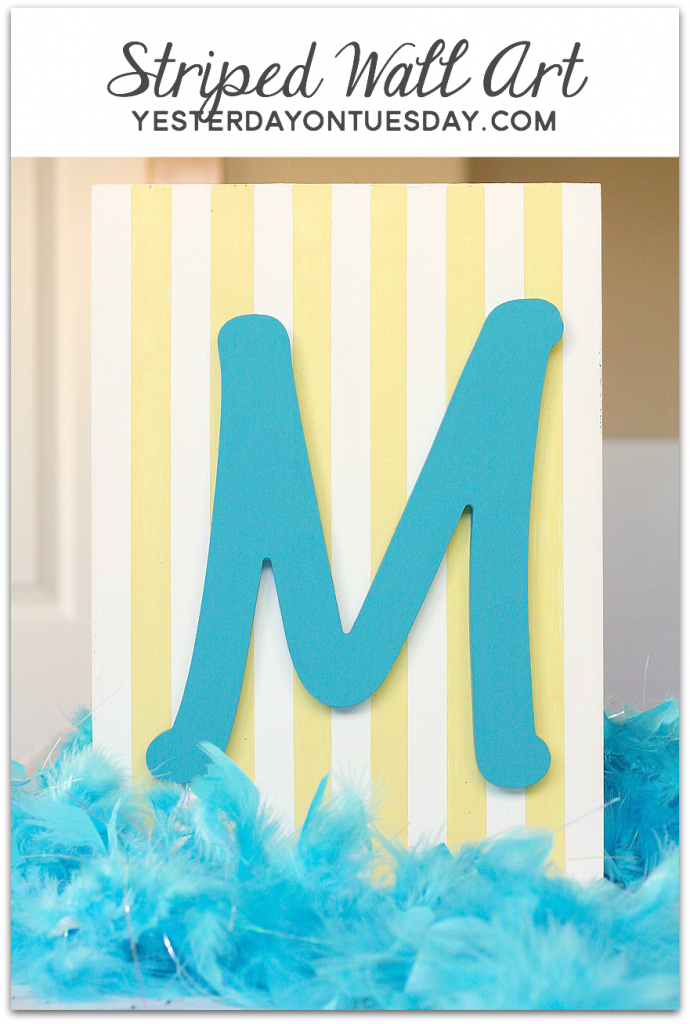
That’s why I transformed some of her outdated decor into something fun and very “her.”

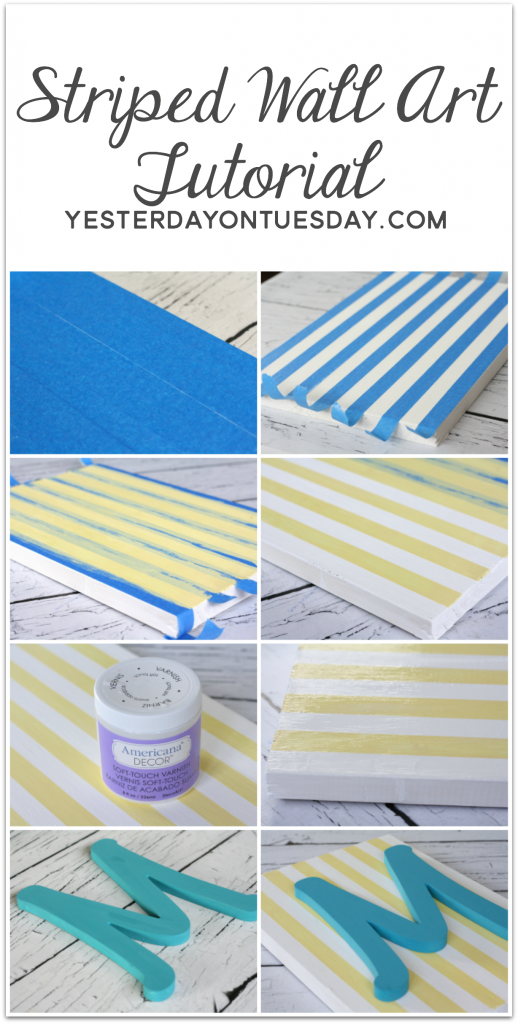
Supplies: Americana Decor Chalky Finish Paint in Delicate, Everlasting and Treasure. I also used painter’s tape (I was going to use masking tape, but then decided painter’s tape was a better bet). I also used Soft Touch Varnish. I also got a wooden “M” from Michael’s. The piece I wanted to update was something I picked up at Pottery Barn kids many years ago.
Directions
1. Do 2-3 coats of Everlasting on wooden piece.
2. Stick painters tape on piece, lining them up evenly.
3. Remove every other piece of tape.
4. Brush on a coat of Delicate on the exposed stripes.
5. Remove the tape and let dry.
6. Add a coat of Soft Touch Varnish.
7. Paint the letter Treasure.
8. Use hot glue to attach the letter to the wood piece.
My daughter is really into music and signing. When I spied this cool lighted star at Michaels, I was excited to integrate it into a new space I have planned for her in her room.
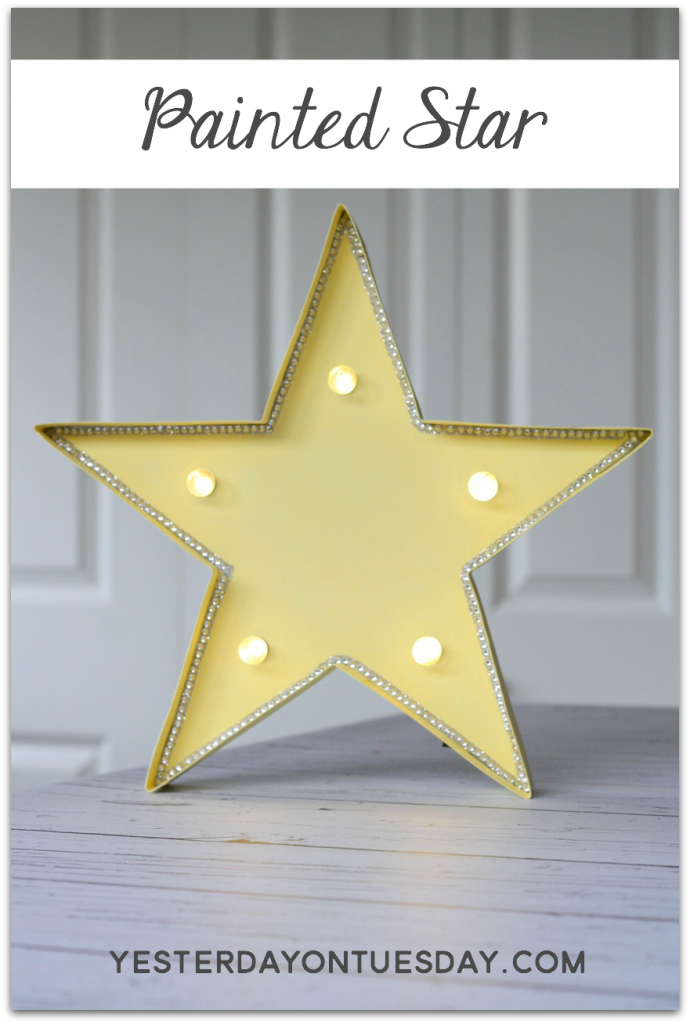
But I wanted to give it a little color and sparkle first.
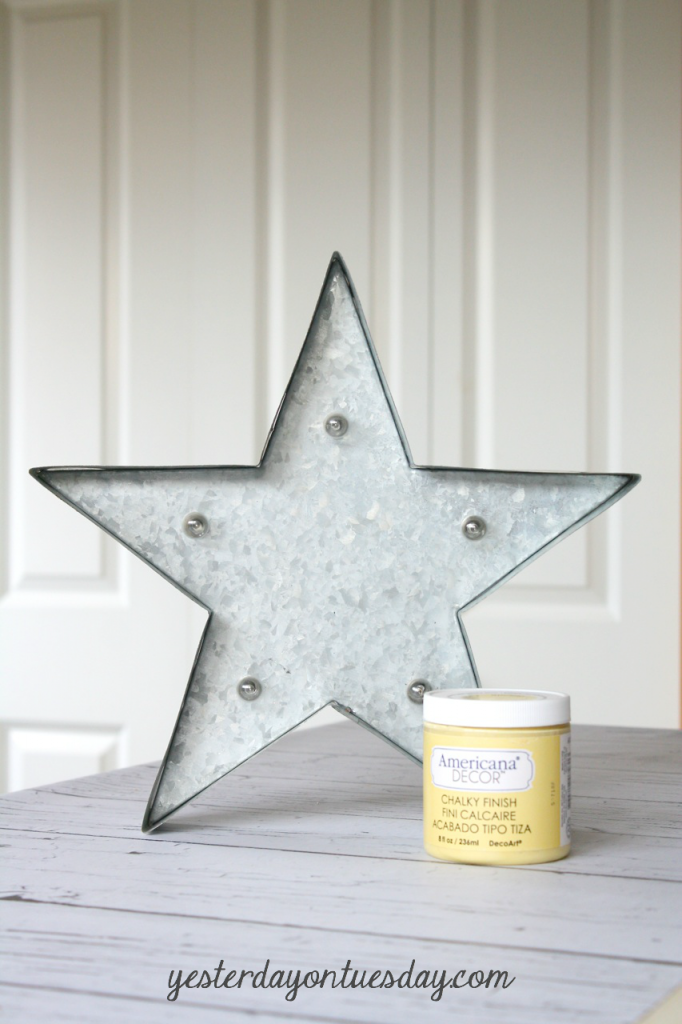
Supplies: Metal Star from Michael’s, Americana Decor Chalky Finish Paint in Delicate, and adhesive rhinestones.
Directions:
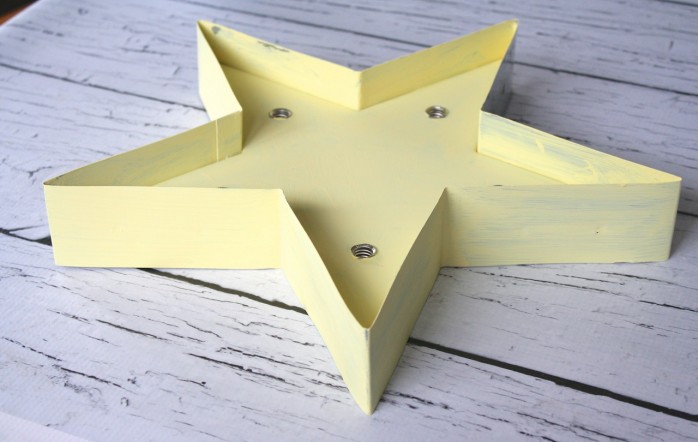
1. Remove the lights and paint the metal stars 2-3 times with Delicate.
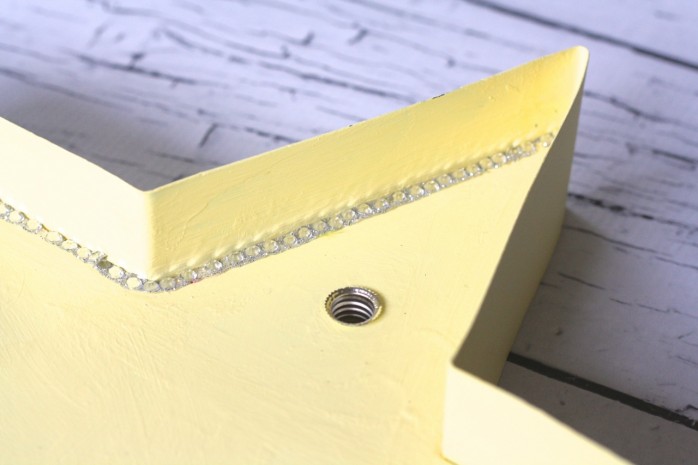
2. Add the rhinestones and the lights.
Want to see the whole kitten caboodle? I’ll be sharing more updates to my daughter’s space (using DecoArt paint) next month!


So sweet! Perfect for a tween girl. I love that star! Can you believe how quickly these kiddos grow up?!
Sharon B.@ Lilikoi Joy recently posted…How to Vacation with Your Parents Without Losing Your Mind: A Tour Around the Island of Oahu
Thanks Sharon, and no… all of the sudden my little kids are tweenage and it’s making me a little sad!
Soooo cute – my girls are just itching to get going on their rooms.
Gina recently posted…Snickerdoodle Coffee Cake
I am slowly making Mia’s room less little girlish… it’s a fun challenge. Would love to see what you do in your daughters rooms too!
So pretty, Malia!! Both projects turned out adorable. LOVE the monogram!
Michele @ The Scrap Shoppe recently posted…Childhood Memories: When things were simpler
Thanks Michele and we both know you can never have enough “M’s”!!!
I love how these projects turned out. I’d love to do something like this for my daughter’s room. Pinned for later. I love chalk paint.
Theresa @DearCreatives recently posted…Home Decor Ideas: Coffee/Tea Cabinet #ChalkyFinish #DIY #DecoArtsProject
Thanks Theresa I can’t wait to visit you and check out your Coffee Table/Tea Cabinet Project!!!
You chose a great color combination. It looks beautiful. I love the crisp lines on the wall art.
Kelly Hedgespeth of Simply Kelly Designs recently posted…Dear Graduate: Write Yourself A Letter
Thank you Kelly!
I am loving those colors – I need more stripes in my life!!
Claire @ A Little Claireification recently posted…Slow Cooker Beef Taco Stuffed Peppers
LOL me too and polka dots!
I adore the color choices! So pretty!
Christy @ Our Southern Home recently posted…Upcycled Spring Wreath
Thanks Christy!
Those are both so pretty! I’m loving yellow right now. It’s such a happy color!
Gwen recently posted…Turquoise and Gold Wedding Date Art