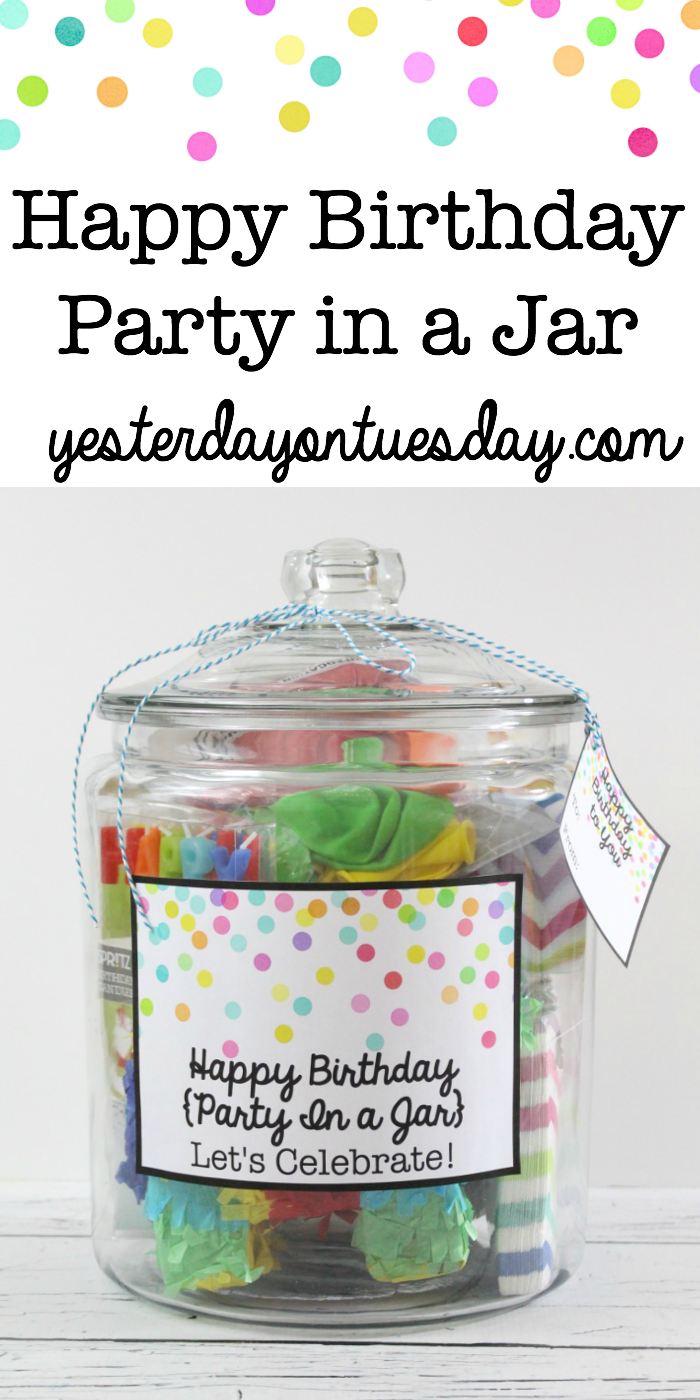
Happy Birthday Party in a Jar
Happy Birthday Party in a Jar
It’s Day 2 of our super fun GIFTS IN A JAR series, and today’s project is a Happy Birthday Party in a Jar!
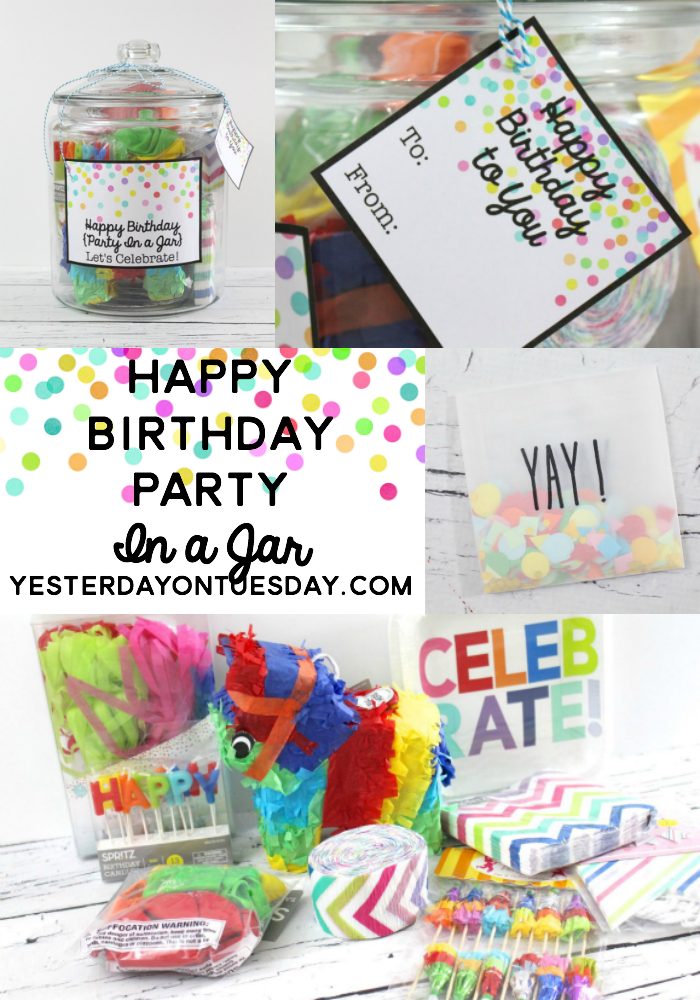
This big beautiful jar is packed with everything you need to celebrate a birthday (except cake of course).
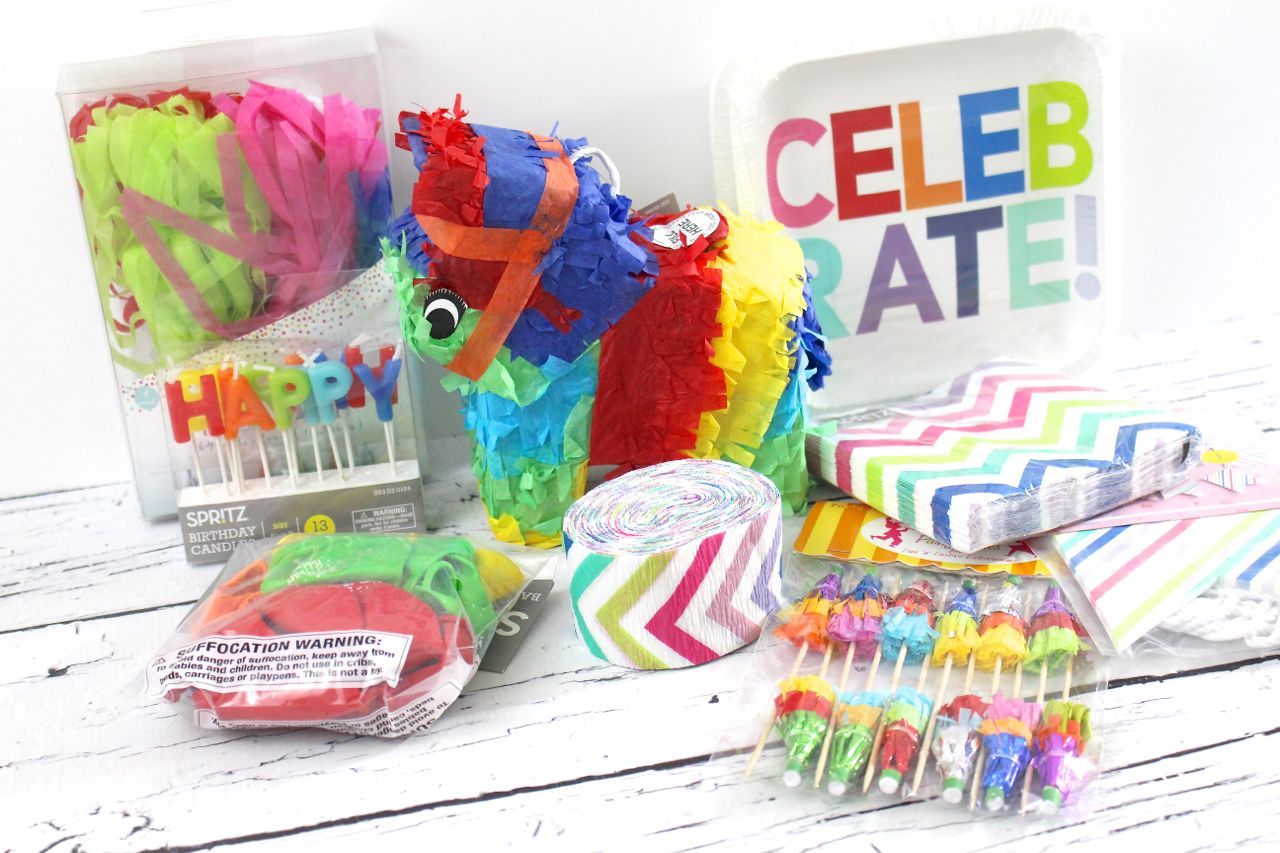
I found many of these items at Target including the piñata, the CELEBRATE paper plates, the crepe paper, the candles, the napkins, the tassels, the balloons and the banner. The little toothpick umbrellas are from the grocery store and the YAY confetti is from the card shop.
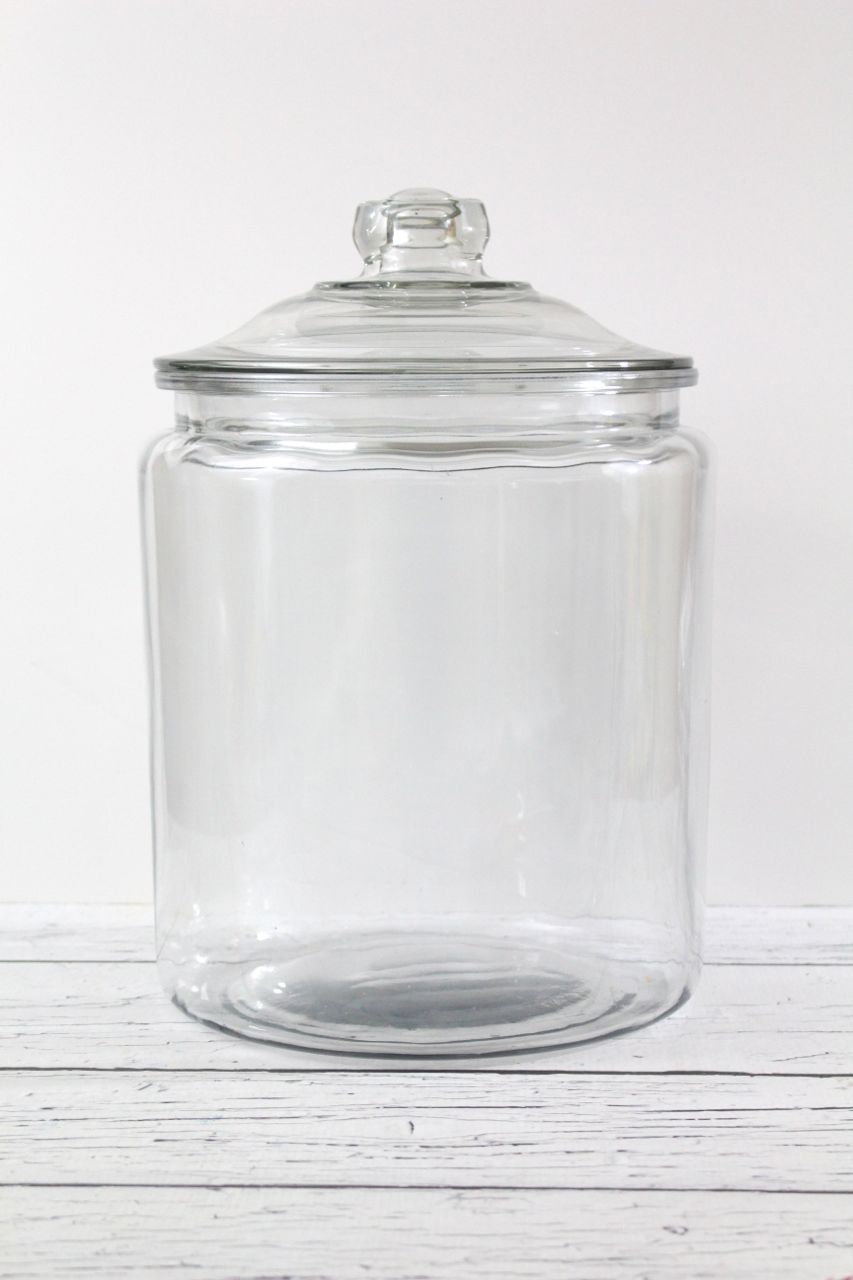
The jar is the 2 Gallon Heritage Hill Jar with Glass Lid from Fillmore Containers.
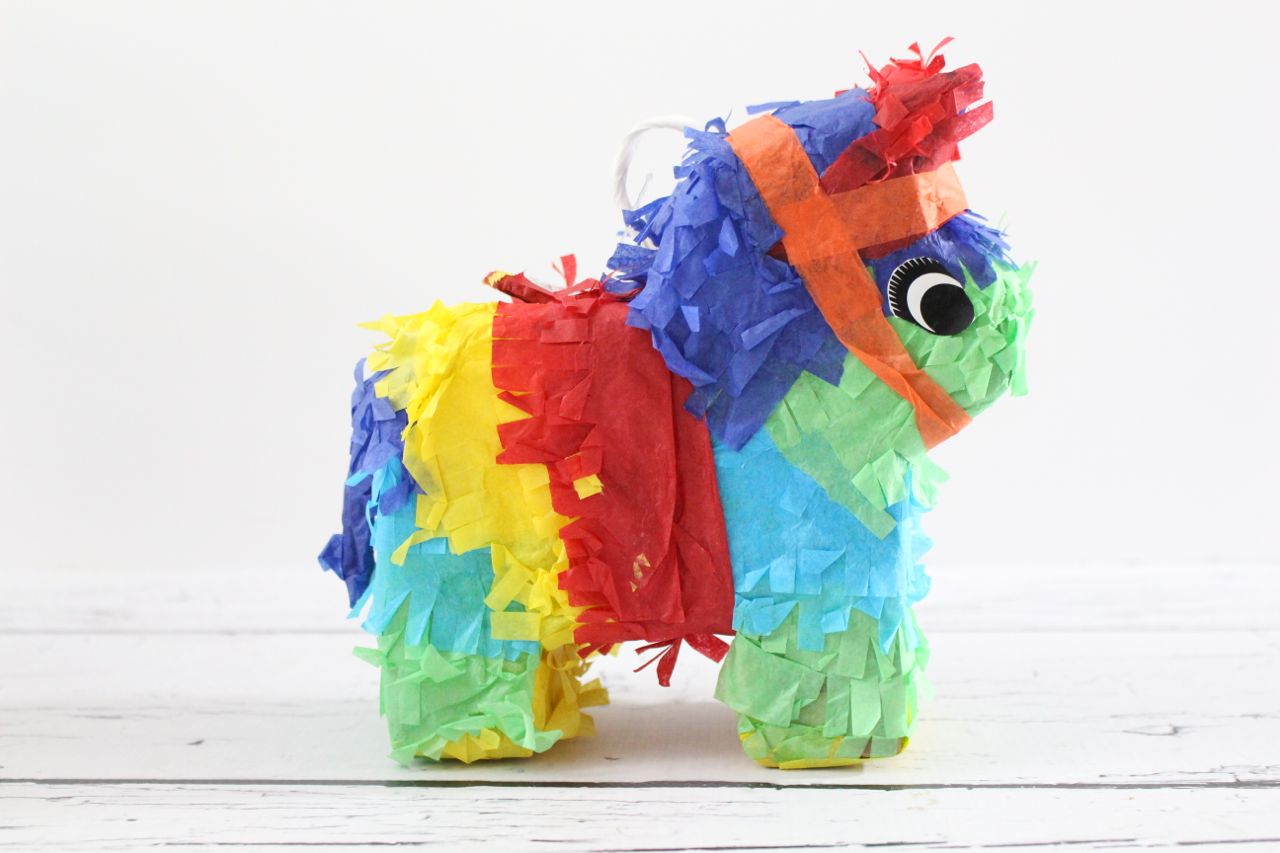
I love the baby piñata!
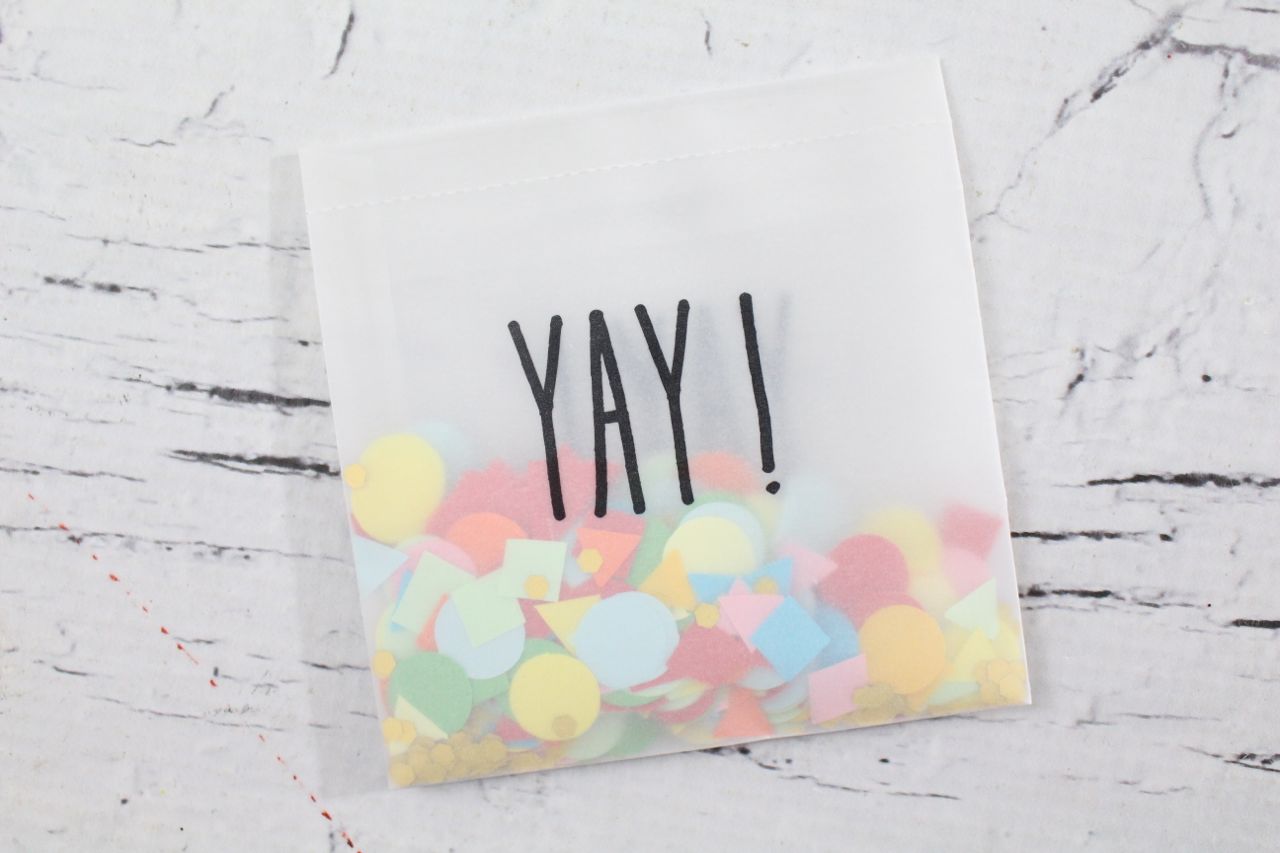
This would be an easy DIY with a small glassine envelope and confetti make with a hole punch.

The little toothpicks are so happy.

Everything fits perfectly inside the jar.
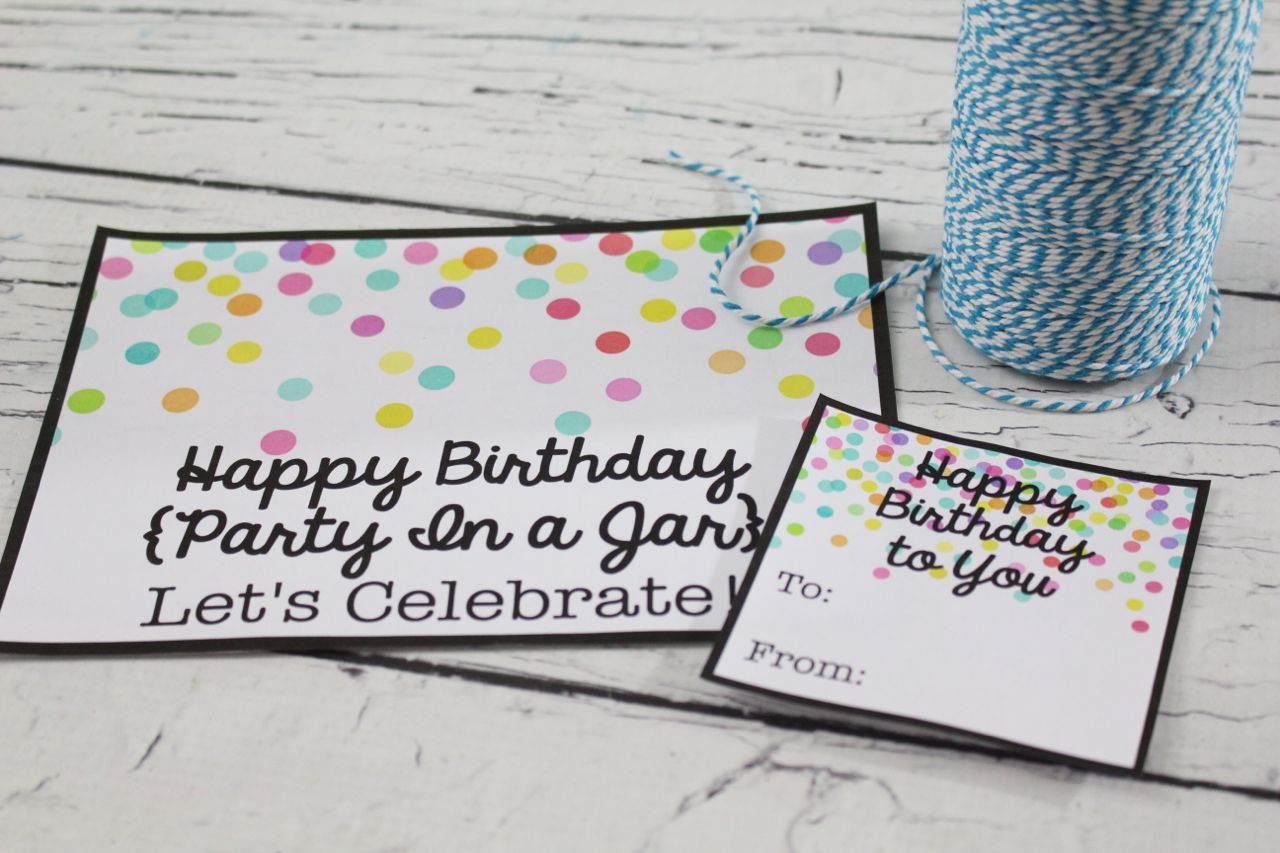
And here are some printables that have so much color to them, they pretty much go with everything!
happy-birthday-label-with-border

How fun would this be to give to a friend, family member, teacher, coworker, or anyone you want to celebrate?
Be sure to visit these other fabulous blogs for more gifts in a mason jar ideas all week long!
![]()
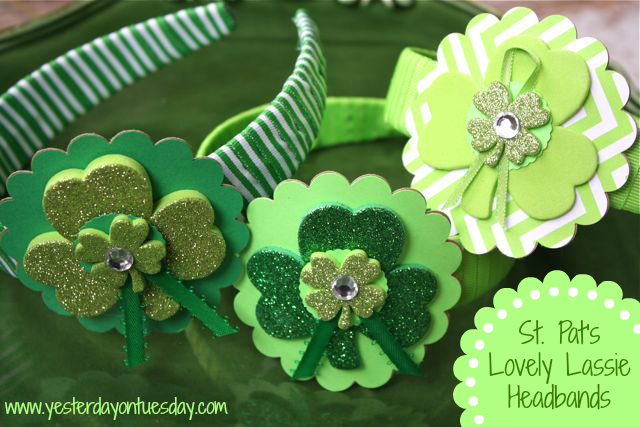
Yesterday’s Project

Such an awesome idea Malia!!! I LOVE IT!!! Hugs…
andrea recently posted…Awesome DIY Industrial Farmhouse Desks
This would make a super sweet care package to a student away at college too!
Jessica recently posted…WHIPPED COCONUT BODY OIL