DIY Zorro Costume
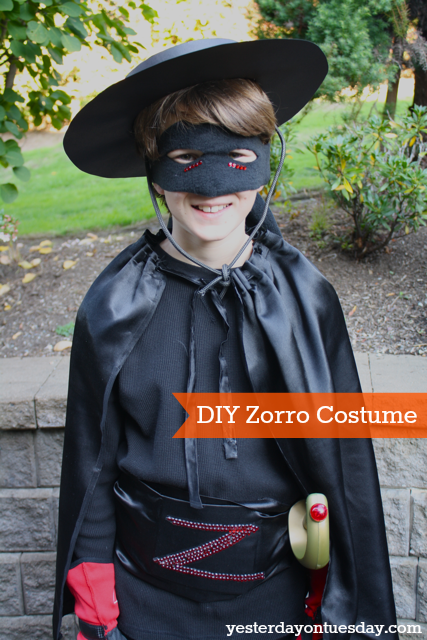
{DIY Zorro Costume}

Hi Friends! I am so thrilled to share a special series with you– DIY Costumes! What makes them so amazing is that they are no-sew. You heard me, NO-SEW! To create these cool costumes, I enlisted the help of my dear friend Tracy Gonzalez. Tracy is incredibly creative in every way. She’s a great artist, crafter, seamstress… this woman can do it all and do it beautifully! While Tracy can sew like a professional, many of us can’t. So she came up with simple ways to “get around” sewing.
Oh and she also figured out brilliant ways to make many other things! Okay enough from me. Let’s hear from Tracy (and by the way, “Zorro” is her handsome son Carter.
DIY Zorro Costume: You’ll need black pants, boots and baggy shirt, black gloves, fake sword. I bet you already have those items!
{DIY Zorro Costume: Elements You Can Make}
Mask
Supplies: Black fleece, scissors and a white pencil crayon. All materials from Ben Franklin Crafts and Frames in Redmond.
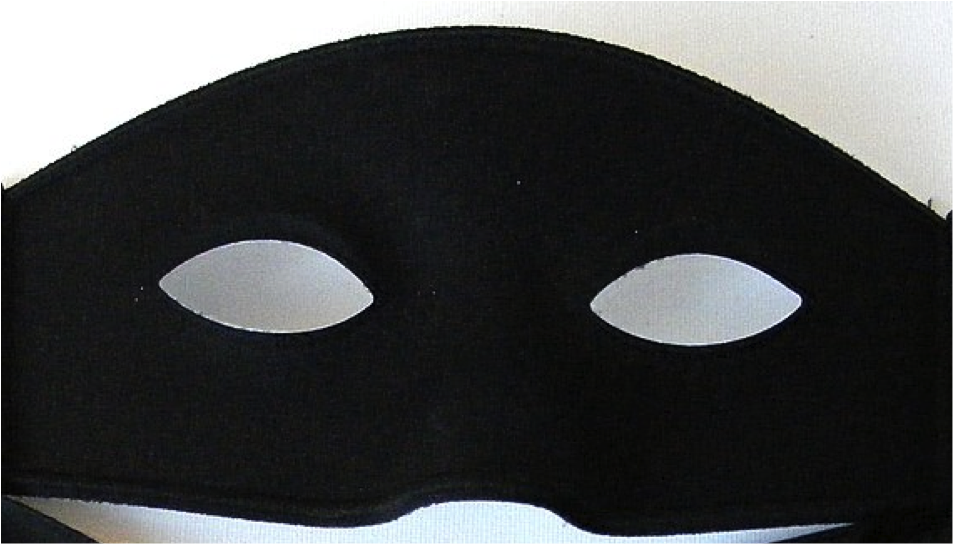
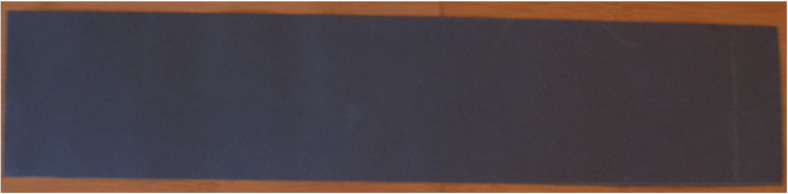
Step 1: Cut a strip of fabric 5 ½ inches high by the full length of the fabric. Find the center point of the fabric and trace this mask from the computer onto a plastic bag and place it on your childs face to see if it fits. Using the tracing of the mask, place it on the fabric in the center of the five inch strip. Use a white pencil to trace the mask.

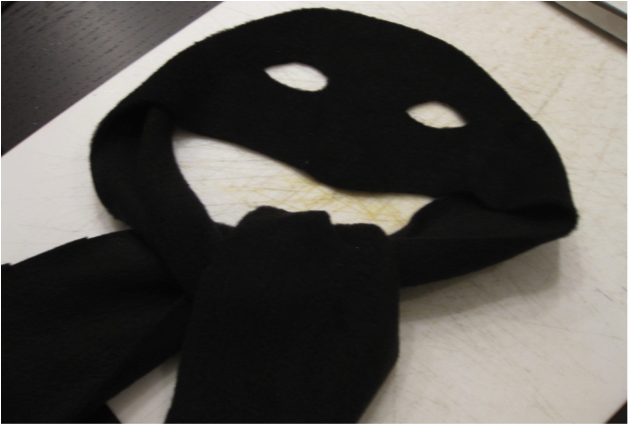
Step 2: Cut the top and the bottom of the mask out leaving the sides long. Taper them from skinny to fat on the ends leaving the material at five inches wide on the ends.
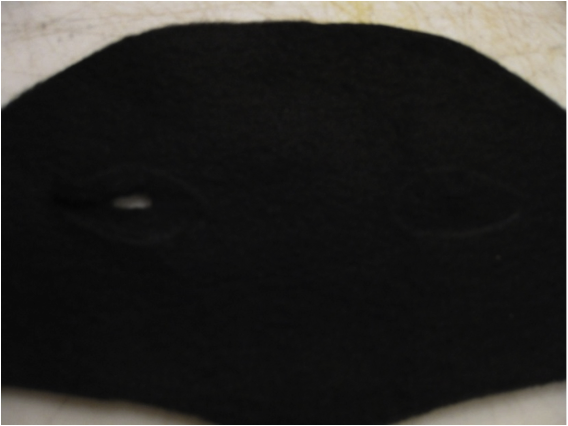
Step 3: Using sharp scissors cut tiny slit in eyes to allow you to have room to cut them out properly.
Tip: Test the mask to make sure the eye holes are big enough for your child.
Hat
Supplies: Black fabric, black Bristol board, ruler, glue, scissors, tape, white pencil crayon. All materials from Ben Franklin Crafts and Frames in Redmond.
Step 1: Measure 2.5 inch band along the edge of the black construction paper and cut out. This is the center of the hat.
Step 2: Take the 2.5 inch strip of paper and measure your childs head. Cut two inches longer and tape together to form the circumference of the hat.

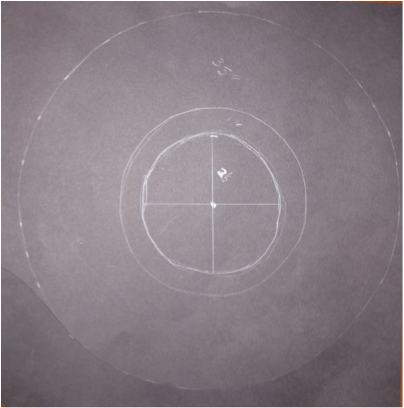
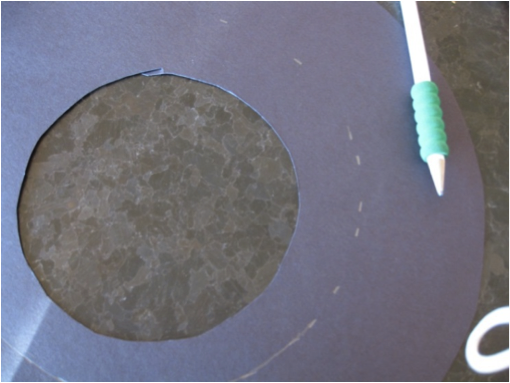
Step 3: Start with a dot in the middle of your construction paper and measure out 2.5 inches from the middle dot measuring all around to form a circle. Join the dots creating the center circle.
Step 4: Measure another inch around using your white pencil to make small lines.
 Once it is drawn, join the dots. Place the head band you made with the 2.5 inch paper and place it over the two middle circles centering it as best you can. Draw a white circle and remove the band.
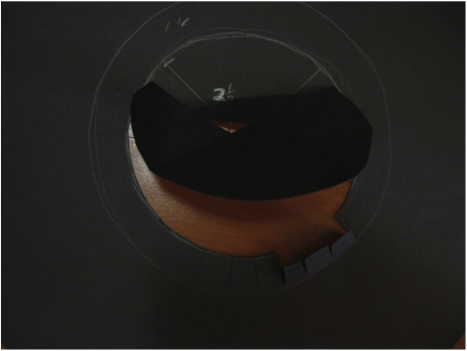
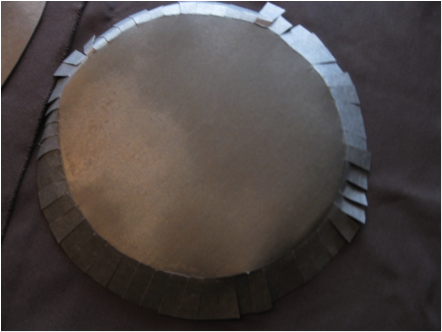
Step 5: Using sharp scissors, cut roughly one inch slits going up to the white circle all around the hat and bend in.

This forms the bottom of your hat and fits into the cylinder you made.

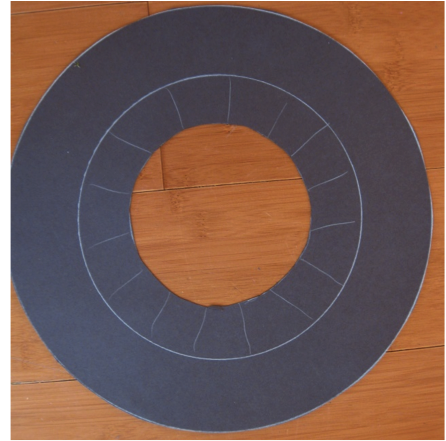
Step 6: Draw a circle the same size at the band. Then draw an inch out from there and cut in slits like the rim of the hat.
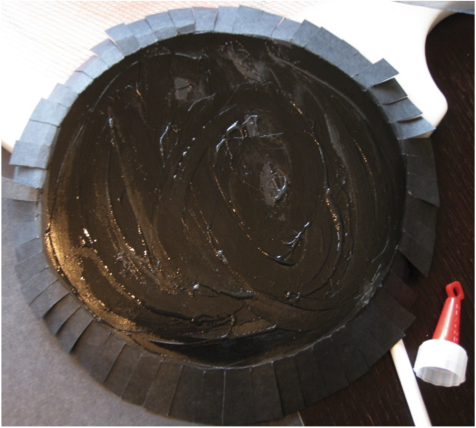
Step 7: Using the shape of the hat brim, cut two out circle in fabric. Glue to the outside of the hat leaving the tabs to stick up.

Step 8: Flip hat over and glue the fabric to the bottom letting the flaps sit inside the circle where you will tape them down.
Step 9: Glue fabric onto the top of the hat. Place top of hat on the top of the body of the hat. Tape the top onto the hat to the center section of the hat.
Step 10: Take the last piece of fabric (the band and glue overtop of the taped part of the hat to finish it.
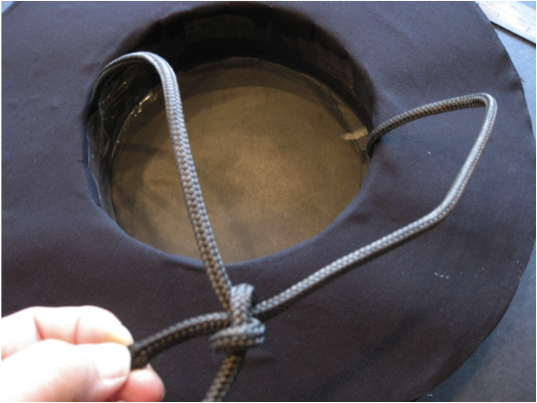
Step 11: Tape two strings inside of hat to complete Zorro’s look.
Step 12: Using the jewels, make a “Z” on the hat for the final touch.
Cape
Supplies: Black satin fabric, scissors, white pencil crayon, x-acto knife, binding tape, iron. All craft materials from Ben Franklin Crafts and Frames in Redmond.
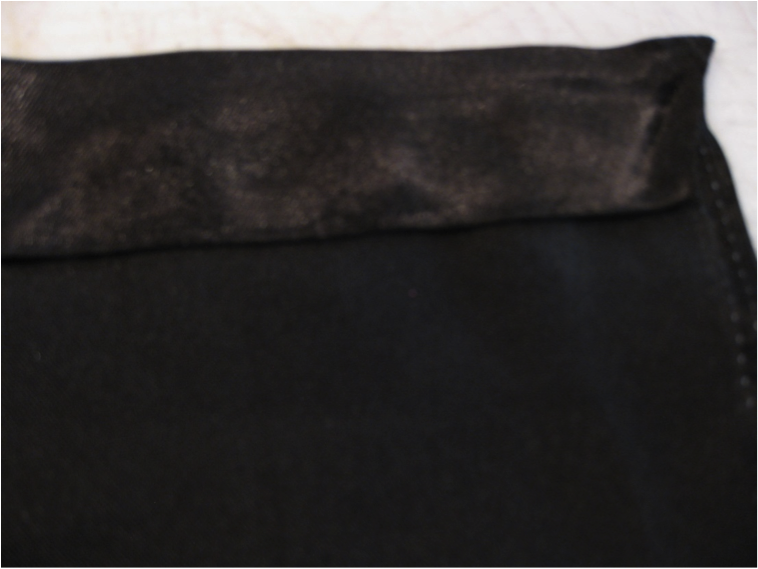
Step 1: Fold the bottom of the cape and using the binding tape, tape and iron the seam for the bottom of the cape.
Step 2: Measure the length of the desired cape you want and cut the fabric at the appropriate length.
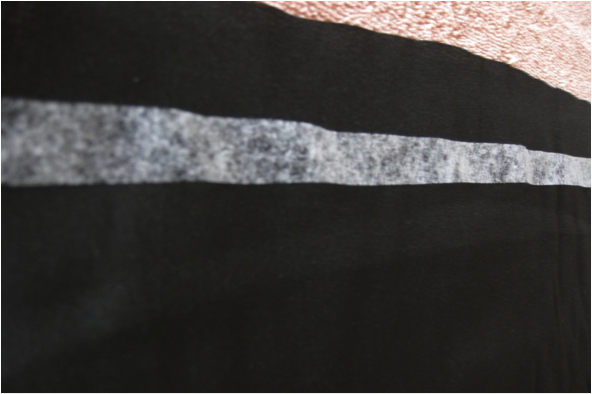
Step 3: Using the binding tape, place it on the top of the cape and iron down to create a finished edge. Fold again and use the binding tape again to make a sturdy area to cut through with the knife.

Step 4: Using your white pencil crayon measure ½ ” markings all along the top of the cape.
Step 5: Cut a long piece of fabric about two inches wide. Using your binding tape create a finished tie for the cape.
Step 6: thread the tie through the cape, weaving in and out of it, creating the cape.
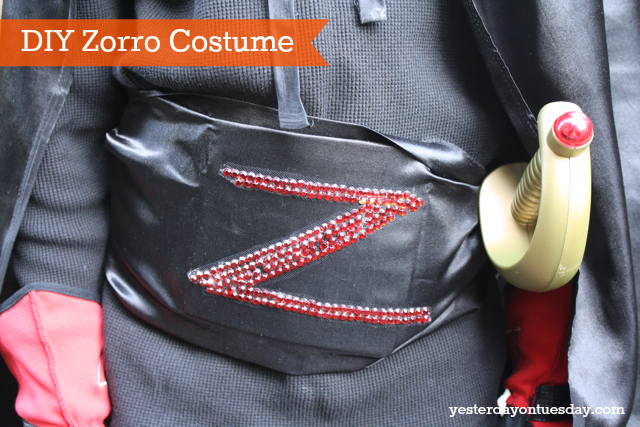
Belt
Supplies: Black satin fabric, scissors, binding tape, iron, stick on jewels, black tulle. All materials from Ben Franklin Crafts and Frames in Redmond.
Step 1: Cut a long strip of fabric from the satin roughly seven inches wide
Step 2: Fold sides in and iron binding tape into place to create a nice hem on either side.
Step 4: Find or draw a large a “Z” for Zorro or and trace off of the computer using a plastic bag.
Step 5: Tape to your table and place black tulle overtop making sure to cover the “Z”.
Step 6: Use sick on red jewels to create the letter “Z” when it is complete, glue it onto the sash right in the center.
Thanks so much Tracy, for sharing your great ideas!
More DIY Costume Fun to Come!
Sharing at these fab parties.


4 Comments