Pretty DIY Wedding Ideas
Catch these ideas on KOMO-TV Monday 4/20 at 4pm
Pretty DIY Wedding Ideas
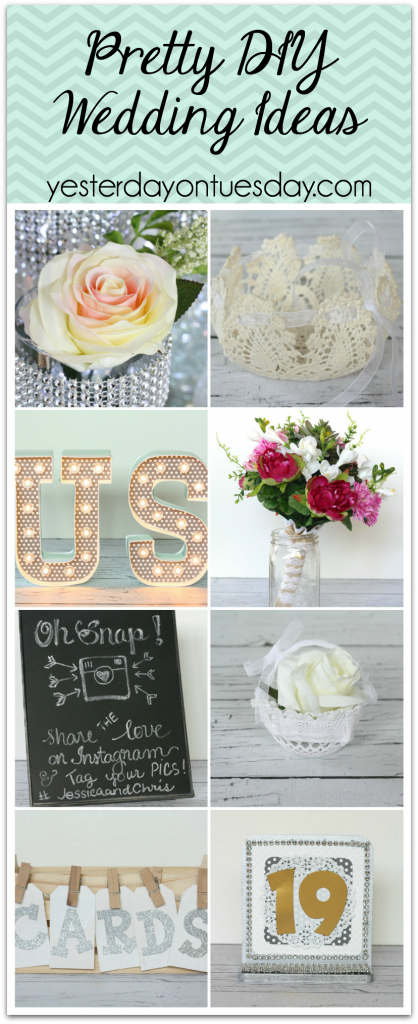
Weddings can be beautiful, magical and EXPENSIVE. Here are some budget-friendly ideas of things you can make instead of buy and save yourself money!
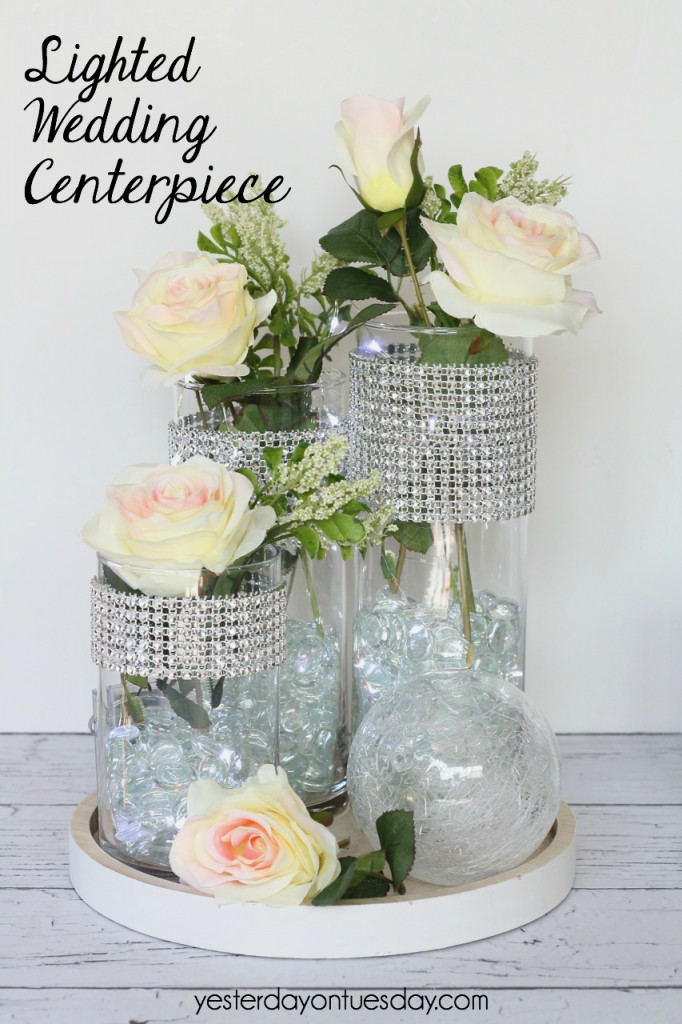
Materials: 3 glass cylinders, round wooden tray, faux roses, rhinestone roll, firefly lights, 4 lb bag of glass gems, glass ball and hot glue. Add materials available at Ben Franklin Crafts and Frames in Redmond.
Directions:
1. Cut rhinestone roll and hot glue on glass cylinders.
2. Add firefly lights
3. Add flowers
4. Place on tray and add glass ball.
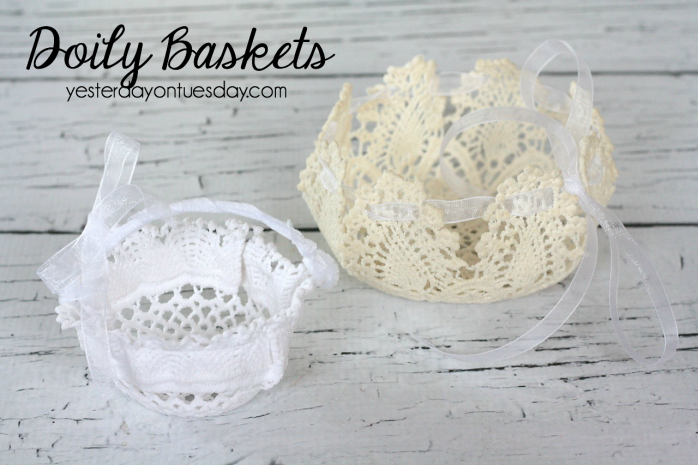
Supplies: Various sizes of crocheted doilies, Stiffy, glass cylinders or bowls (that work with sizes of doilies), foam brush, paper plate or wax paper. Add materials available at Ben Franklin Crafts and Frames in Redmond.
1. Turn the cylinder or bowl upside down and brush Stiffy on it.
2. Drape the doily over it and smooth it out, adding another layer of Stiffy on top.
3. Let it dry overnight.
4. Carefully remove the dolly.
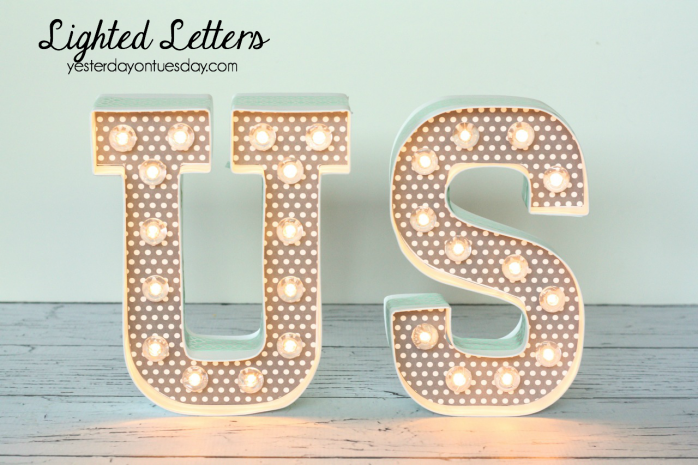
Materials: Marquee Love Letters from Heidi Swapp, patterned paper (this is gray and white mini dot paper from Canvas Corp). paper tape from Little B. Add materials available at Ben Franklin Crafts and Frames in Redmond.
1. Use the template inside the box, trace the letter shape on paper and cut it out.
2. Using a pencil. punch the “holes” where the lights go (you’ll know from your template).
3. Add the lights.
4. Finish by adding paper tape to the letters.
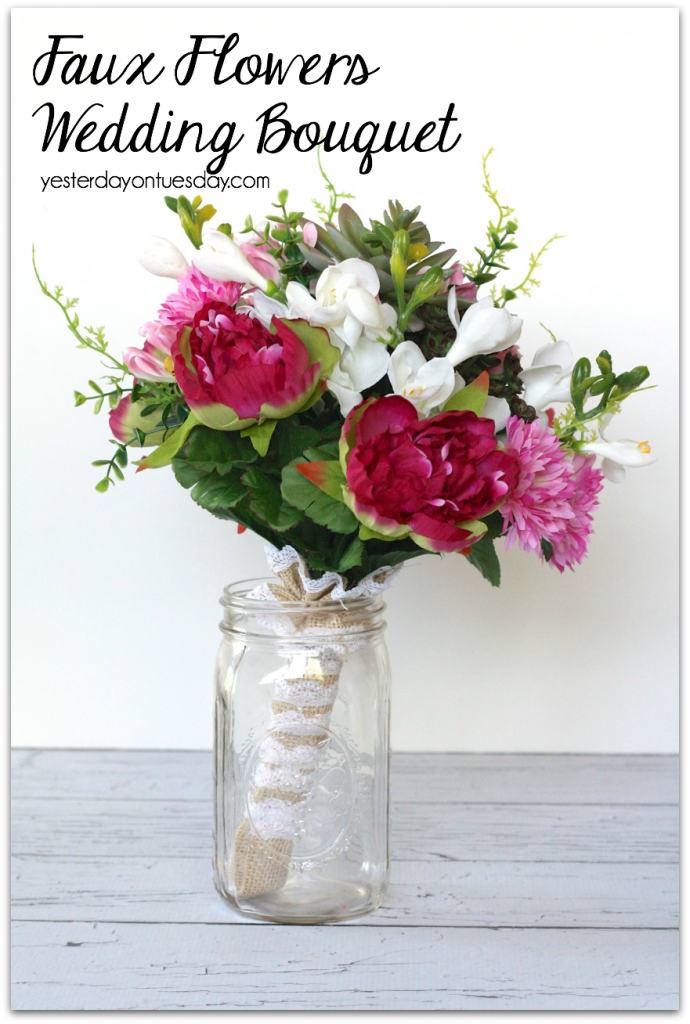
Supplies: Faux Flowers, wire, florist’s tape and Burlap Ribbon with White Lace Edge. Add materials available at Ben Franklin Crafts and Frames in Redmond.
Directions:
1. Create a bouquet with faux flowers, securing together with florist’s tape.
2. Wind burlap ribbon around the stems and use hot glue to keep in place.
3. Run a piece of wire through the ribbon and bunch it to make ruffles. Fasten it around the top of the bouquet.
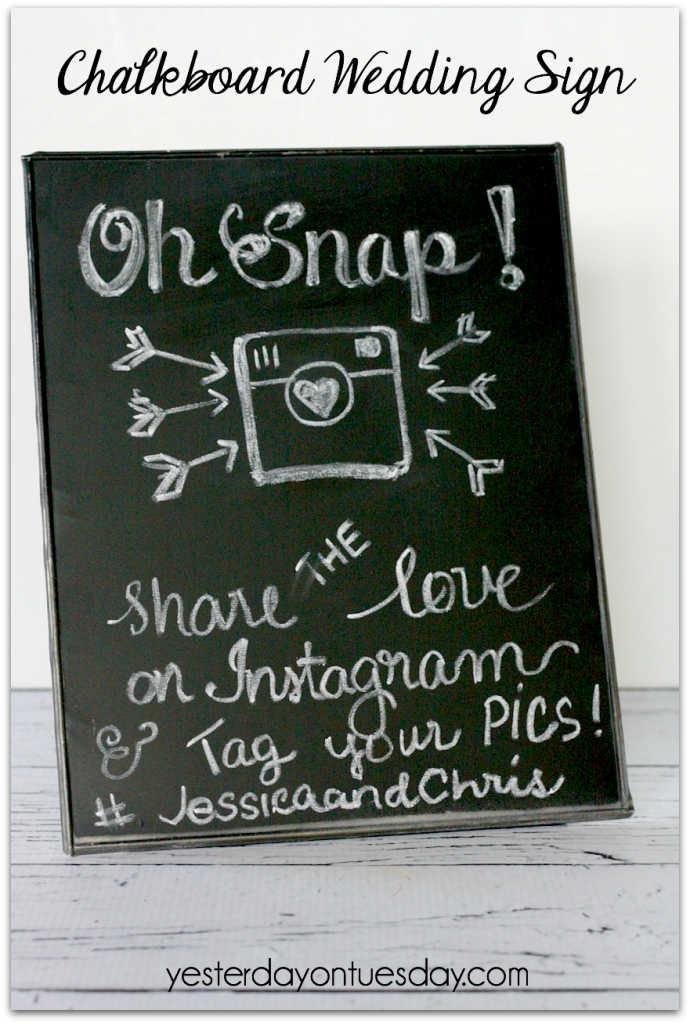
Supplies: Chalkboard sign and chalk. Add materials available at Ben Franklin Crafts and Frames in Redmond.
Directions: Give your wedding a hashtag that’s unique to you and write the info on the chalkboard sign to encourage your guests to post photos using your special hashtag. It’s a great way to share wedding photos!
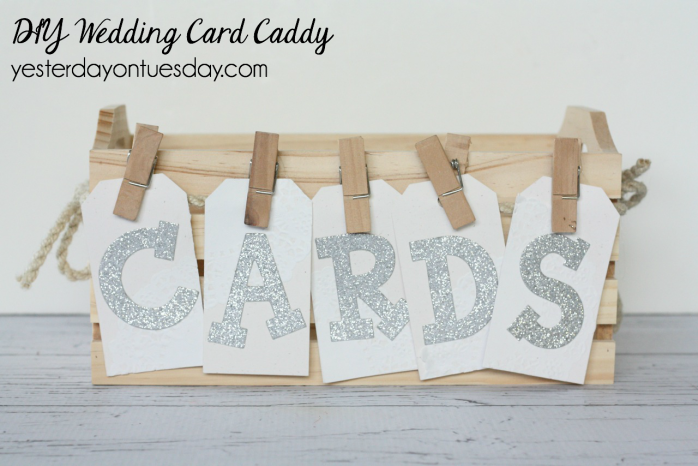
Supplies: wooden caddy, rope, shipping tags. doilies, clothespins, glitter paper and glue. All materials available at Ben Franklin Crafts and Frames in Redmond.
1. Glue the doilies onto the tags in random place and trim around the edges.
2. Use glitter paper to cut letters out using the die cut machine at Ben Franklin Crafts and Frames in Redmond.
3. Glue letters onto shipping tags
4. Make a little clothesline with rope and tie on the box.
5. Use clothespins to attach letters to rope.
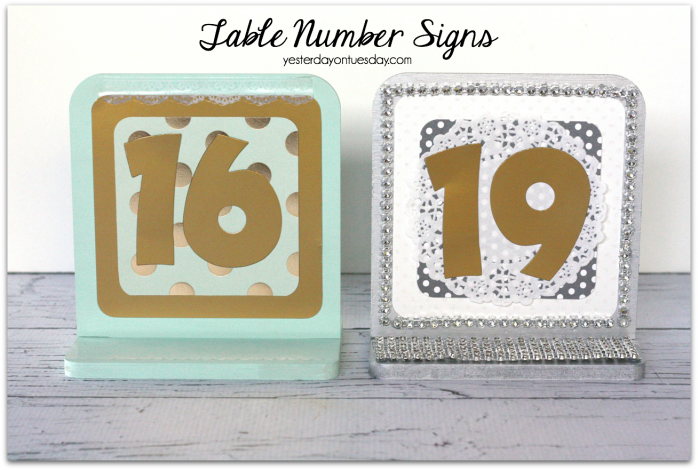
Supplies: Kaiser Craft Table Number Kit, Americana Decor Chalky Finish Paint in refeshing and Americana Decor acrylic paint in silver, patterned scrapbook paper, numbers (cut out of gold paper using 3″ letters using the Ben Franklin Crafts and Frames die cut center), rhinestones on a roll, hot glue and a doily. All materials available at Ben Franklin Crafts and Frames in Redmond.
To Make the Mint Green Sign:
1. Use the die cut machine to cut numbers out if the gold foil paper.
2. Paint base and sign Everlasting and let dry.
3. Cut a piece of gold metallic paper into a 5″ x 5″ square.
4. Cut the patterned paper into a 4″ x “4 square.
5. Layer the squares, add the numbers and glue on the sign.
To Make the Silver Sign:
1. Use the die cut machine to cut numbers out if the gold foil paper.
2. Paint the base and sign silver and let dry.
3. Cut a piece of white patterned paper into a 5 ” by 5″ square.
4. Cut the patterned paper into a 4″ x “4 square.
5. Glue the papers together and then glue doily on the top.
6. Glue numbers on top of the doily.
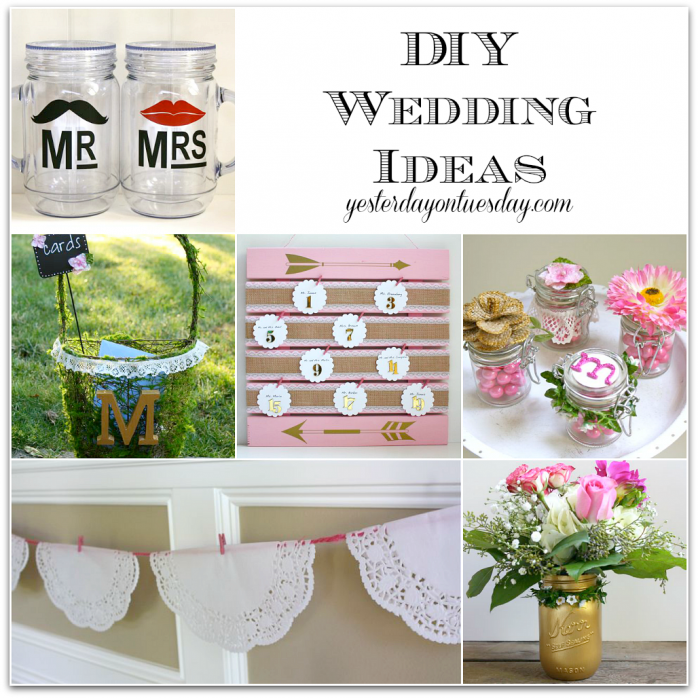
Check out these DIY Wedding Ideas

