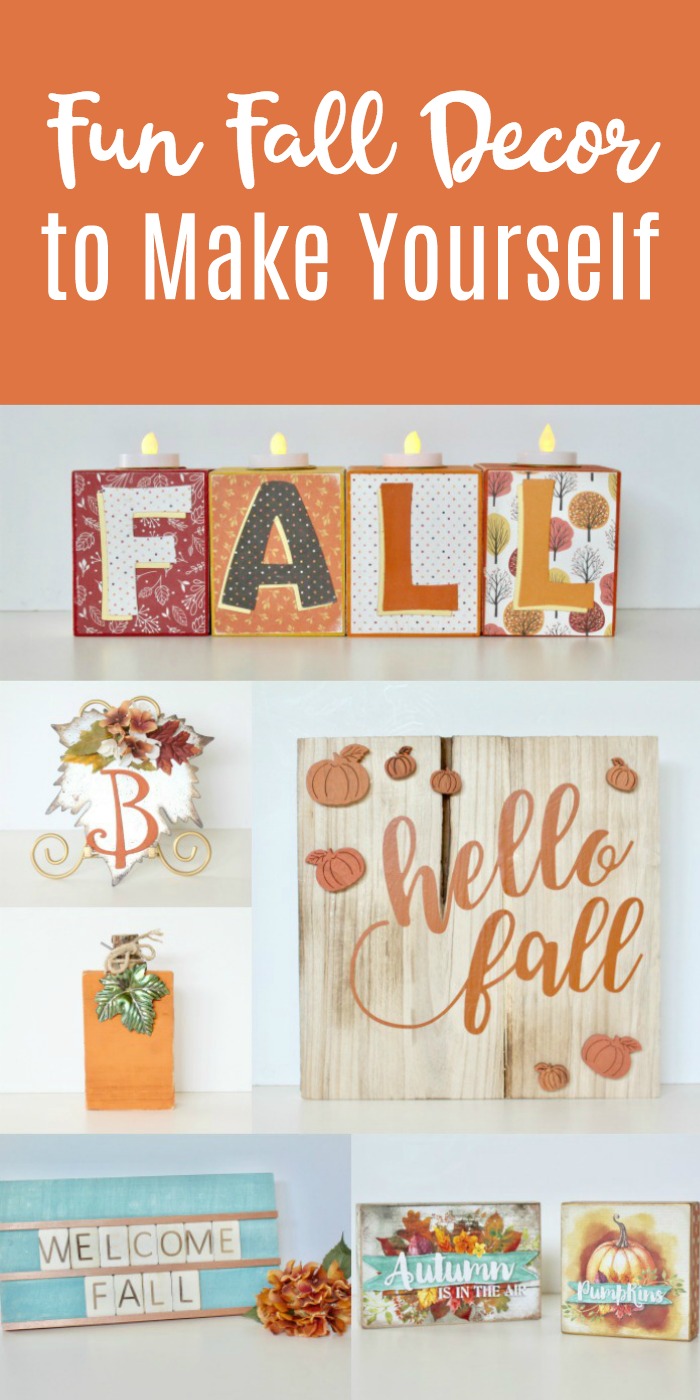
FUN Fall Decor to Make Yourself
Catch these ideas live on KOMO 4, Tuesday 8/29 at 4pm
FUN Fall Decor to Make Yourself
It may not officially be fall for a few weeks, but with the kids going back to school and a few leaves turning yellow and orange… it’s starting to feel like fall! Here are some fun fall decor projects that you can make yourself. You can find all the materials at Ben Franklin Crafts and Frames in Redmond.
You won’t believe how quick this autumn decor comes together.
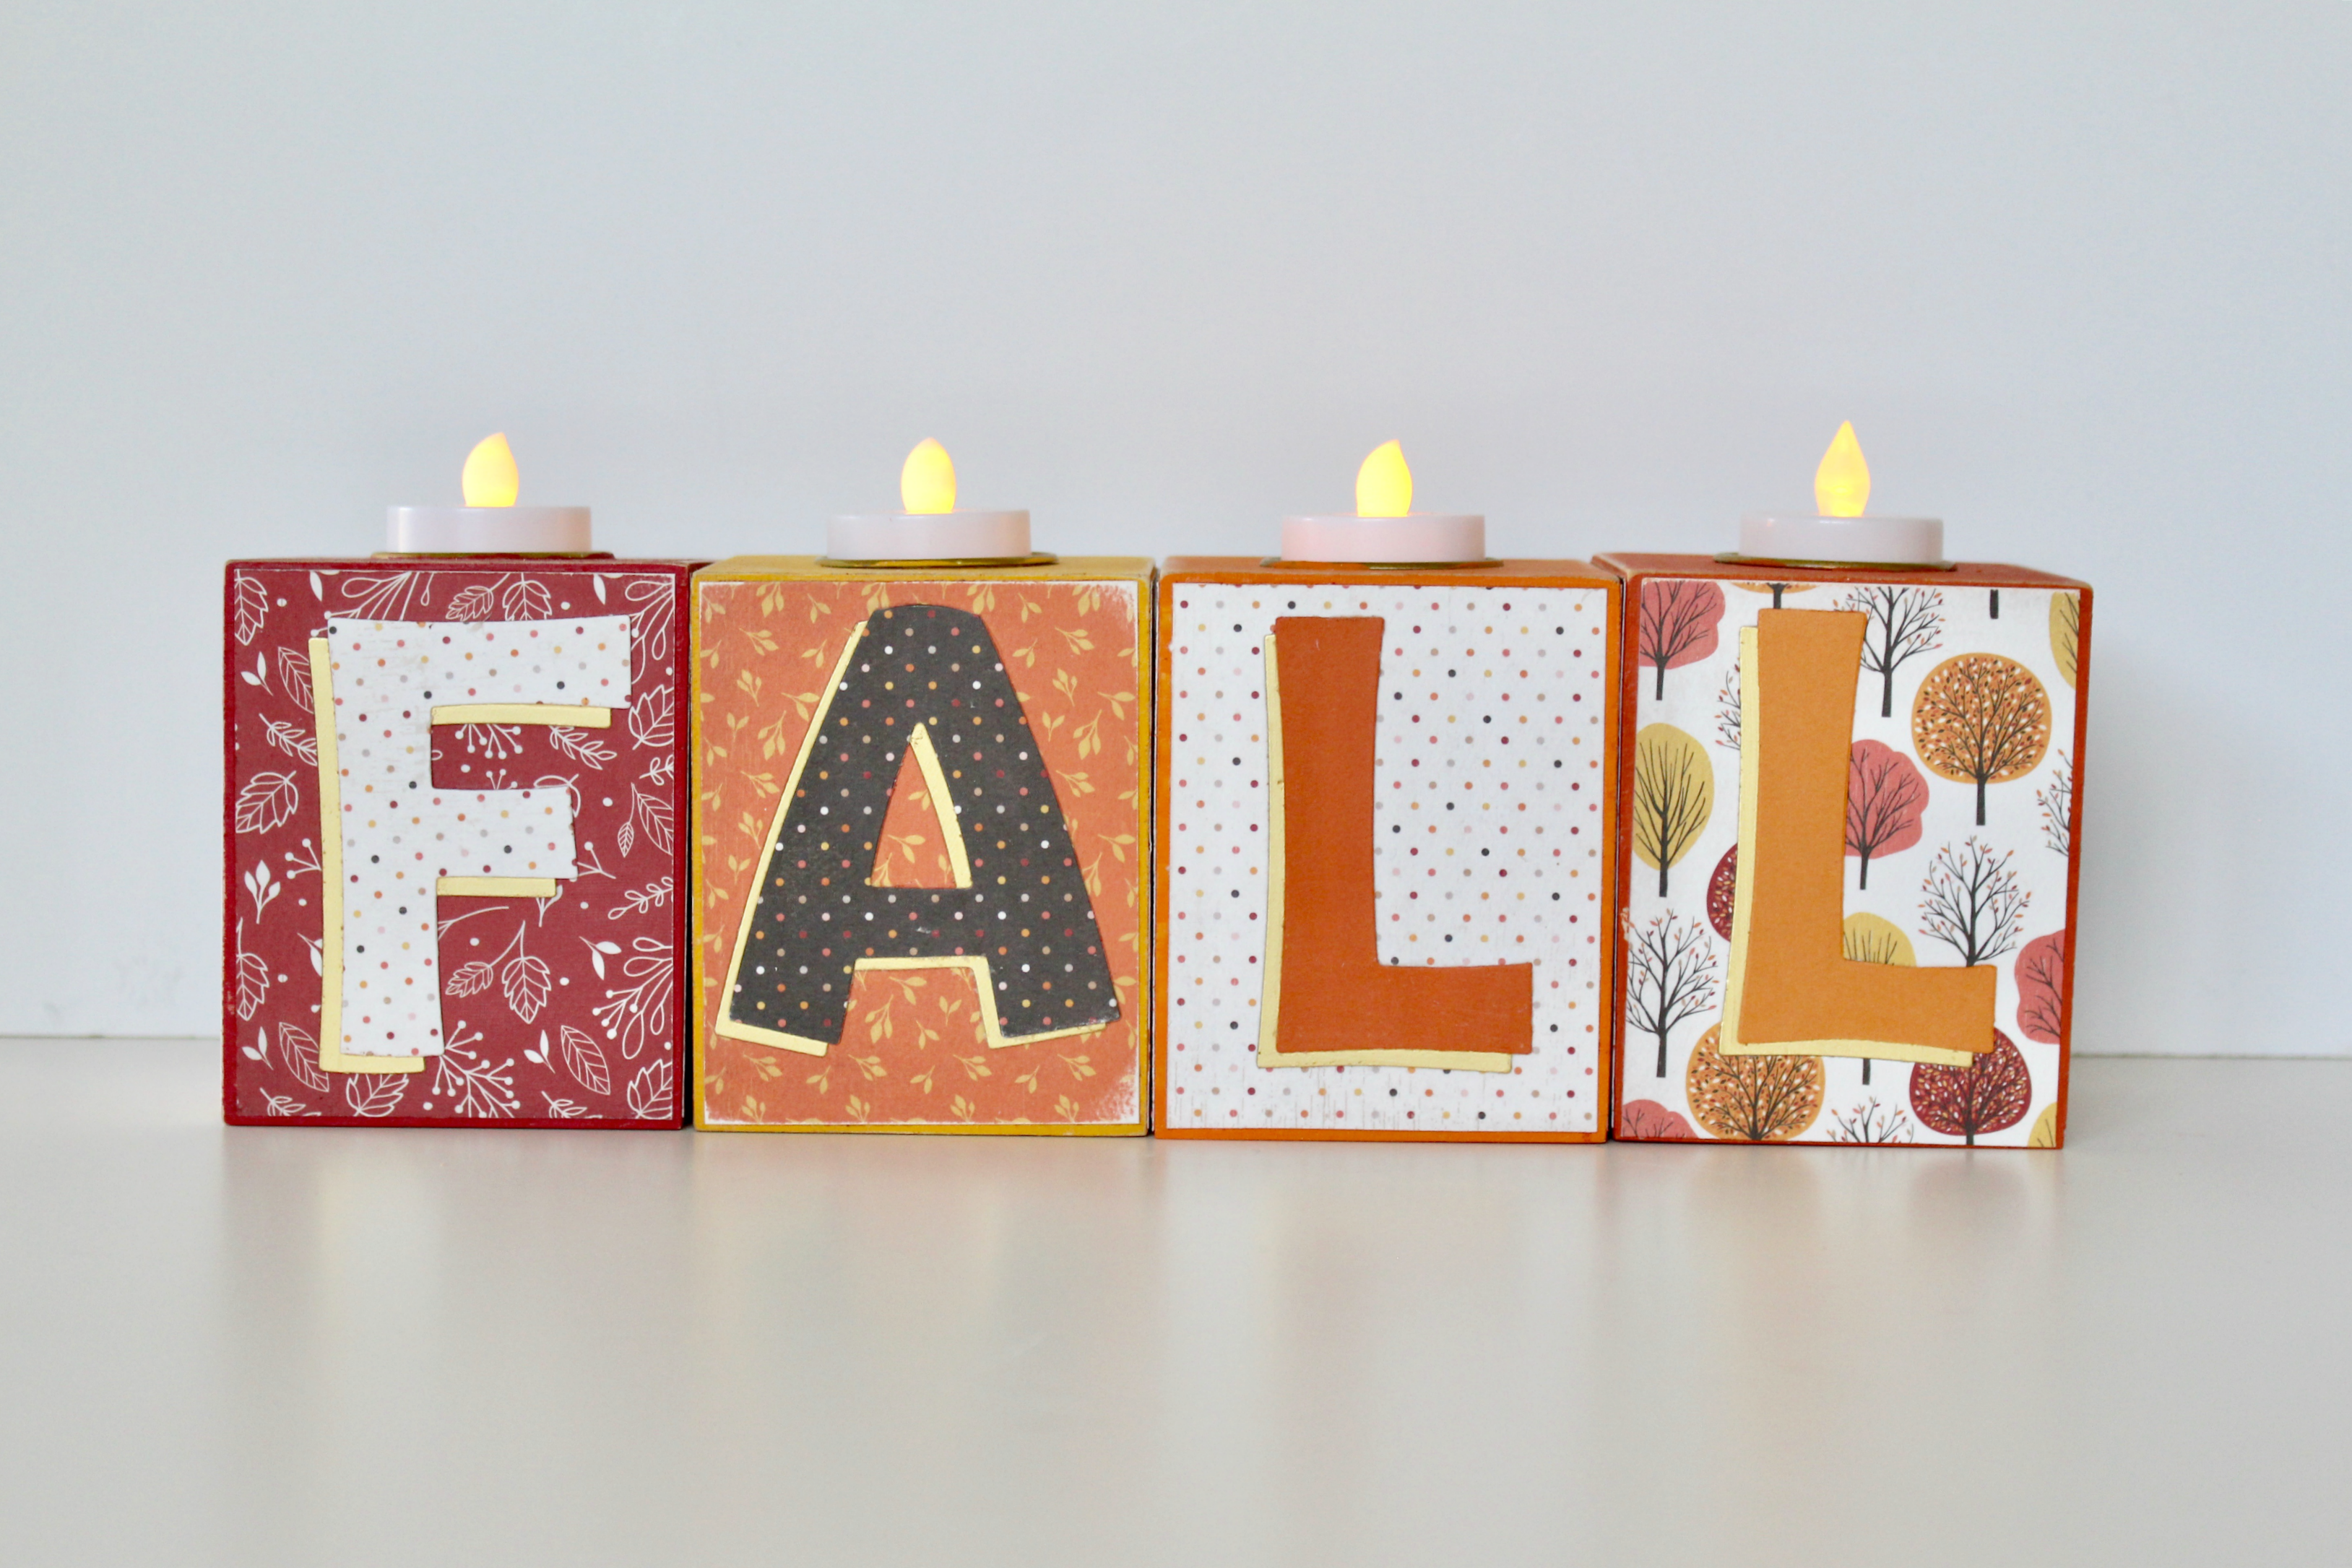
FALL Faux Candle Holders
Materials: For 4 x 3 1/2 inch blocks, paint (we used Country Red, Empire Gold, Bright Orange, and Persimmon), “Hello Fall” Carta Bella 6 x 6 Paper Pad, one piece of gold paper, sandpaper, Mod Podge, and four faux tea light candles. You’ll also want to use the die cut machine at Ben Franklin Crafts and Frames to make two sets of the FALL letters, one with patterned paper and one with gold paper.
Directions:
1. Paint the blocks
2. Trim the patterned paper to fit on the side of the blocks.
3. Using the die cut machine, cut the letters FALL out twice.
4. Use Modge Podge, add papers to blocks.
5. Add gold letters to blocks and then patterned letters on top.
6. Add faux tea lights.
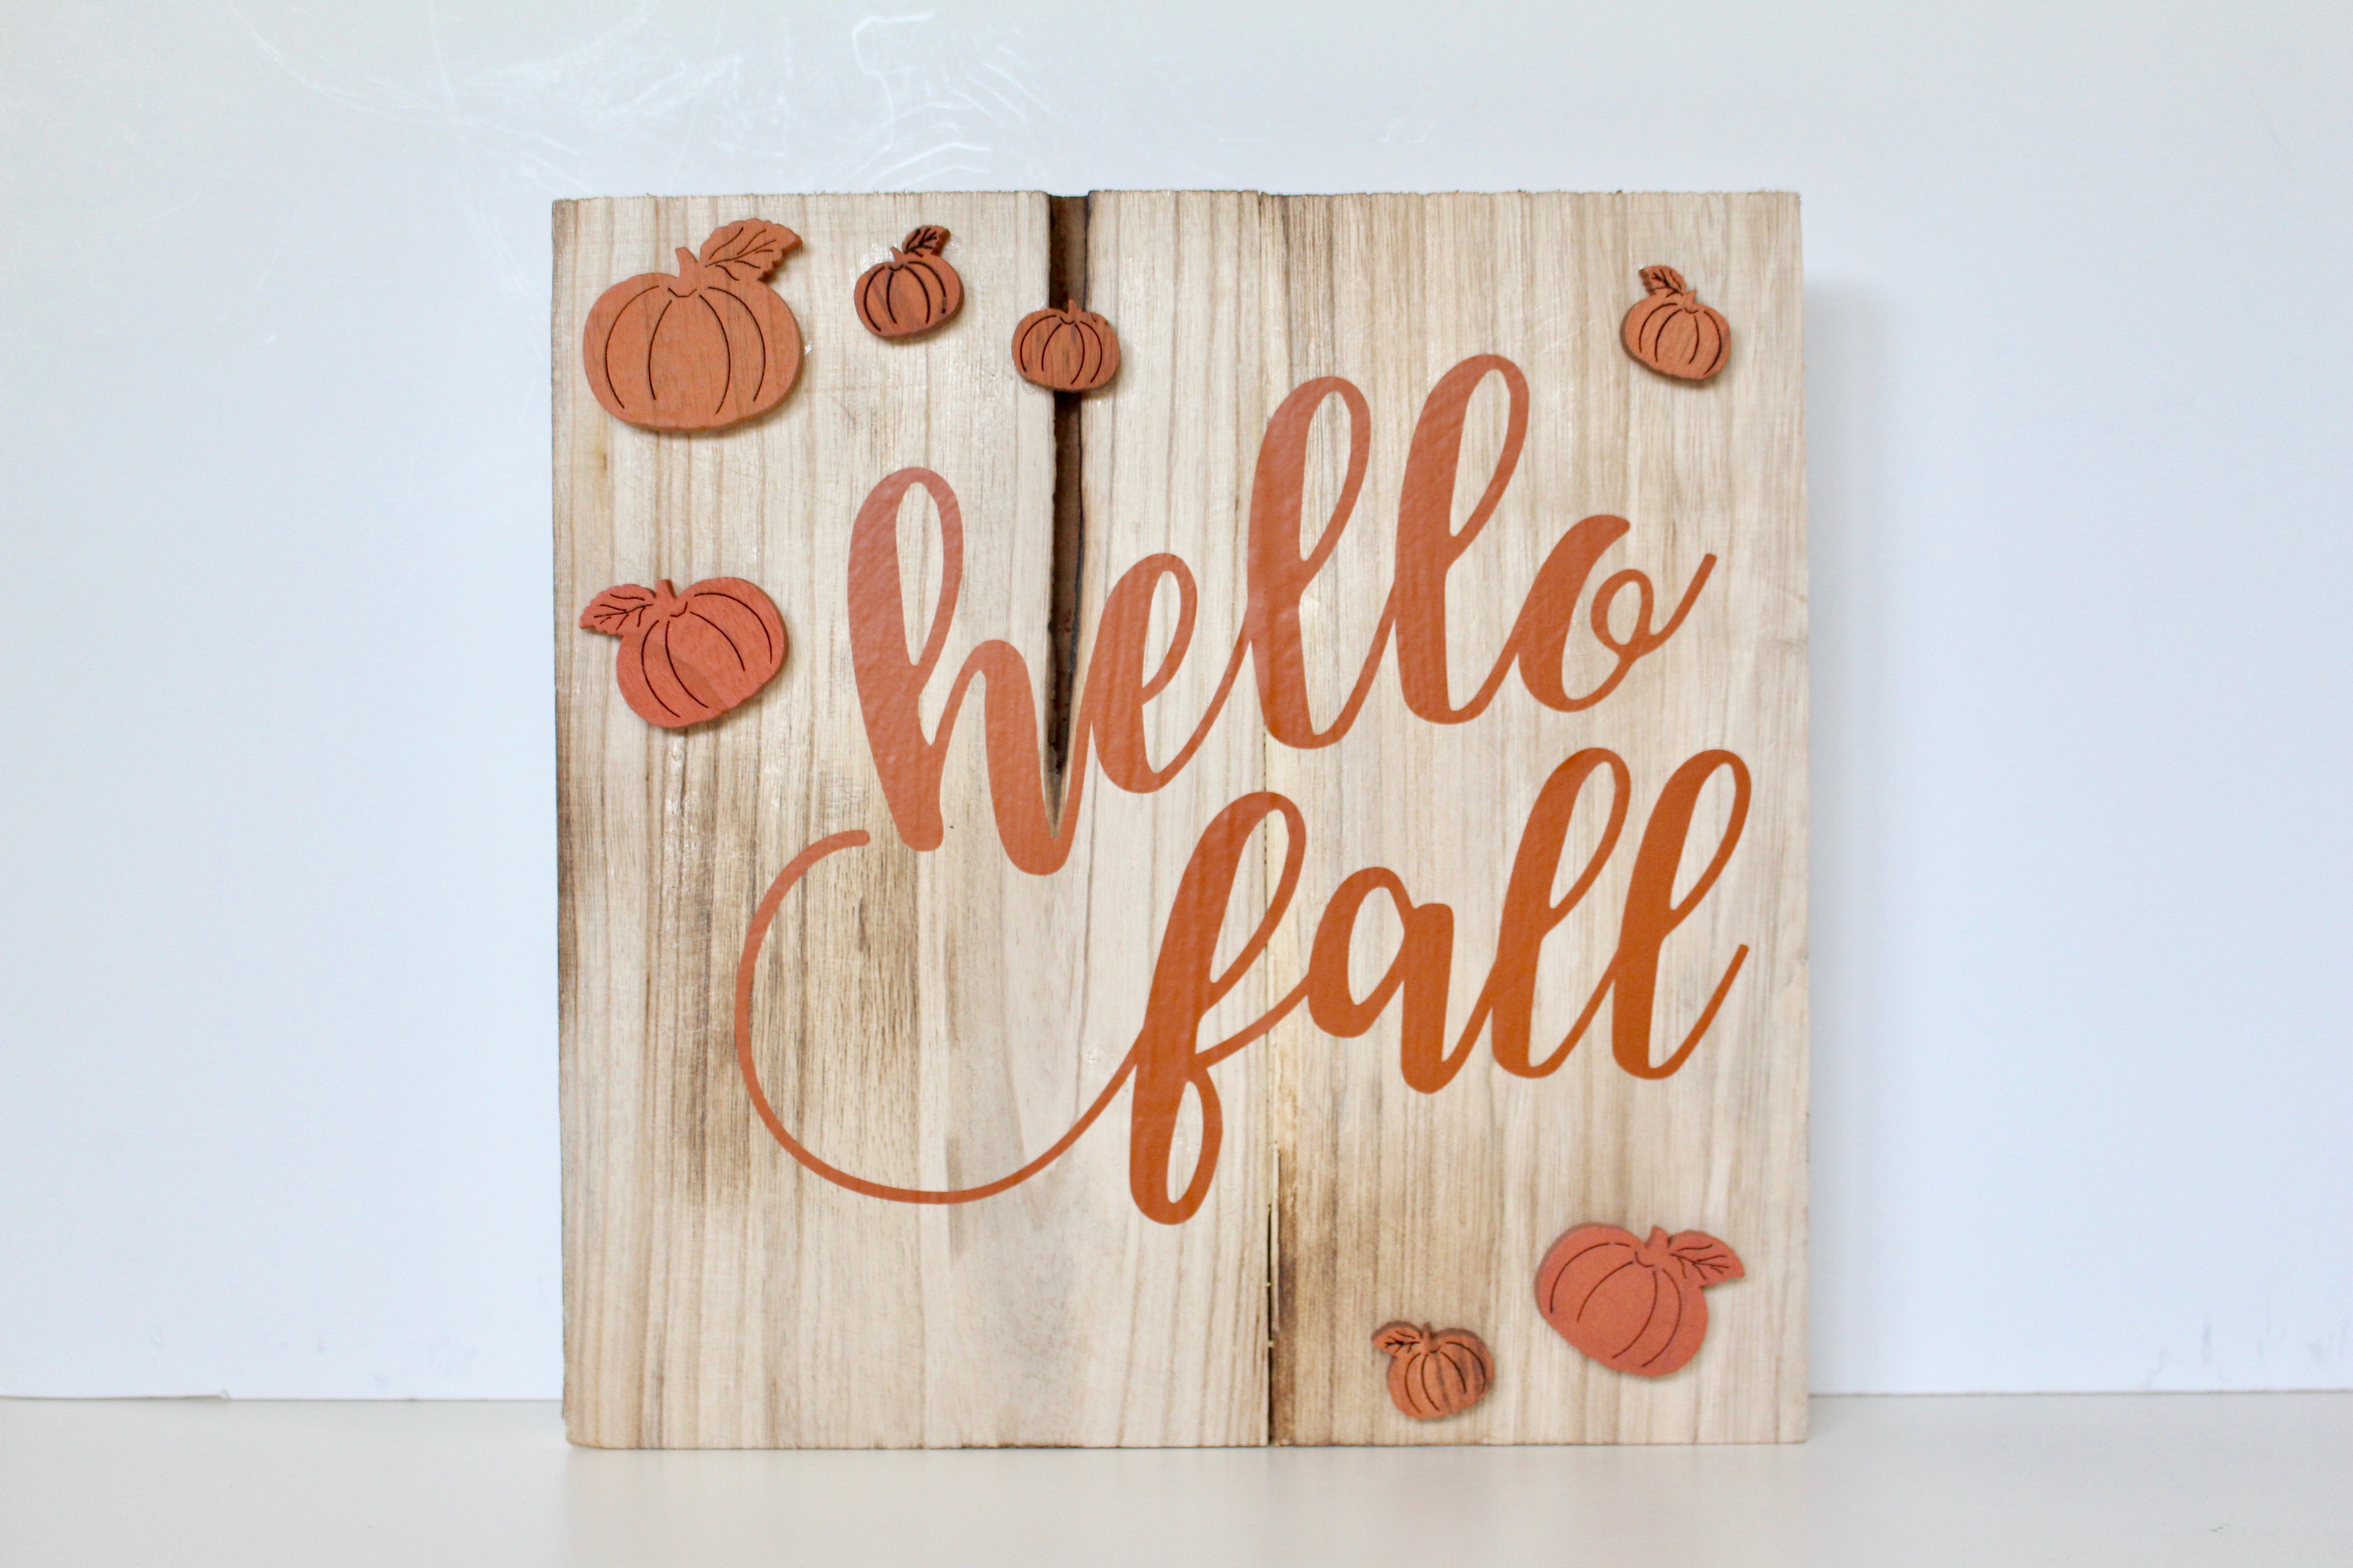
Hello Fall Sign
Welcome the changing of the seasons with a super easy sign you can make yourself.
Materials: 12 x 12 Wood Sign, “Hello Fall” vinyl from Decorating Your Life, harvest decor pumpkins, hot glue.
Directions: Following package instructions, apply vinyl to sign. Use hot glue to attach a few pumpkins.
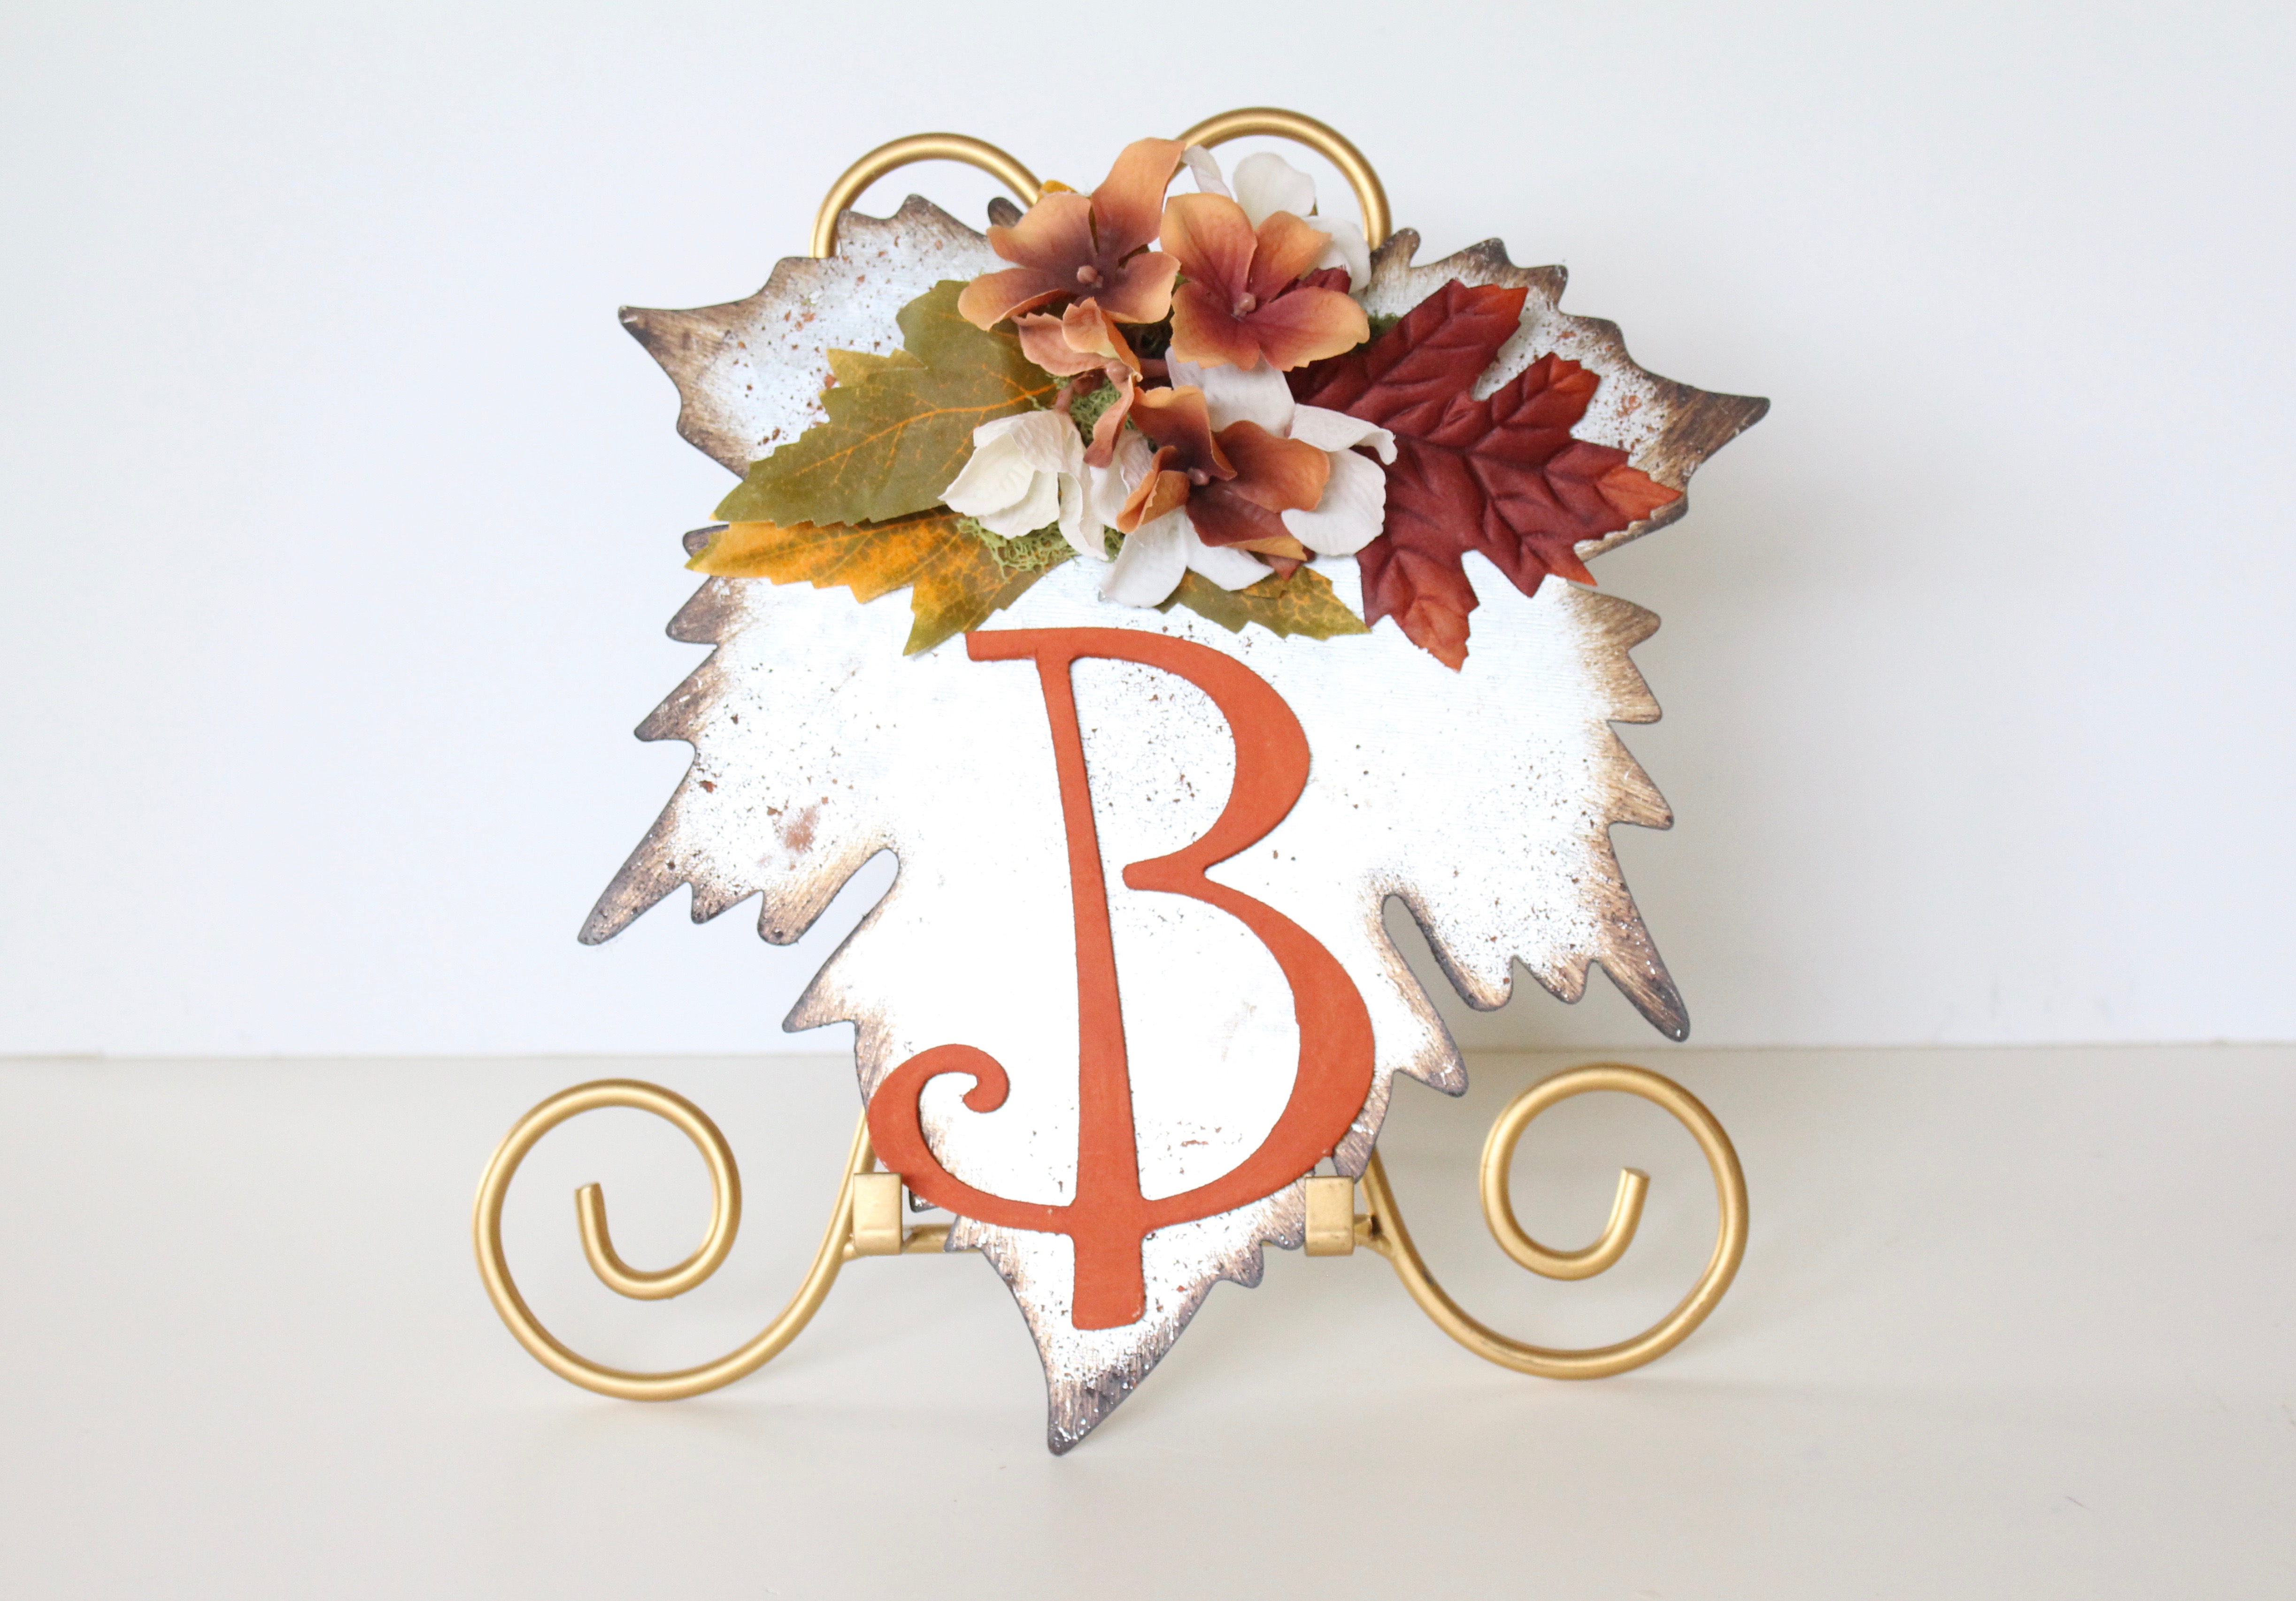
Metal Leaf Monogram Sign
Leaves are falling outside, why not decorate your interior with one!
Materials: Metal Leaf, wood letter, orange paint, faux flowers and leaves, faux moss and hot glue.
Directions: Paint the letter orange. Arrange the moss and leaves toward the top of the metal leaf. Affix with hot glue. Glue the letter on.
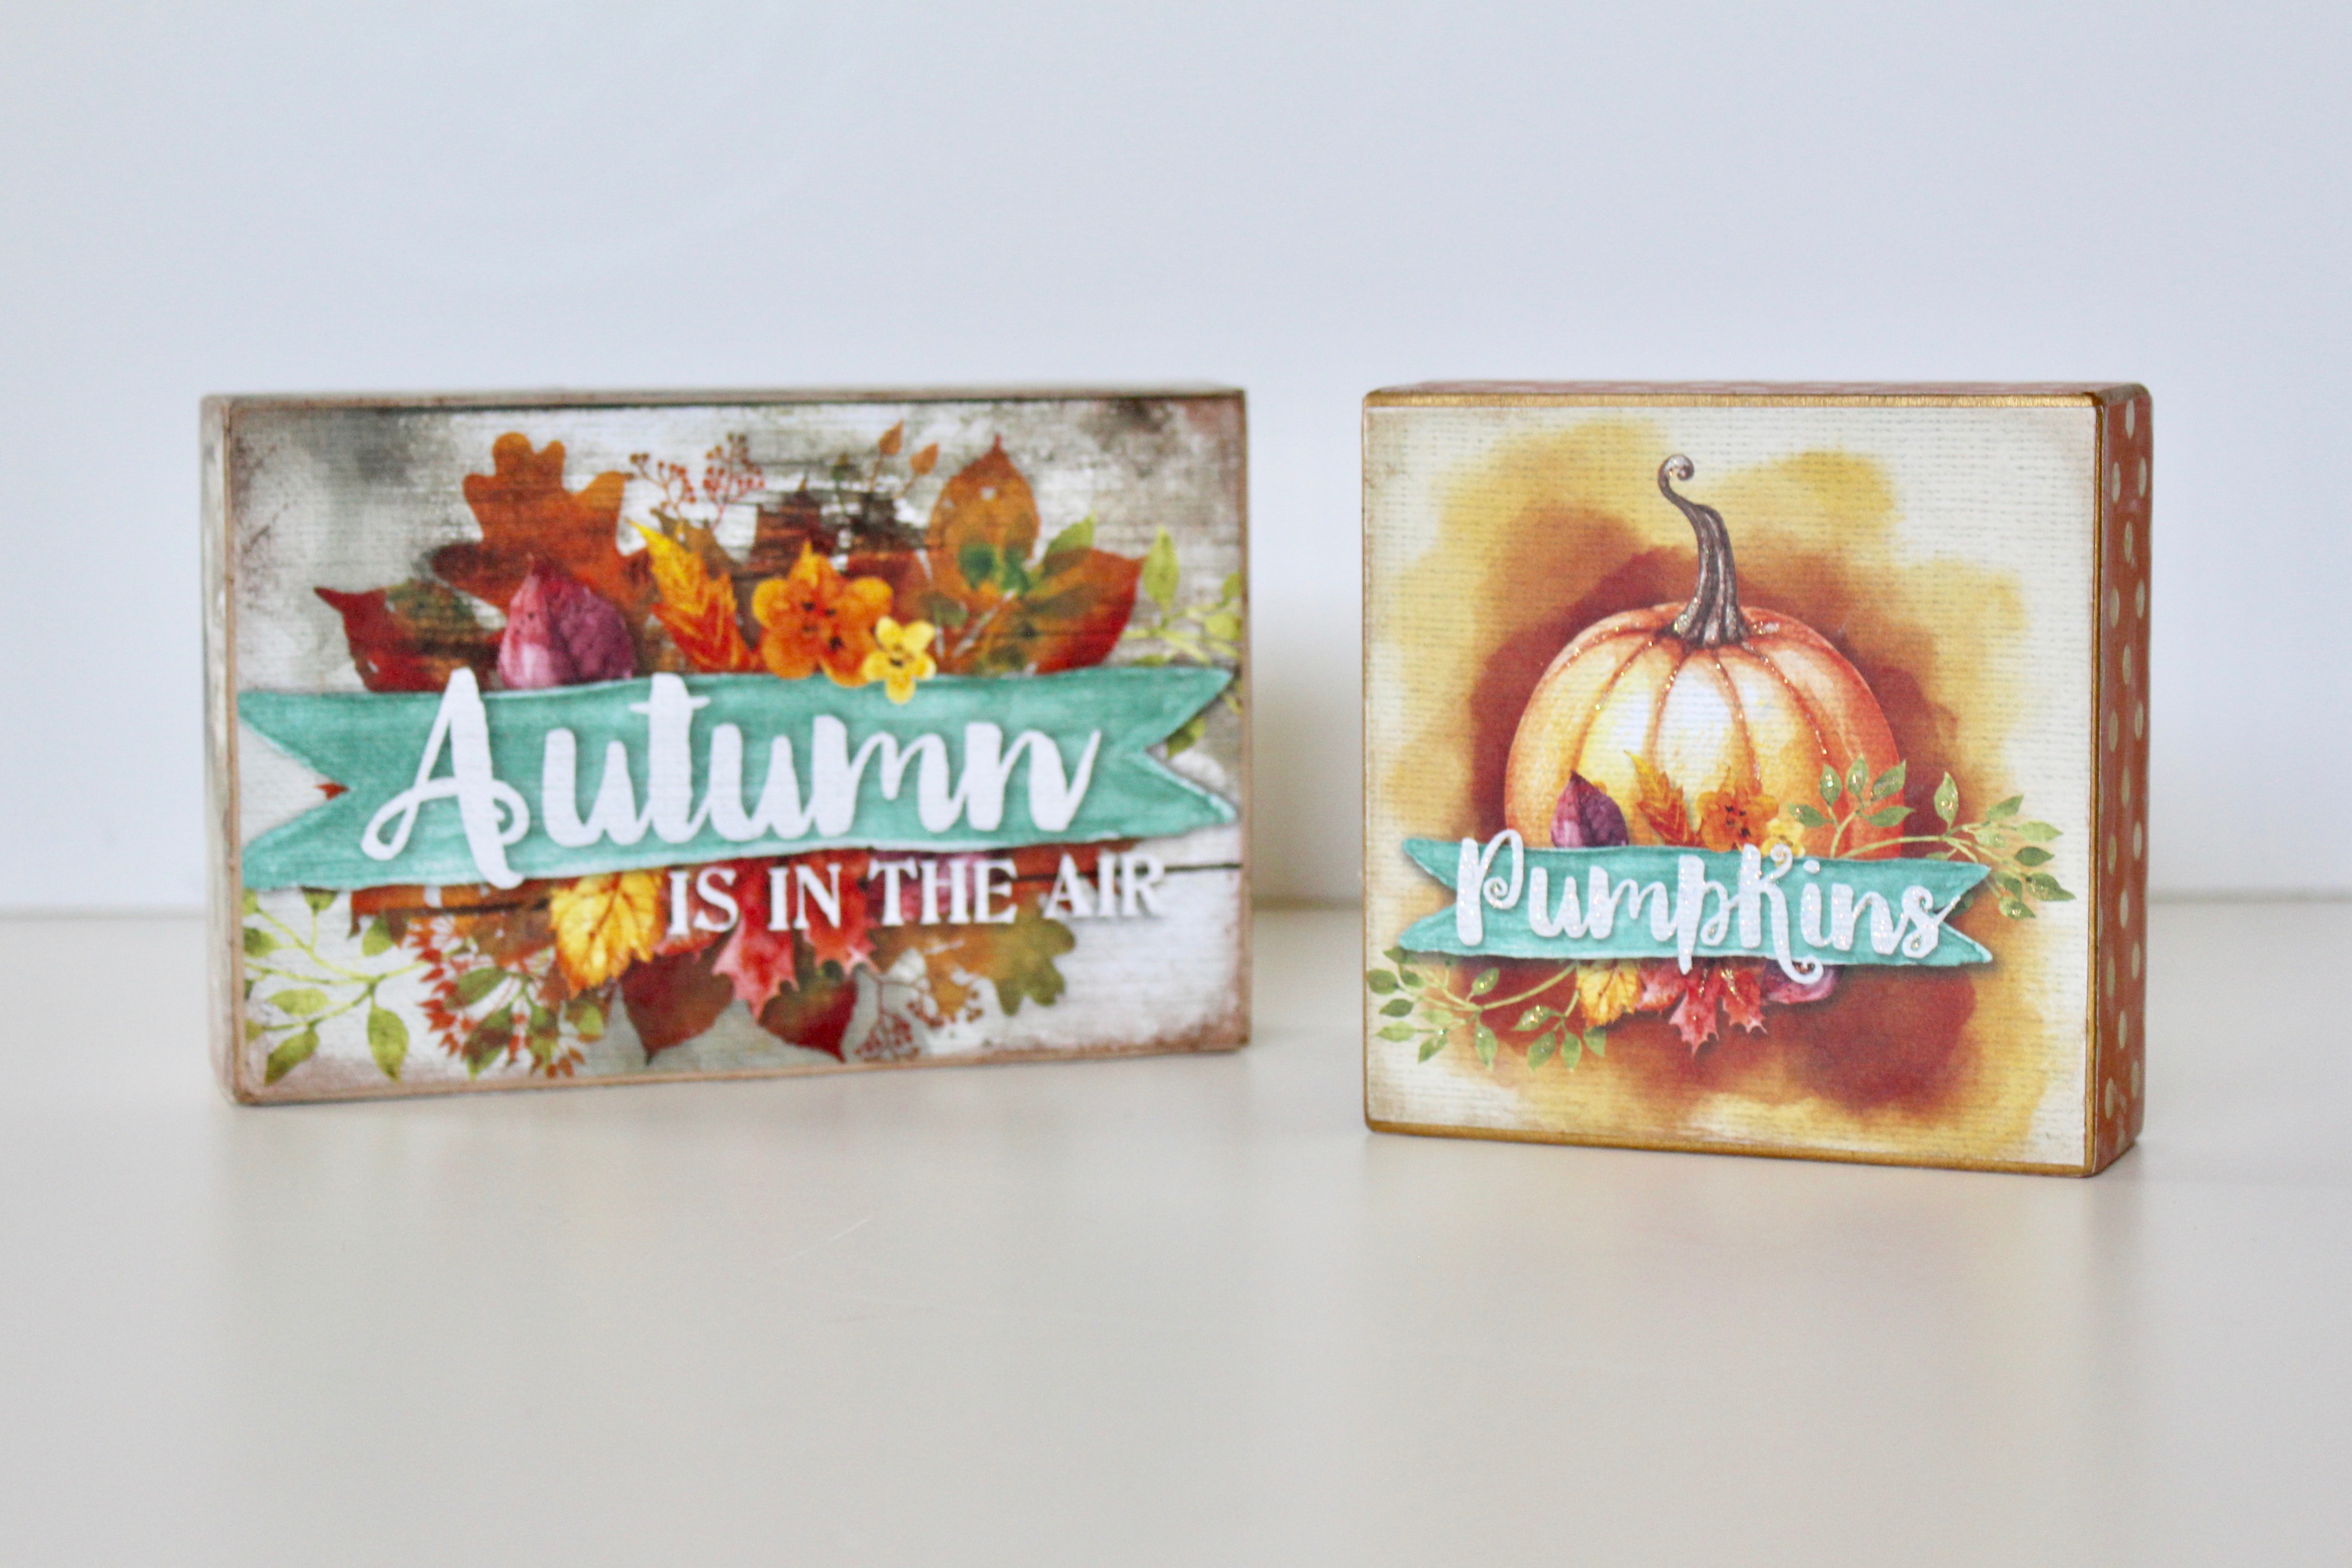
Autumn Decor Blocks
Materials: Two wooden blocks ( one 4 x 6 and the other 4 x 4), acrylic paint (we used Burlap and Glorious Gold), Mod Podge, scissors or paper trimmer, Autumn Woods patterned paper.
Directions:
1. Paint blocks
2. Tim paper to fit on sides of blocks (the width is abut 1 2/2 inches).
3. Cut out the “Autumn” and “Pumpkin” art from the pattered papers and add to the blocks with Mod Podge.
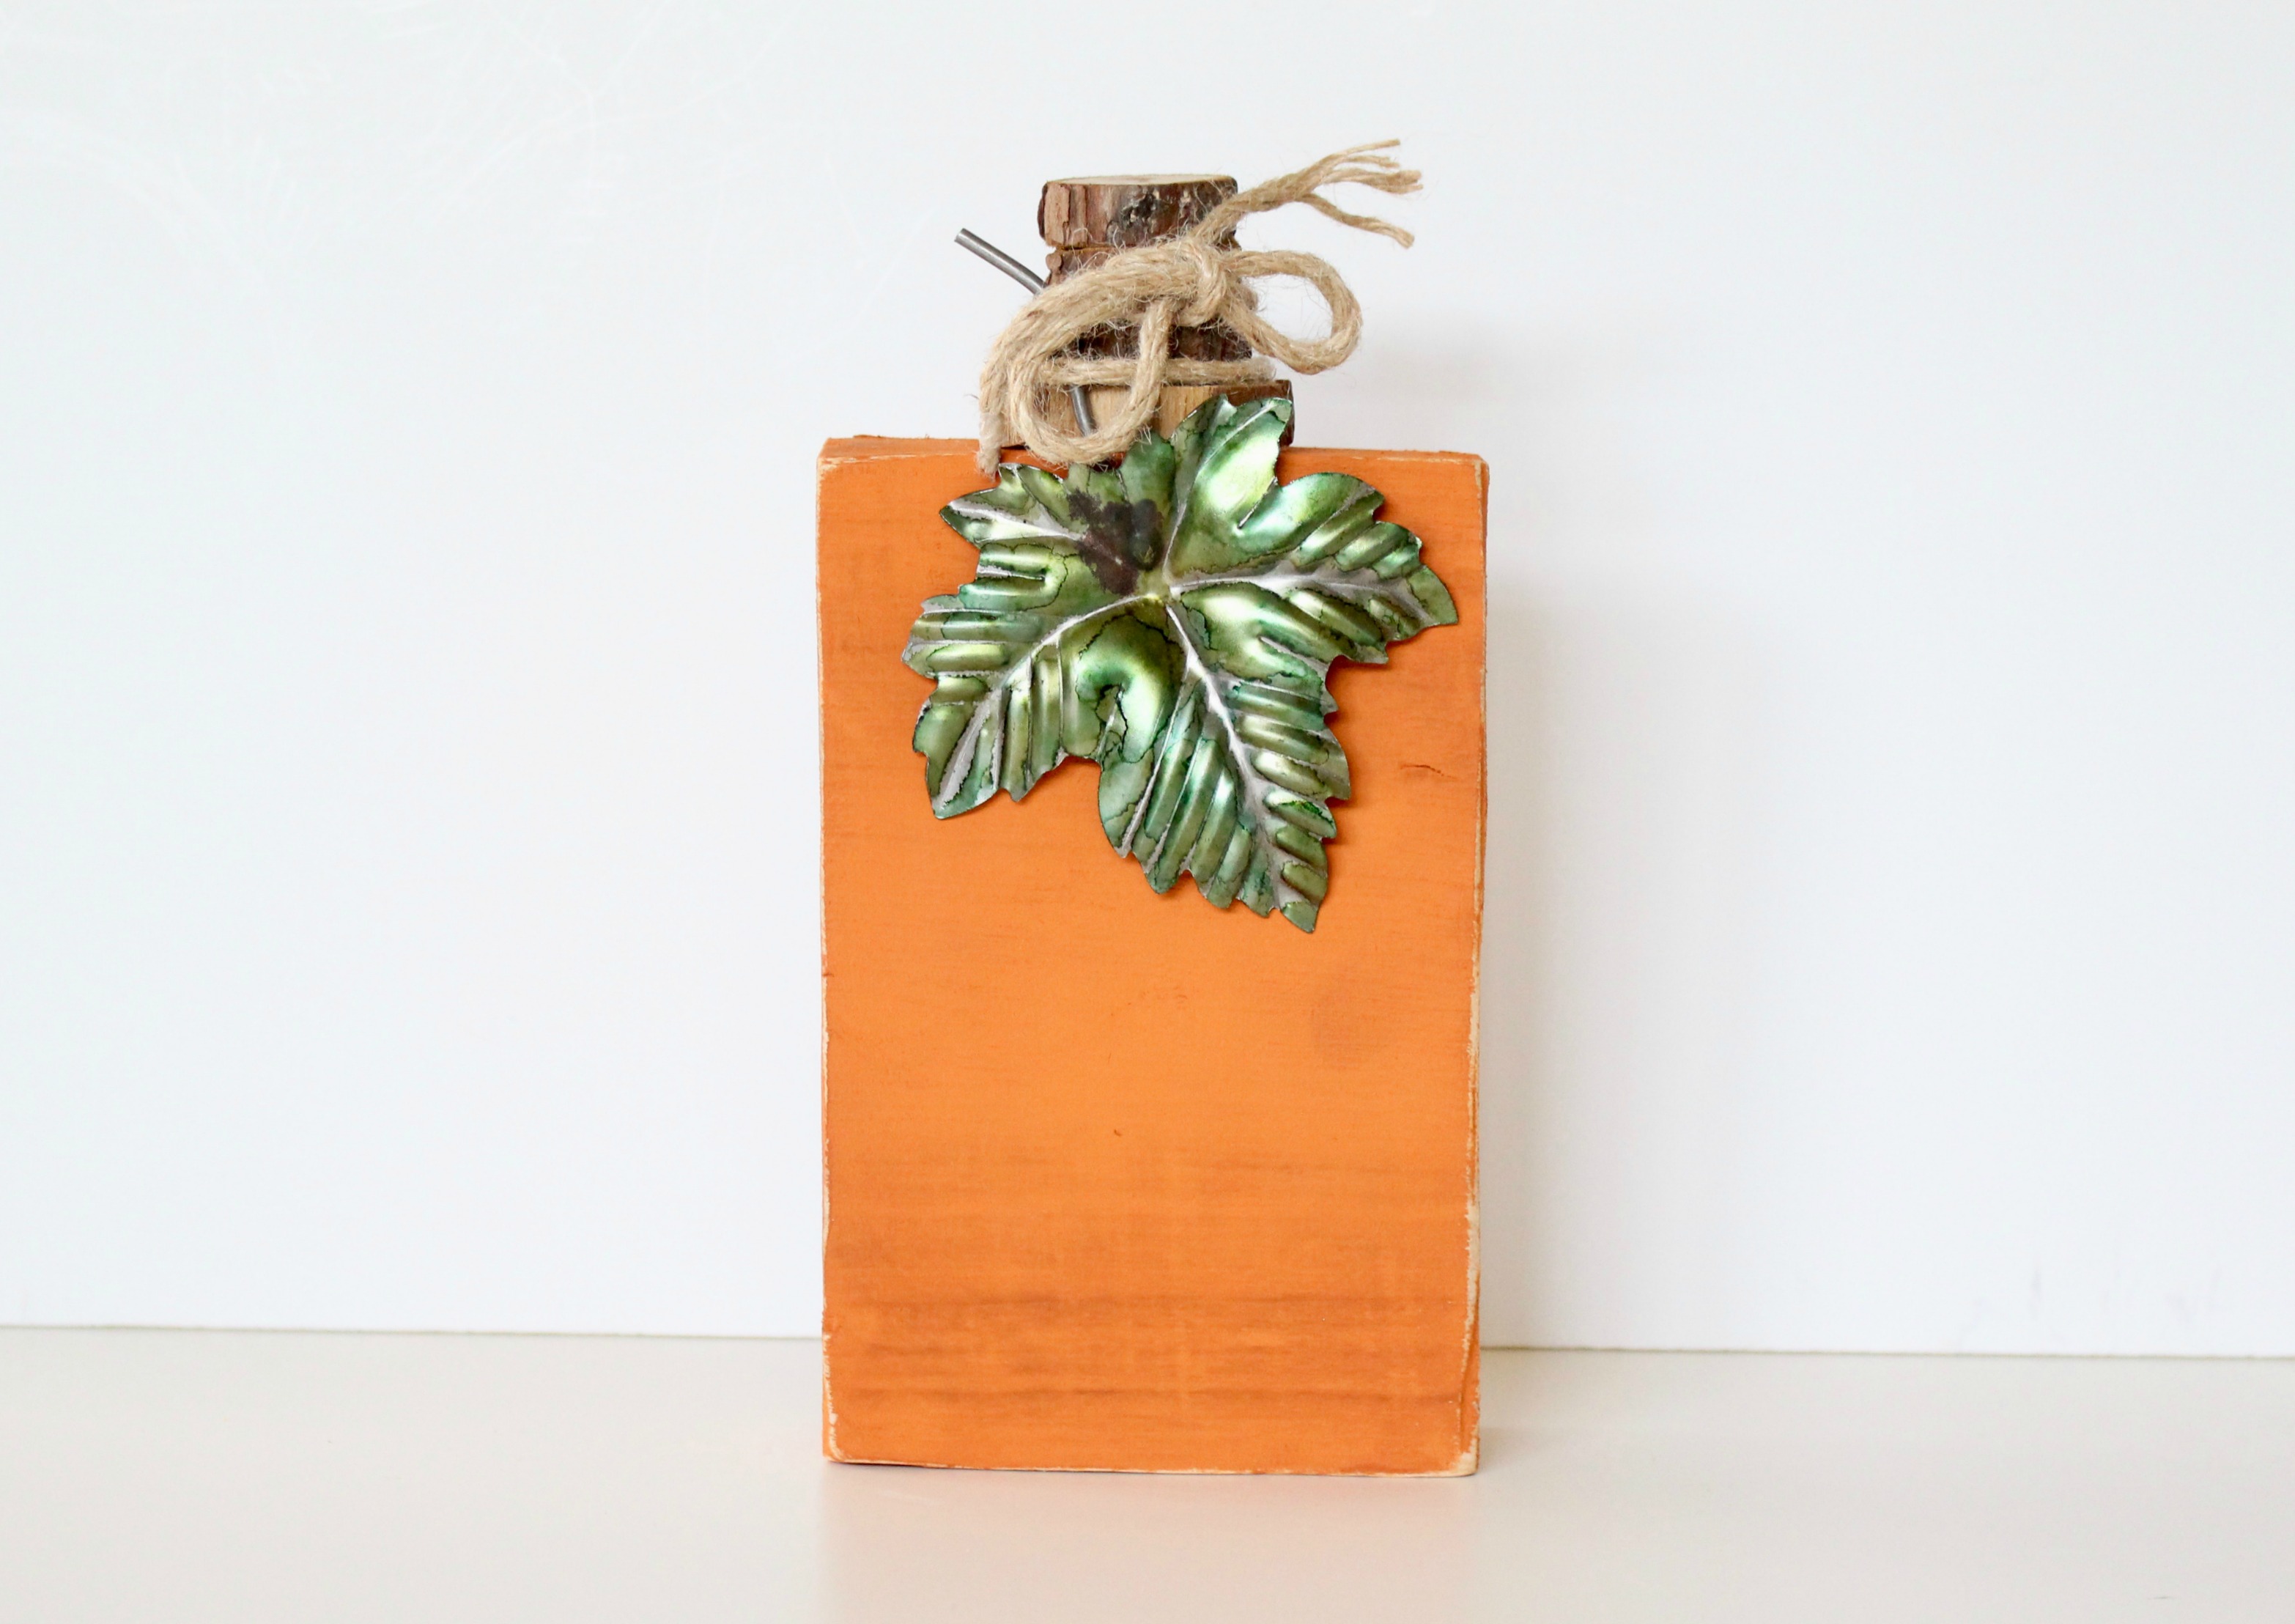
Wooden Pumpkin
Materials: Wood Block (7″ x 4 1/2″), orange paint, four small wood slices, hot glue, twine, metal leaf, green alcoholic ink.
Directions:
1.Paint the block orange.
2. Paint the leaf green with the alcohol ink.
3. Stack the four wood slices, small to large and glue them together.
4. Glue the wood slice stack and metal leaf to the pumpkin.
5. Tie a piece of twine around the “stem.”
Welcome Fall Sign
Materials: This is a DIY Kit that comes with the board, wood pieces, stand and 60+ letters so you can create your own messages. Other supplies: Wood Tint in Cascade, Rose Gold Paint and hot glue.
Directions:
1. Paint the large wood piece and the stand Cascade.
2. Paint the two thin pieces of wood and trim of the large piece of wood Rose Gold.
3. Using the photo as a guide, glue the smaller wood pieces on one side of the wood and the stand on the back.
4. Slide in letters to make a message.

