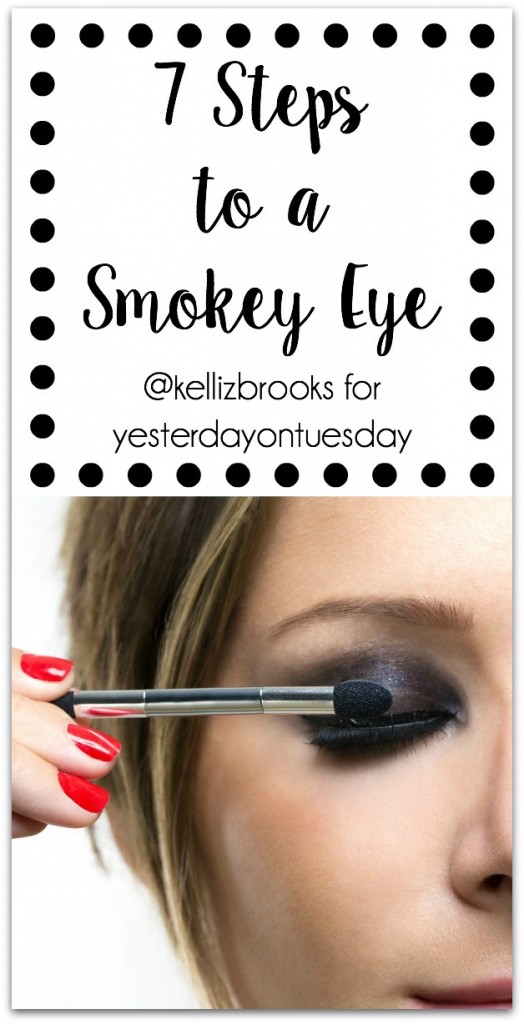
7 Steps to the Perfect Smokey Eye
7 Steps to the Perfect Smokey Eye
I have a special guest star for you today, my friend and makeup artist, Kelli (find her on Instagram @kellizbrooks)!
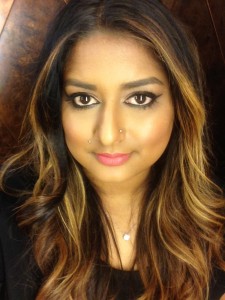
This girl is amazing. She magically evens out skin tone, camouflages blemishes and pumps up the pretty factor by 100%. She is spilling her secrets with us on how to create the Perfect Smokey Eye. This is a stunning nighttime or special occasion look. Take it away Kelli!
Supplies/What you might need to create this look:
-Eyeshadow primer. I highly recommend Bare Minerals ‘Prime Time’
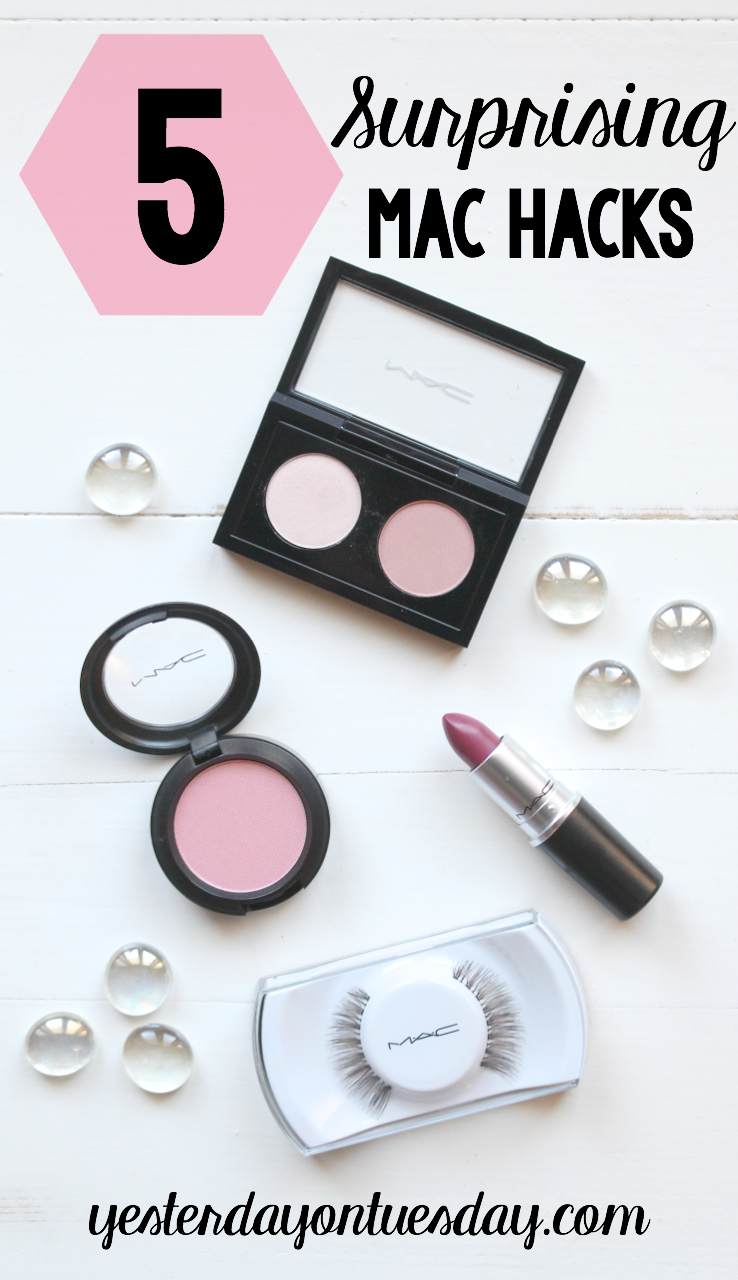
– A trio of shadows that achieve your desired look. This will include a light (flesh tone or lighter) medium, and dark. I will be using a trio of neutral shadows from MAC Cosmetics.
-Large fluffy eyeshadow brush for blending and a smaller more dense brush for packing on your darker colors. Sigma, Morphe, and hair & makeup addiction brands make great tools for any level of makeup skill at great prices.
-Eyeliner pencil. Malia can probably agree with me when I say Blinc Inc. eyeliner pencils are long wearing and easy to blend.
-Mascara. I’m sure you all have your favorites. Check out my Instagram @kellizbrooks for reviews on over 10 current mascaras from drugstore to high end brands. Something for everyone.
-Lashes (optional) Ardell or Red Cherry are affordable and great to practice with, can be reused 3-4 applications. Duo adhesive is great for long lashing wear.
-Brows. Kelley Baker Brow and Anastasia have all that is great when it comes to brows.
7 Steps to a Smokey Eye
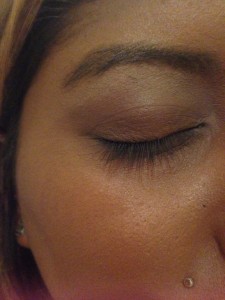
1. Prepping the eye: When starting out with any eyeshadow application it is always recommended to start with an eyeshadow primer. A primer can have many benefits, which includes making shadow last longer and staying smoother or preventing creasing. To apply, use a small amount of primer and disperse from the lash line to the brow bone. This can be done with a concealer brush, a fluffy eyeshadow brush, or even your ring finger.
2. Base shadow: The first shadow you will be applying against the primer will be your base shadow. This shadow is typically the lightest of the three shadows you will be using. This shadow will be applied when the primer was applied. I prefer a large fluffy shadow brush that you can press the shadow on, from the lash line to the brow bone. This brush can also be used later in the smokey eye application as a blending tool.
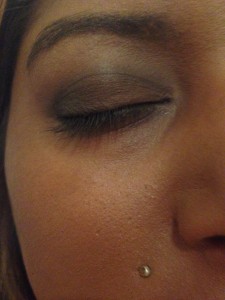
3. Eyelid shadow: With a smaller more dense brush, using the medium shadow color of your choosing you will press this shadow against the eyelid to make the color stand out, use the blending brush to soften the shadow or rid the eye of any excess than might make it’s way under the eye as fall out. Apply another layer of the shadow until you get the desired intensity.
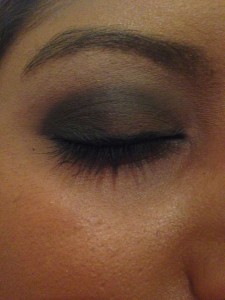
4. Smoking the eye: this is the fun part. Though it can be intimidating for some, this will be the application of your darkest of your three shadows. Again with a smaller dense shadow brush (which can be the same brush from step 3) and your blending brush nearby, you will apply your darkest shadow along the lash line. Concentrating on the outer third of the eye area apply a generous amount of the dark shadow then start moving the brush upward towards the crease. Use your blending brush to create more of that smokey effect, then repeat until your get the desired intensity of shadow, which may vary depending on how dramatic you want the look.
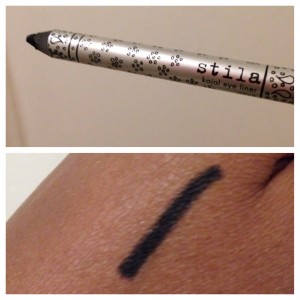
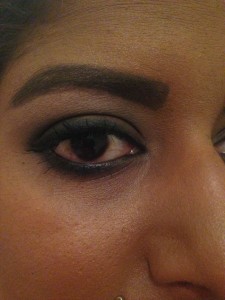
5. Defining the eye: a smokey eye tends to look pretty messy until you define the eyes. To do this, eyeliner is key. Eyeliner can come in many colors, shapes and sizes. For a smokey eye, I think a creamy smudged eyeliner is the most suitable, it’s also one of the easier to apply. Using any creamy eyeliner pencil you will line the upper lash line, and if you feel comfortable the lower lash line the line doesn’t need to be too thick, or even perfect for that matter because you will be using the smudger that comes on the other end of the pencil, or a small brush, I prefer one with an angle. You will use this brush to blend and give the defined lines a softer, and smokier appearance.
6. Lashes: now no eye, dramatic or not is not complete with out lashes. Mascara is a favorite with most people whether they wear other makeup or not. I hear most often from women that they want their eyes to stand out, and there’s no better way to do this than with a coat or two of mascara. I like to start out by curling my eyelashes, it’s safest to do this on clean, mascara free lashes. Once you get a nice lift of the lashes apply a few coats of your favorite mascara to your upper and lower lashes. If your feeling extra daring try a pair of false lashes or even a few temporary individual lashes in the outer corner of the eyes.
7. Framing the Eyes: just when you thought you were done… You can’t forget the brows. The brows frame the eyes perfectly. Showing them a little bit of love can make your eyes really pop. And since you spent all that time perfecting the smokey eye, you might as well complete the look. Even grooming them with a clear gel can transform the look, if you need a little more help, opt for a pomade, powder or pencil.
Tips
-Choose colors you’re comfortable with
– Start soft, you can always add, but it’s harder to take away
– Visit a local beauty professional for a lesson in applying lashes
– Smokey eyes look messy before they look pretty, it’s all about the total look
-Have fun! (This is the most important step). Remember, practice makes perfect.


2 Comments