Seasonal Door Hanger with The Home Depot
This post is sponsored by Home Depot #DIHWorkshop #sponsored
Seasonal Door Hanger with The Home Depot
Register Now
Isn’t this Sweet Santa Door Hangar adorable? You can make it yourself! The Home Depot offers Workshops at all of their locations. There is a Workshop about to make this Seasonal Door Hanger coming up in Bellevue WA, on Thursday, October 20th at 6:30 pm. You can Register Here.
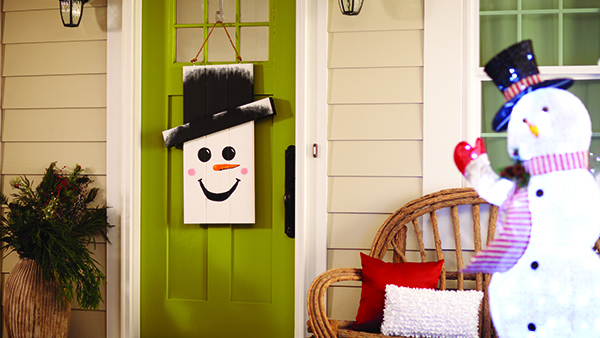
Here is the inspiration piece from Home Depot. The cool thing is, you can customize this project in any way you want– like making it a scarecrow, witch, Santa… or anything else you can imagine. Visit The Home Depot to learn more.
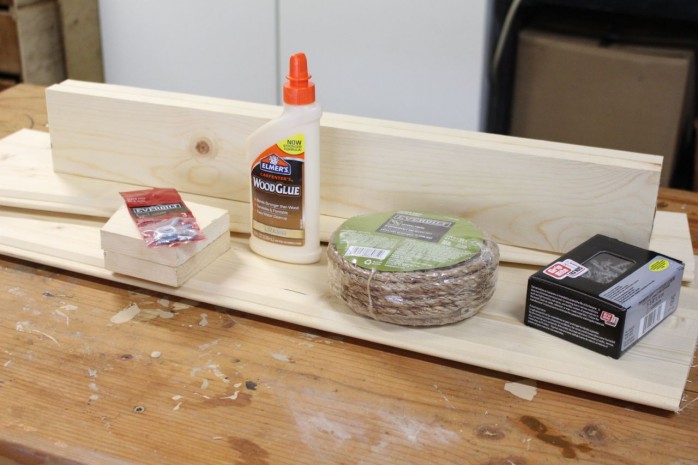
I got all the supplies at the Home Depot, of course!
Materials
– 1″ x 6″ x 8′ Tongue and Groove Pattern Stock Board
– 1″ x 4″ x 8′ Common or Pine Board
– Box of #8 x 1 1/4 Phillips Square Flat-Head Full Thread Zinc Coated Multi-Material Screw
– Pack #8 1 5/8 Zinc-Plated Steel Screw
– 1/4″ x 50′ Manila Rope
– 8 oz. Carpenter’s Wood Glue
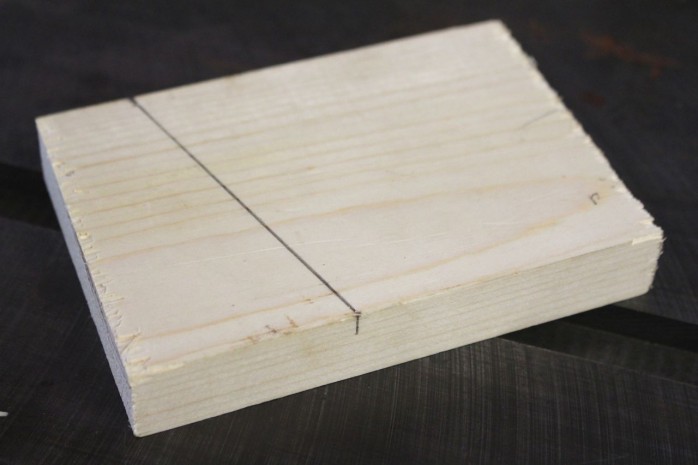
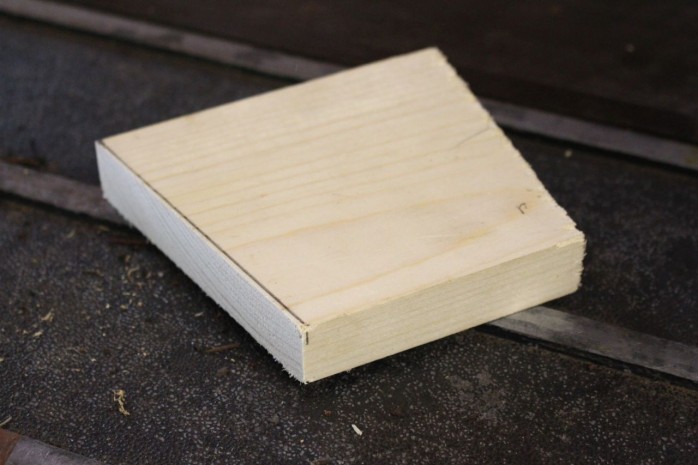
Measure and mark three (3) 32″ sections from the 1″ x 6″ x 8′ Tongue and Groove Pattern Stock Board and two (2) 24″ sections plus two angled sections from the 1″ x 4″ x 8′ Common or Pine Board.
The two angled sections should be 4″ long along the top edge and 3″ long along the bottom edge of the board.
Make your cuts. You should now have (3) 32″ pieces, and (2) 24″ pieces. TIP: Smooth any rough edges using a sanding block.
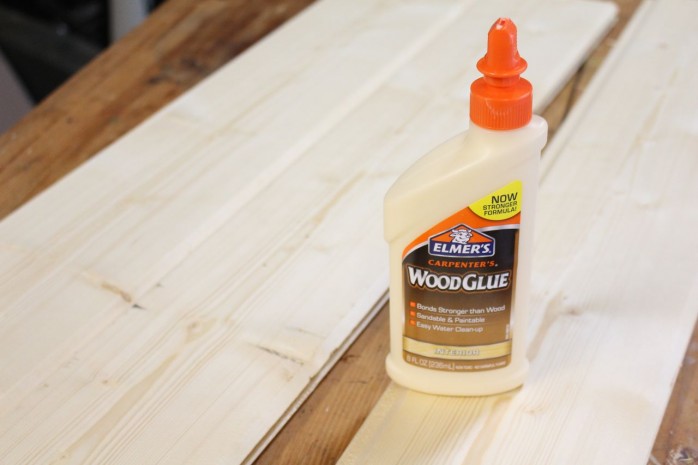
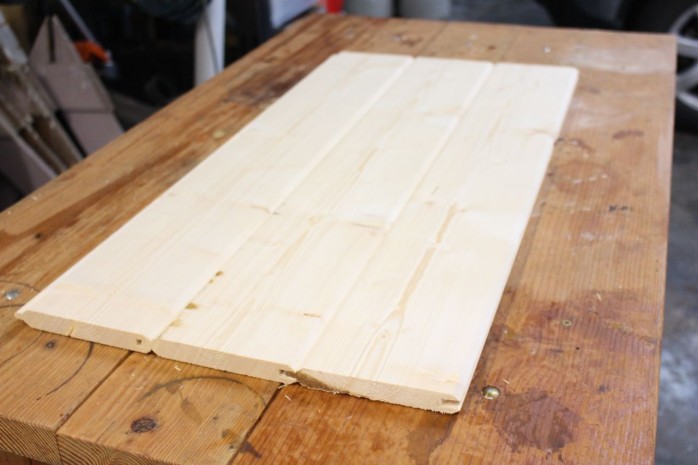
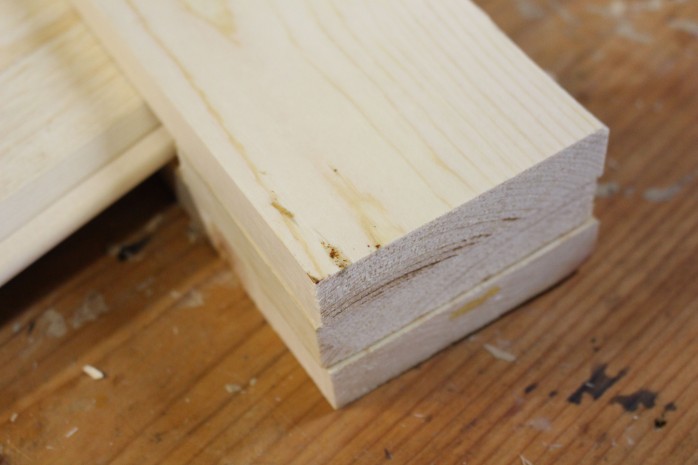
Lay the (3) 32″ sections vertically side to side and run a bead of glue in the groove.
Secure the boards making sure to keep them level at top and bottom.
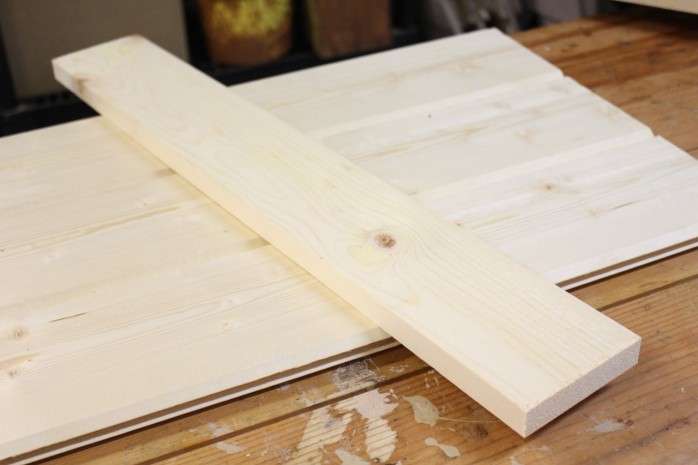
Measure and mark 8″ down from the top of the base on the right side and 12″ down from the top of the base on the left side. Angle one 24″ section flat across the assembled base at the 8″ and 12″ marks from the top of the base. Make sure the board overhangs the base equally on the left and right sides.
Slide the angular cut pieces underneath the attached 24″ board ensuring they are flush with the base and with the 24″ board on both sides. Secure the angular cut pieces to the 24″ board using the 1 1/4″ screw. Repeat on the other side.
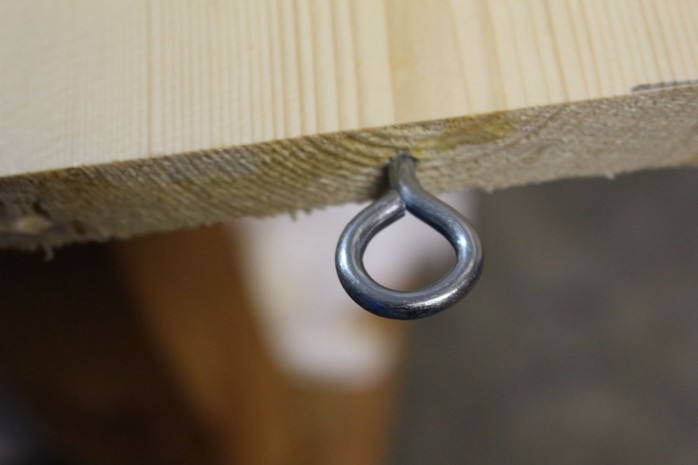
Using a 1/8″ drill bit, pre-drill two holes vertically in the top and center of the Tongue and Groove boards. Screw in the two eye screws into these holes. Tie a piece of rope to each of the eye screws ensuring the door hanger hangs at the desired height on the door. Cut off any extra rope ends.
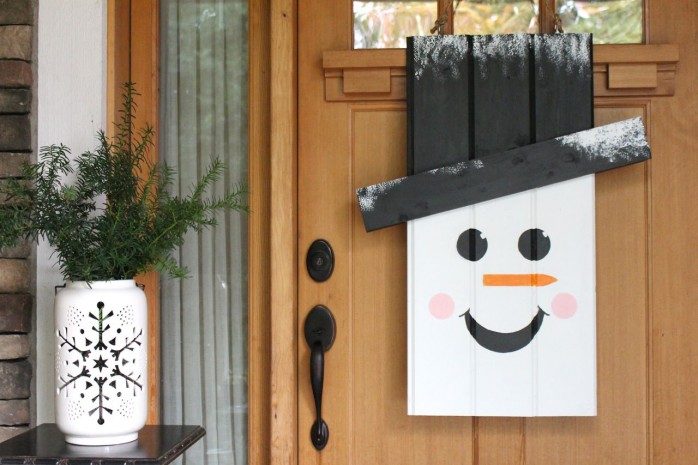
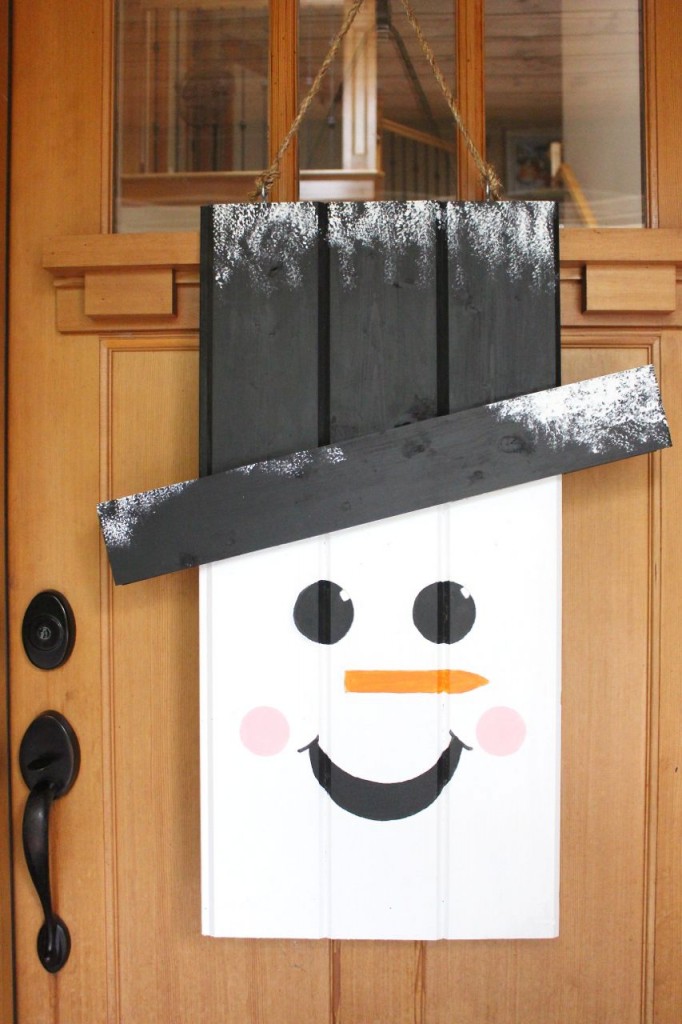
To create the snowman’s face, I picked up tester sizes of paint in white, black, pink and orange.
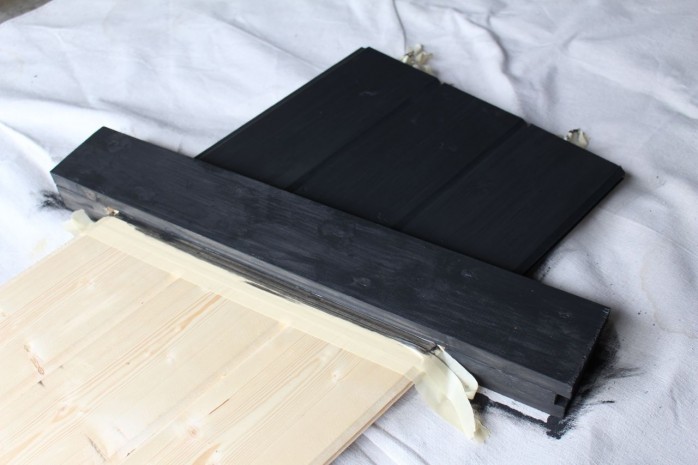
First tape off the “face” and paint the hat black.
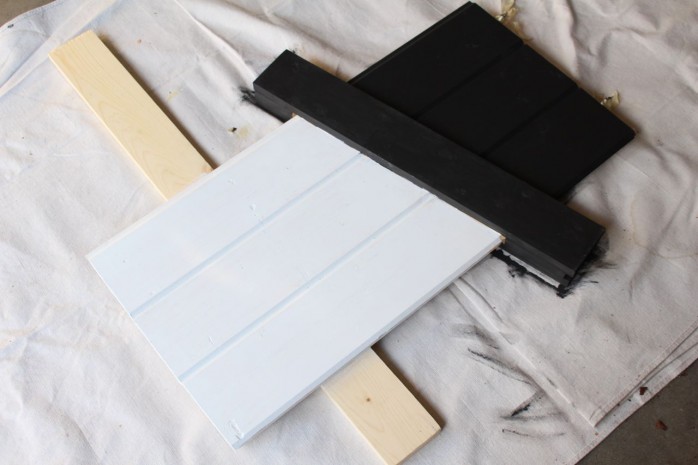
Then paint the face white.
It was easy to make the face. I traced glasses to make the eyes and cheeks and a ruler to make the nose. I drew the mouth freehand.
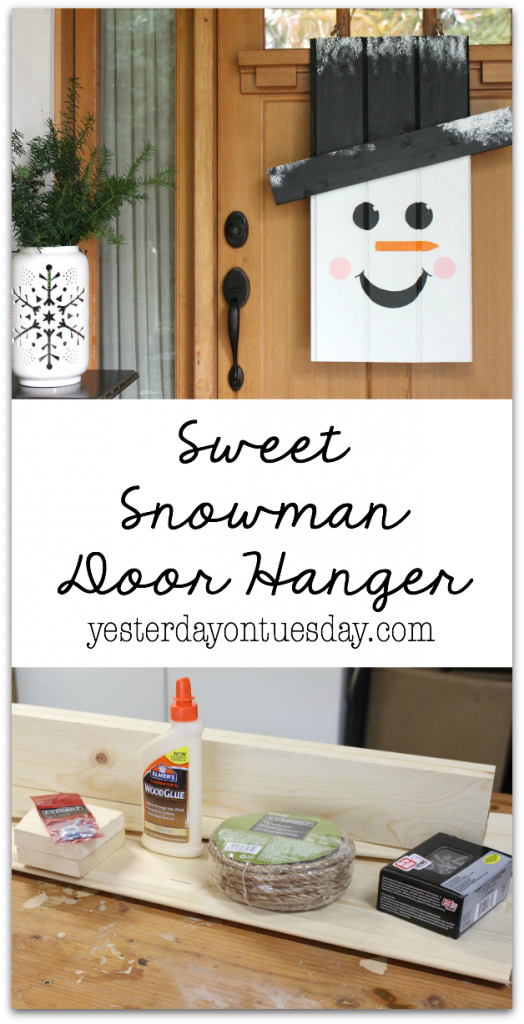
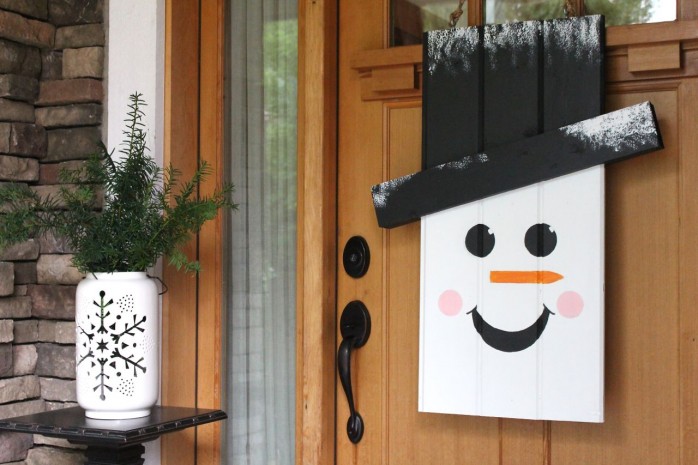
I think my snowman turned out pretty adorable!
I love that it welcomes people to our home and makes them smile.
I felt so empowered by this Seasonal Character Project! Here’s one more look at the original Season Door Hanger project.
Workshop Virtual Party with The Home Depot
Be sure to visit all these great blogs to see how they customized the Seasonal Door Hanger Project!
Live Laugh Rowe
The Turquoise Home
Cherished Bliss
Cami Tidbits
Refresh Restyle
The Creative Mom
My Sister’s Suitcase
My Love 2 Create
Sweet Charli
Not Just A Housewife
Domestically Speaking
Lovely Etc
Red Head Can Decorate
Yesterday on Tuesday
Elizabeth Joan Design
The Rustic Life
One Artsy Mama
Tonality Designs
She Leaves A Little Sparkle
Our Vintage Nest
All Things Thrifty
Our Thrifty Ideas
Junque Cottage
The Crafted Sparrow
Sweet Rose Studio






Darling! Love it!
Natalie Dalpias recently posted…Reversible Holiday Sign
He is so cute!
Your snowman is adorable! So cute!
Erin recently posted…Seasonal Character Door Hanger
Love your snowman and a great tutorial!
Laura at The Turquoise Home recently posted…15 Fun Halloween Decor Ideas | Work it Wednesday No. 170