No Sew Snowman Scarf
No Sew Snowman Scarf
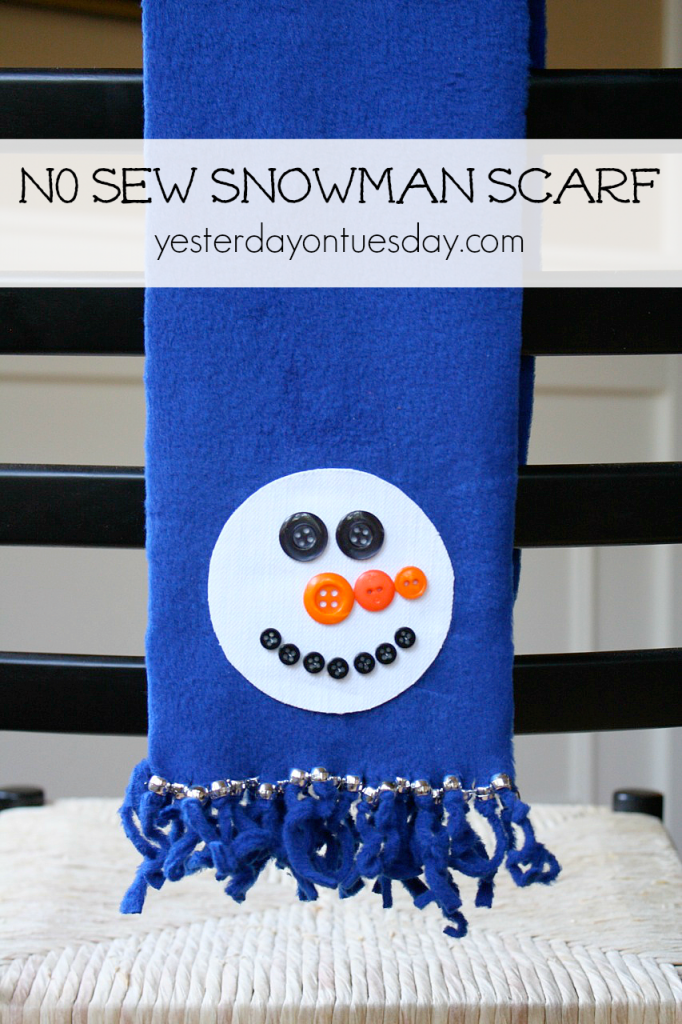
I’m a big believer in kids making their own craft projects, that’s why this No Sew Snowman Scarf is such a fun idea for winter. When kids create, it allows them to express themselves, practice their problem-solving skills and gives kids a sense of accomplishment. While a grownup should help with the ironing, the rest of this project is pretty kid-friendly.
No Sew Snowman Scarf
Supplies: dark blue fleece 5″ wide, sharp scissors, a ruler, masking tape, white scrap fabric, a drinking glass (to use as a circle template), buttons, an iron, Heat ‘n Bond Ultrahold Adhesive, Aleene’s Clear Tacky Glue, and a package of silver pony beads.
Step 1: Use scissors to remove the selvage from the fleece.
Step 2: With the ruler, measure 2 1/2″ in on both sides of the fleece and mark with masking tape.
Step 3: Make fringe on each side of the fleece (stopping at the making tape line).
Step 4: Iron Heat ‘n Bond to the back of the white fabric.
Step 5: Use the bottom of the drinking glass to trace a circle on the paper (wrong) side of the fabric and cut out.
Step 6: Iron the white circle to the bottom of one side of the fleece.
Step 7: Using Tacky Glue, glue buttons to create the snowman’s face.
Step 8: Slide a single pony bead on each piece of fringe and tie a knot of the end.
Step 9: Gently pull each piece of fringe straight. This will make it curl.




This snowman scarf is adorable, Malia! I used to collect snowmen ~ I think they are so cute. I may need to make this for my niece (and maybe one for me!).
Mary Beth @ Cupcakes and Crinoline recently posted…Peanut Butter Bars
I love this snowman scarf!!! So super cute!!!
Absolutely adorable!!!
Megan @ Our pinteresting family recently posted…Frozen Inspired Valentine’s Decoration