Spooky Halloween Party Ideas
Catch these ideas LIVE on KOMO-TV Monday Oct 5th at 4pm
Spooky Halloween Party Ideas
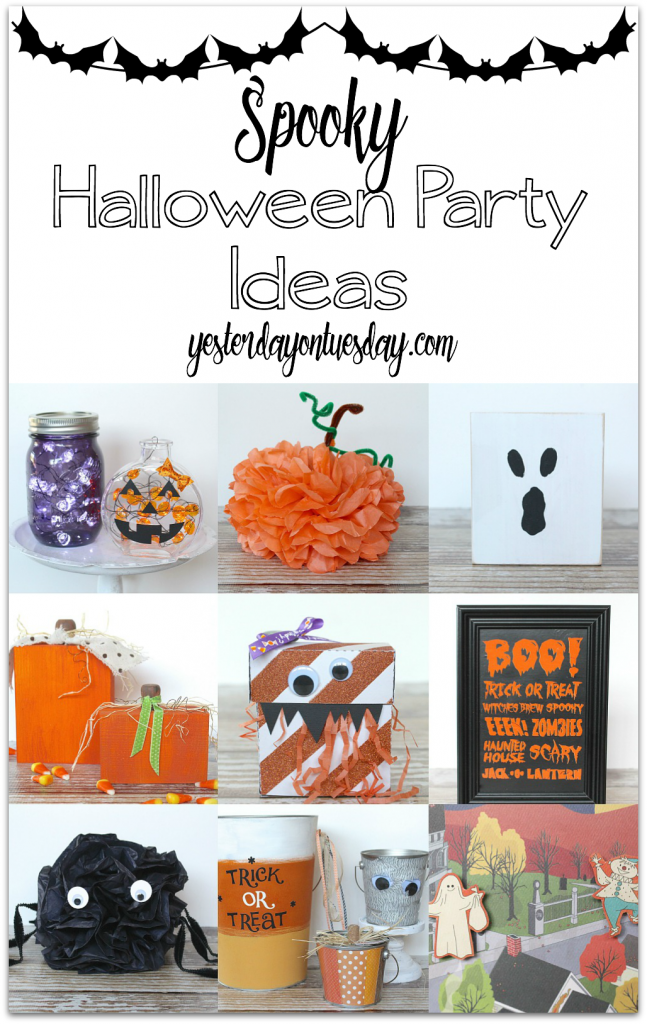
Whether you’re throwing a Halloween part for your child’s classroom or just hosting a few guys and ghouls for a get together, here are some Spooky Halloween Party Ideas.
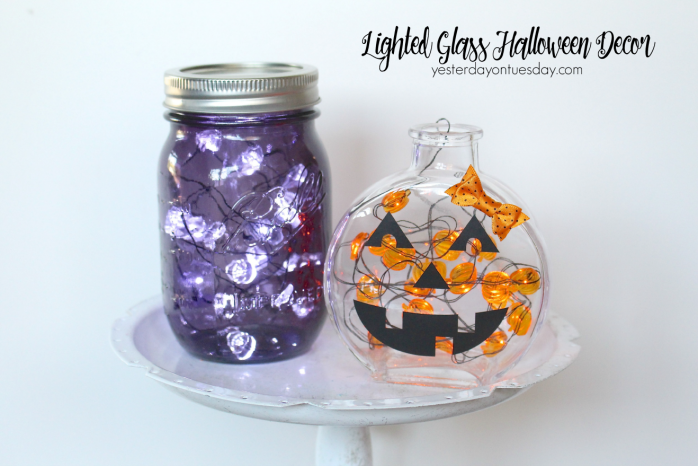
Lighted Glass Halloween Decor
Materials: Purple Mason Jar, skull lights, pumpkin shaped glass base, jack-o-lantern vinyl, jack-o-lantern lights, and small sticker bow. All craft materials available at Ben Franklin Crafts and Frames in Redmond.
Instructions: Add vinyl to vase, add lights to jars, and finally add bow to pumpkin.

Tissue Paper Pumpkin
Materials: Eight 20 x 30 inch sheets of orange tissue paper, scissors, 1 brown chenille stem, 1 green chenille stem and monofilament (fishing line) if you want to hang the pom pom. All craft materials available at Ben Franklin Crafts and Frames in Redmond.
Instructions
1. Stack eight 20 x 30 inch sheets of tissue.
2. Accordion pleat the length of the tissue paper, starting on one of the two short ends. One long end will be a folded edge and the other will be free. Make the pleats 1 1/2 inches wide.
3. Cinch the brown chenille stem around the middle of the stack of accordion pleated tissue paper and form a hanging loop out of the ends of the pipe cleaner.
4. Cut the ends into a rounded petal shape.
5. Fan out the accordion pleats and carefully separate each layer. Pull gently.
6. Fluff out all the layers into a nice rounded ball.
7. Twist the green chenille stem around the brown chenille stem to make “leaves.”
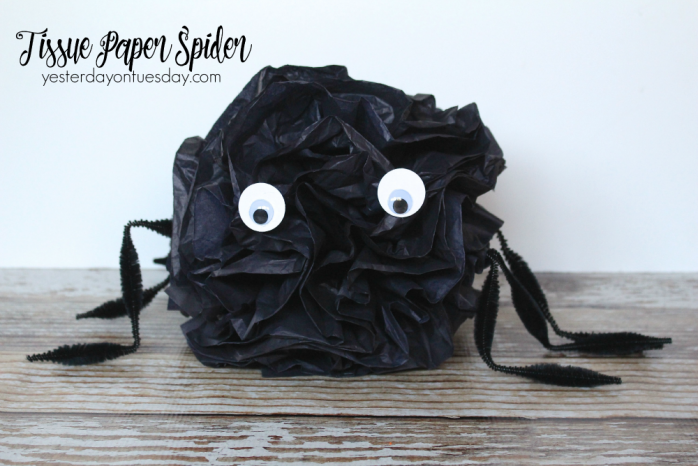
Tissue Paper Spider
Materials: Eight 20 x 30 inch sheets of black tissue paper, scissors, 7 black chenille stems, white card stock cut into 2 small circles, 2 googly eyes, hot glue and monofilament (fishing line) if you want to hang the pom pom. All craft materials available at Ben Franklin Crafts and Frames in Redmond.
Instructions
1. Stack eight 20 x 30 inch sheets of tissue.
2. Accordion pleat the length of the tissue paper, starting on one of the two short ends. One long end will be a folded edge and the other will be free. Make the pleats 1 1/2 inches wide.
3. Cinch one black chenille stem around the middle of the stack of accordion pleated tissue paper and form a hanging loop out of the ends of the pipe cleaner.
4. Cut the ends into a rounded petal shape.
5. Fan out the accordion pleats and carefully separate each layer. Pull gently.
6. Fluff out all the layers into a nice rounded ball.
7. Use hot glue to add spider legs.
8. Use hot glue to attach google eyes to white paper circles and glue on spider.
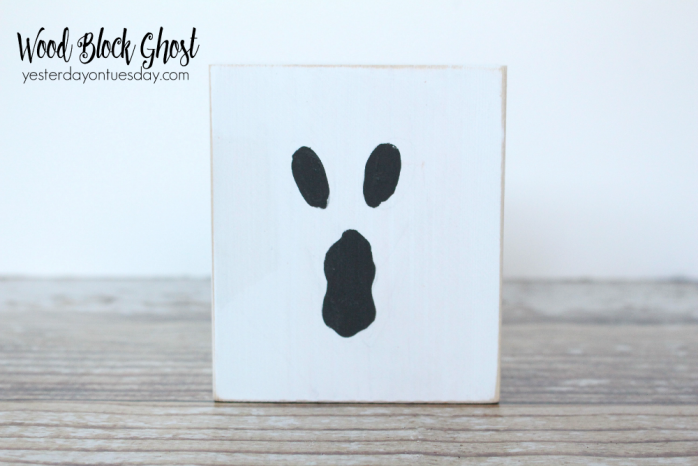
Wood Block Ghost
Supplies: Wood Block, white acrylic paint, sand paper, black acrylic paint. All craft materials available at Ben Franklin Crafts and Frames in Redmond.
Instructions
1. Paint the wood block white.
2. Gently sand the edges
3. Use the black paint to create a face.
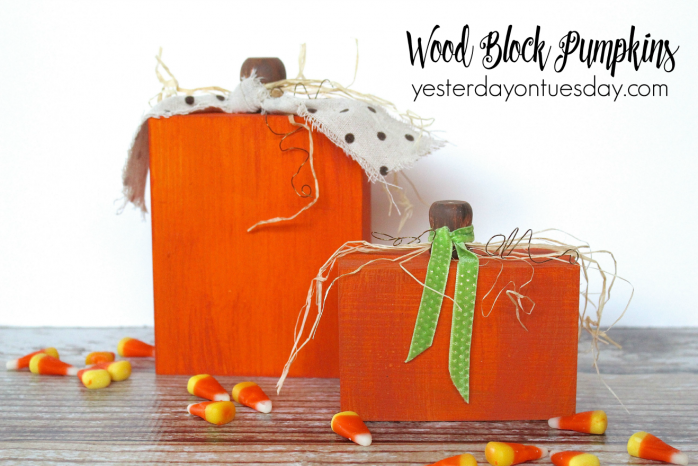
Wood Block Pumpkins
Supplies: Two wood blocks, two wood knobs, acrylic paint in persimmon, raw sienna and bittersweet chocolate, florist’s wire, ribbons, raffia and hot glue. All craft materials available at Ben Franklin Crafts and Frames in Redmond.
Instructions:
1. Paint the wood blocks persimmon
2. Paint the wooden knobs raw sienna, let dry then add some strokes of bittersweet chocolate.
3. Glue the knobs on the blocks to make stems.
4. Wind florist’s wire around a pencil to make it loopy then tie around stems.
5. Add ribbon and raffia.
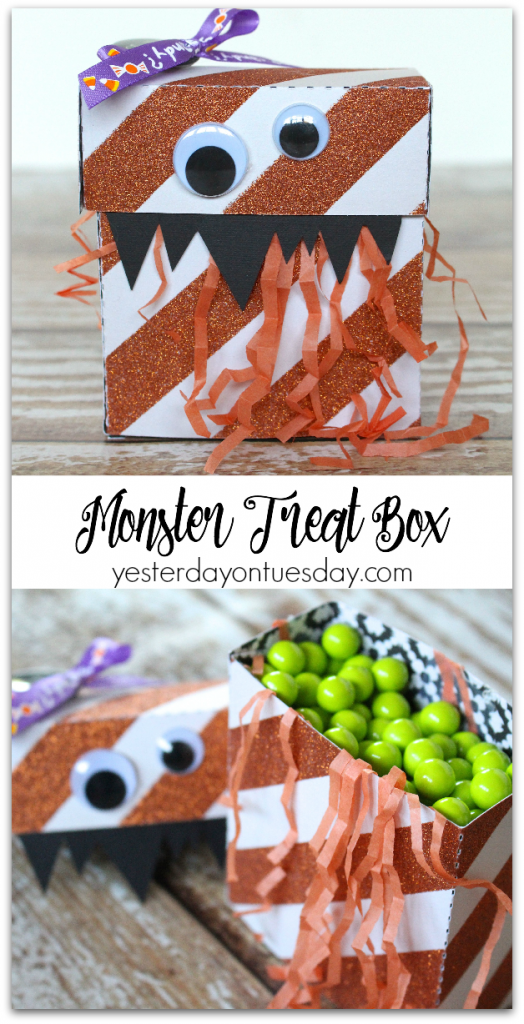
Monster Treat Box
Supplies: One piece of double-sided patterned card stock in Halloween colors, small piece of black card stock cut to look like teeth, 2 googly eyes, paper shred, Halloween ribbon and candy. You’ll also need hot glue. All craft materials available at Ben Franklin Crafts and Frames in Redmond.
Instructions:
1. Purchase the card stock and use the box shape in the die cut center to make a box.
2. Make a bow and glue in on box lid along with eyes and teeth.
3. Add shred inside and fill with candy.
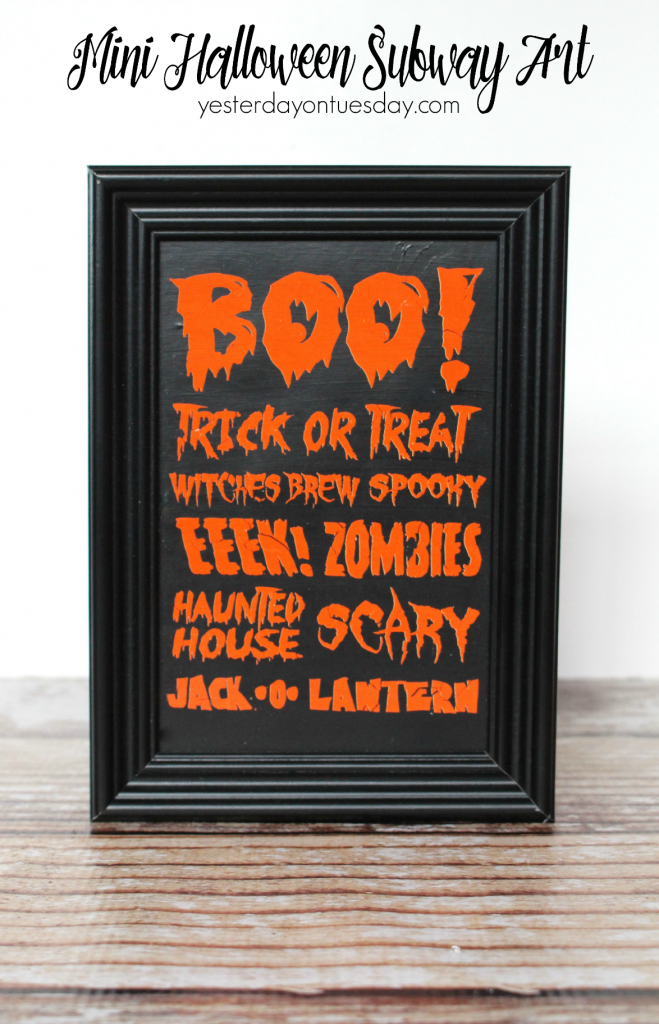
Mini Halloween Subway Art
Materials: 4″ x 6″ frame, cardboard cut to fit inside the frame, black acrylic paint, rub on words from Little B in orange. All craft materials available at Ben Franklin Crafts and Frames in Redmond.
Instructions:
1. Remove the glass
2. Paint the cardboard black
3. Add Halloween words in orange.
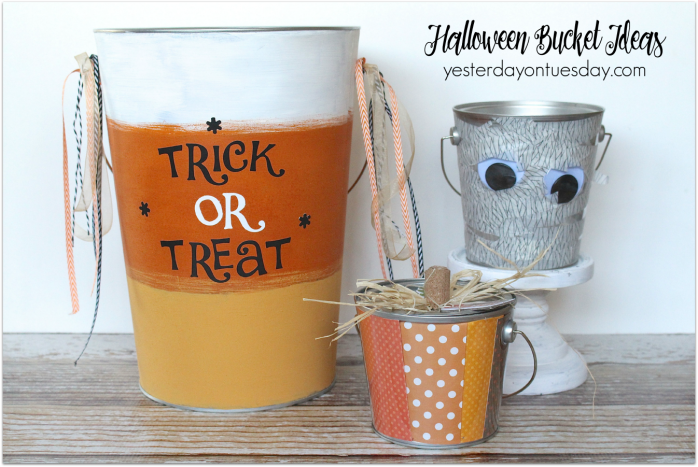
Halloween Bucket Ideas
Trick or Treat Bucket
Materials: Large plastic bucket, Americana Decor Chalky Finish paint in Everlasting (white), Heritage (orange) and Inheritance (yellow), letter stickers, and ribbon. All craft materials available at Ben Franklin Crafts and Frames in Redmond.
Instructions:
1. Paint wide stripes of white, orange and yellow, let dry.
2. Add letter stickers “Trick or Treat.”
3. Tie ribbons around handles.
Mummy Bucket
Materials: Medium plastic bucket, wash tape, googly eyes and glue dots. All craft materials available at Ben Franklin Crafts and Frames in Redmond.
1. Use glue to attach eyes
2.Wind washi tape around bucket.
Pumpkin Bucket
Materials: 8 strips of patterned paper 3 3/4″ L x 1 1/2 ” W, thin strip of cork for stem, raffia and cardboard stickers. You’ll also want to have a glue gun on hand. All craft materials available at Ben Franklin Crafts and Frames in Redmond.
Instructions:
1. Add strips of paper to inside of bucket
2. Roll up the cork tightly and use hot glue to stick it together.
3. Glue raffia and cork on lid.
4. Add cardboard stickers to lid.
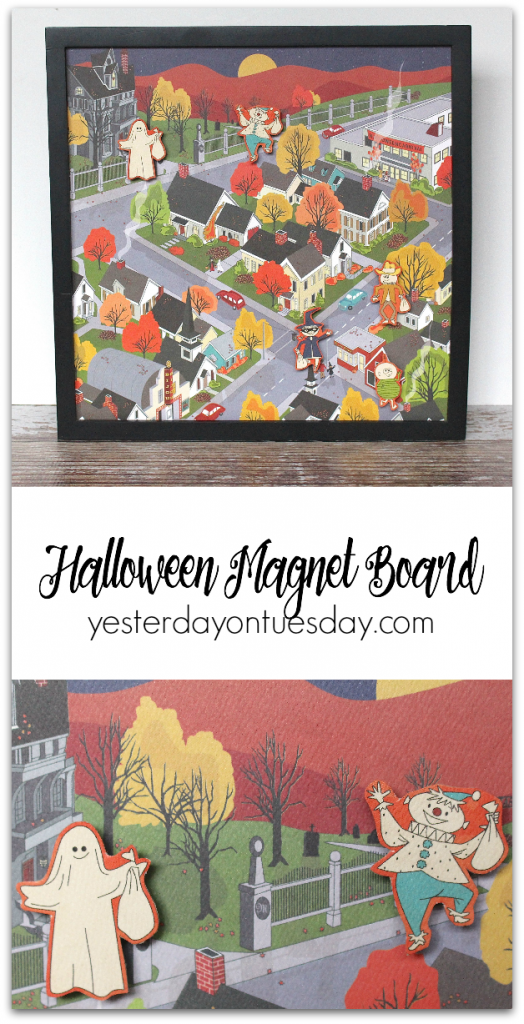
Materials: 1 sheets of “Trick or Treat” 12 x 12 scrapbook paper by Carta Bella and 1 sheet of 12 x 12 paper with Halloween characters, 12 x 12 magnet board, thin cardboard, 5 magnets, hot glue and a 12″ x 12″ frame. All craft materials available at Ben Franklin Crafts and Frames in Redmond.
Instructions:
1. Cut out characters and glue to cardboard.
2. Glue magnets on back of cardboard.
3. Remove glass from frame and add 12 x 12 magnet board, then paper.